Whole Home Remodel
Lakeshore Drive, Tallahassee- Removed Load Bearing Walls
- 20 ft Glass Wall in Kitchen
- Added Walk-in Closet
- Total Cost: $305,107.00
McManus Kitchen and Bath provides a single place where you can work with interior design and construction professionals who can help you create a happy, healthy home. We start each project with a Design and Budget Consult. It will help you clarify your design ideas, understand the remodeling process and create a Good Better Best Budget for your project. Click Here to Schedule a Consult
A Whole Home Remodel in 3 Parts
Because this family needed to remain in the home during the project we decided to remodel this home in 3 parts with a couple of weeks break in between each part.
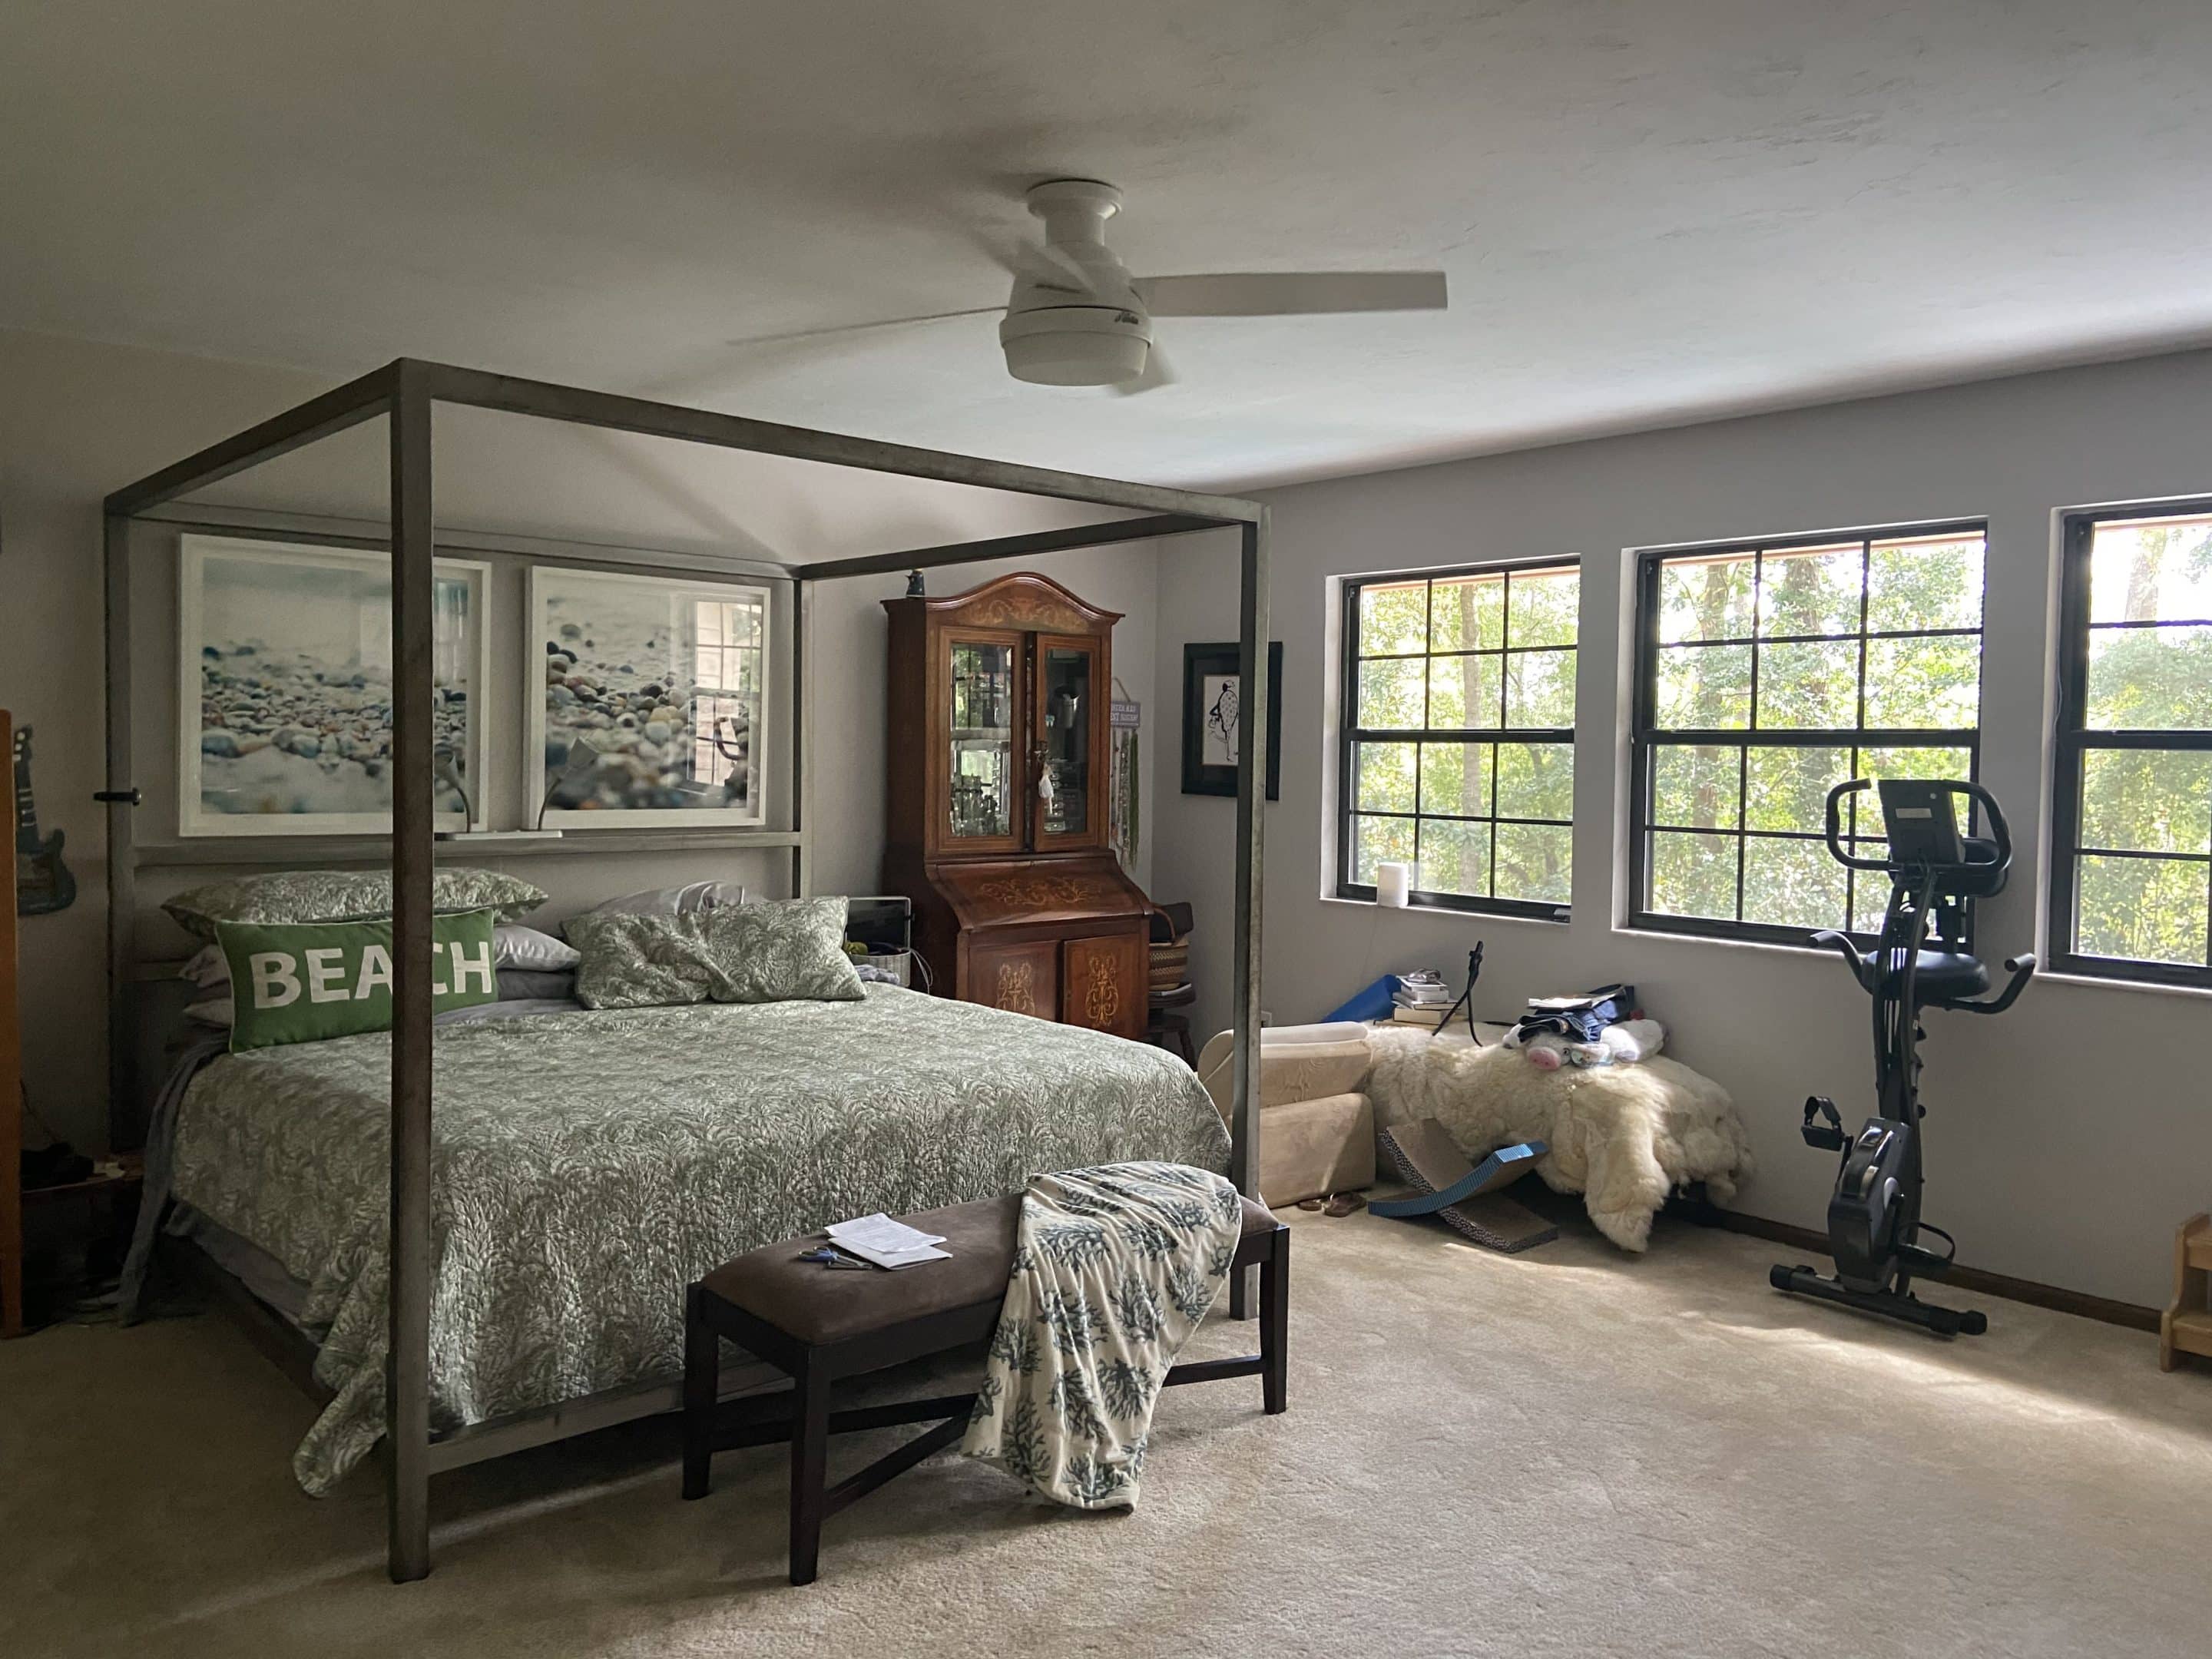
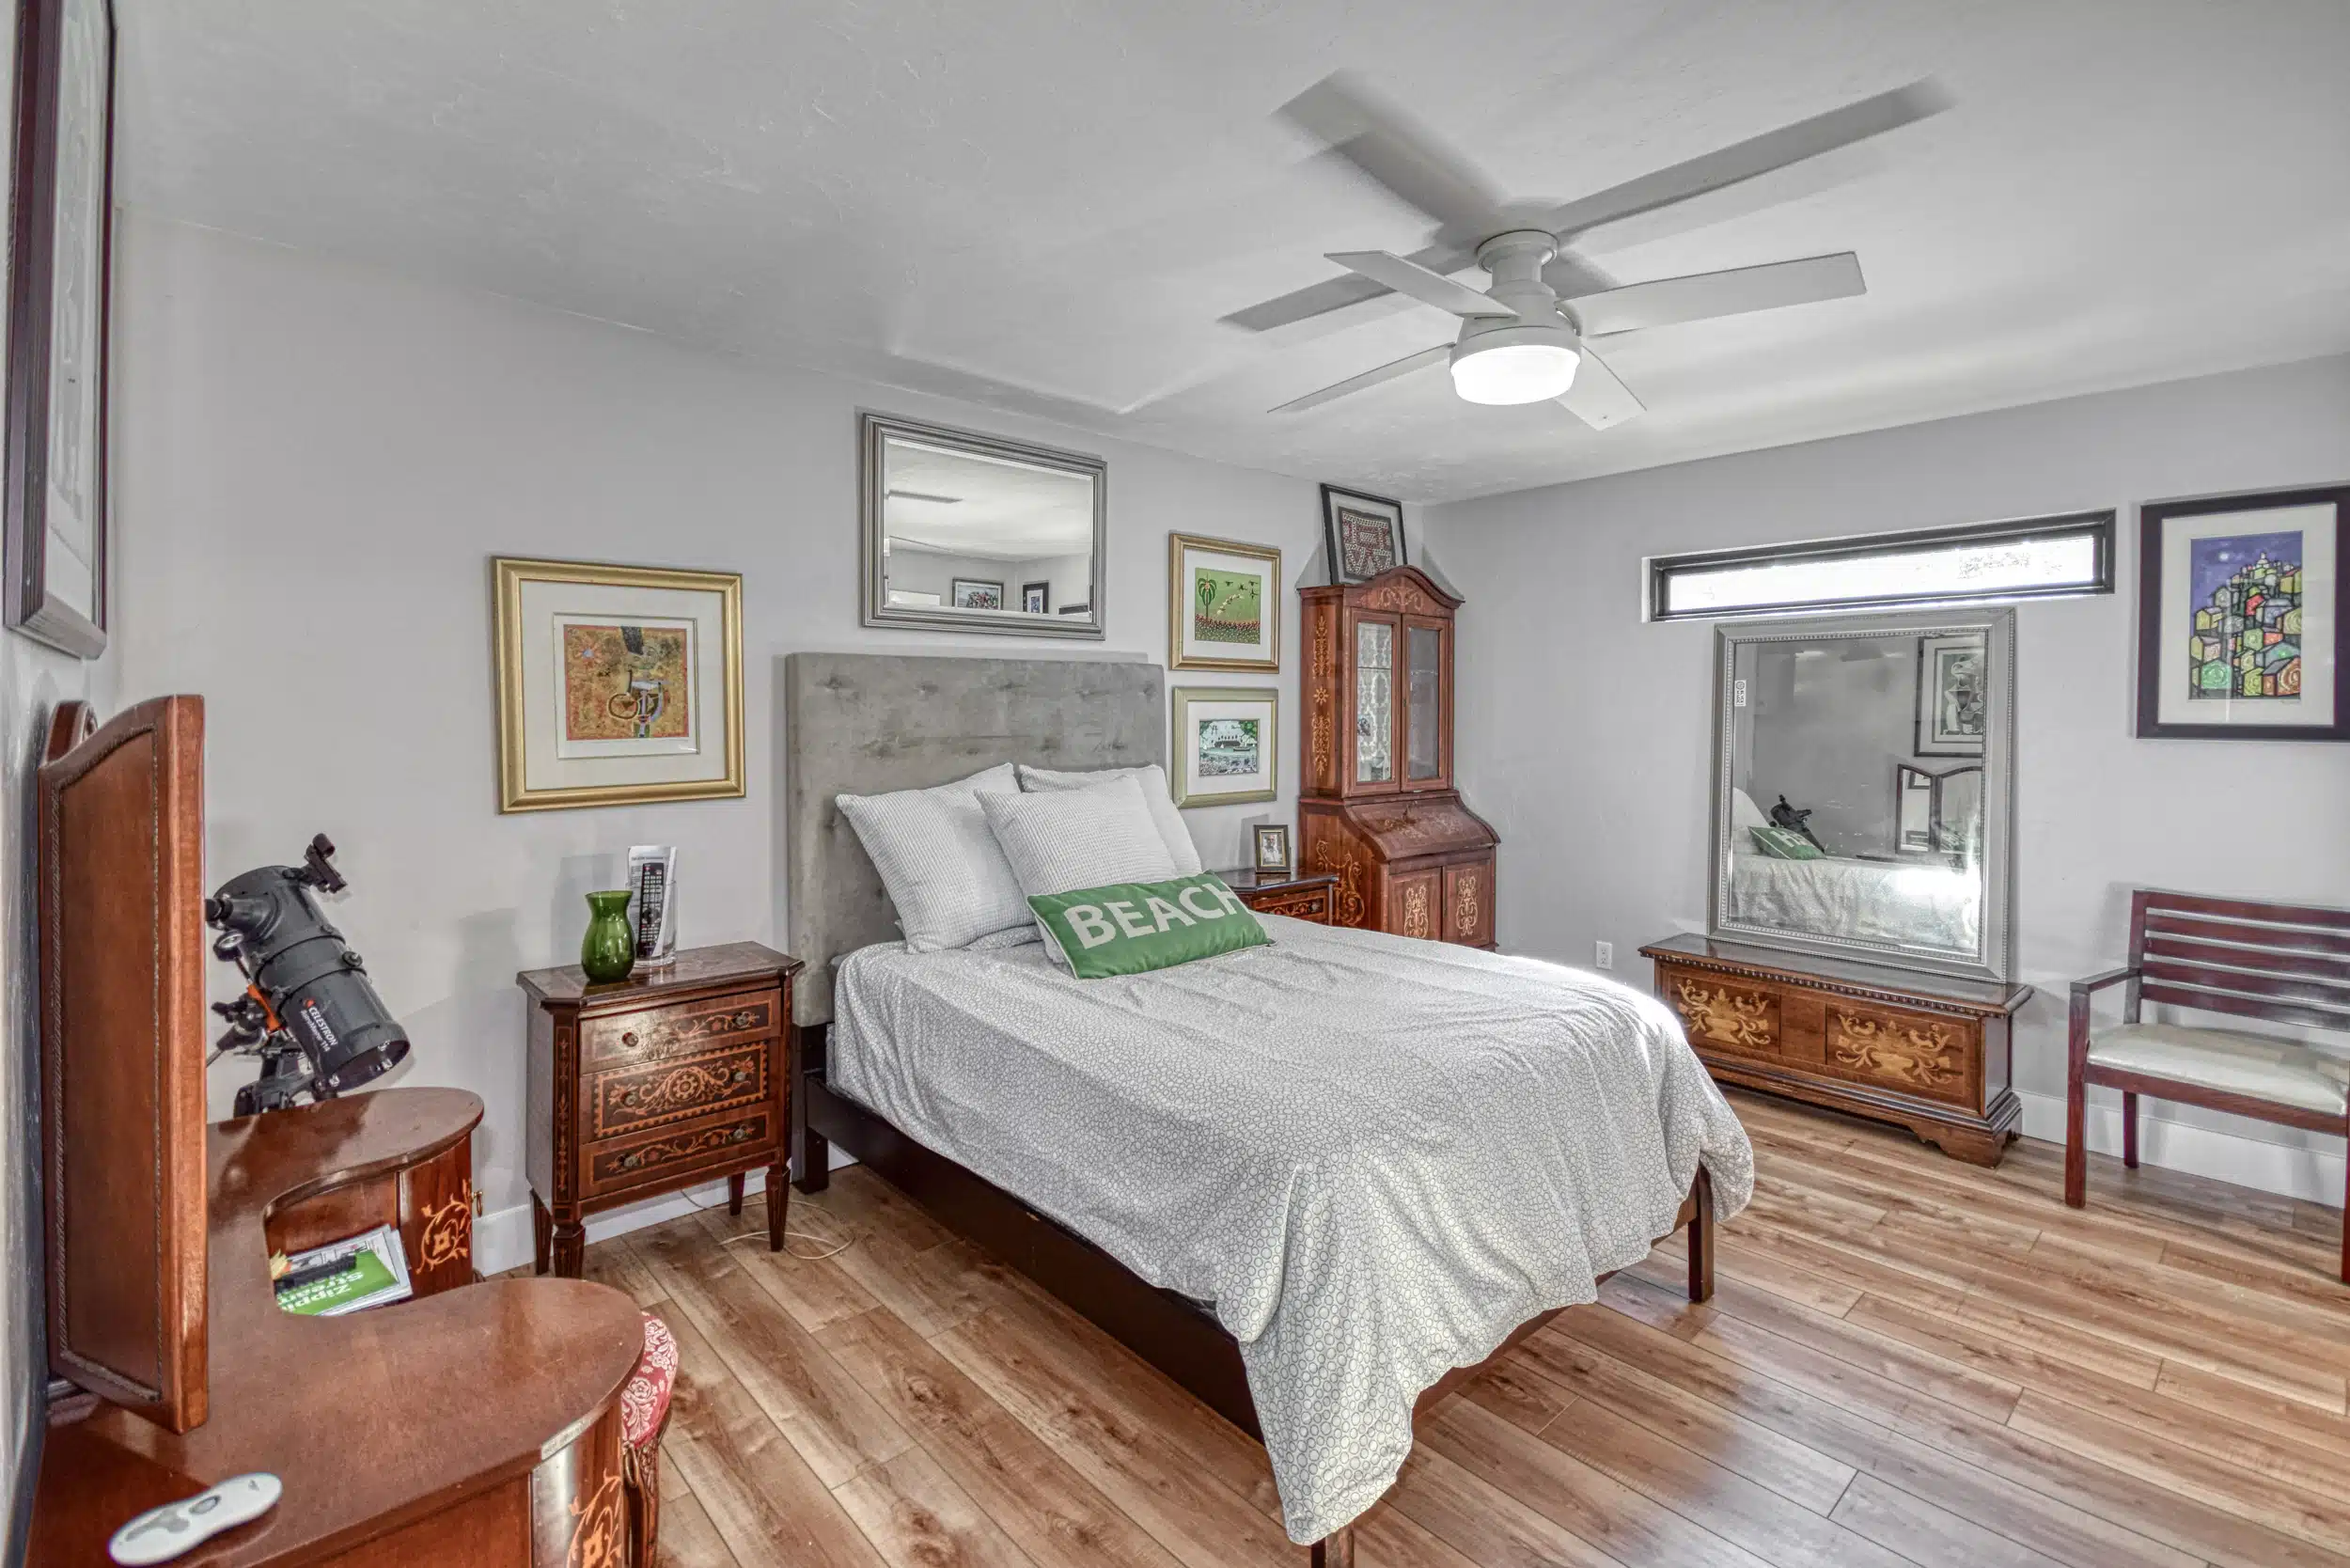
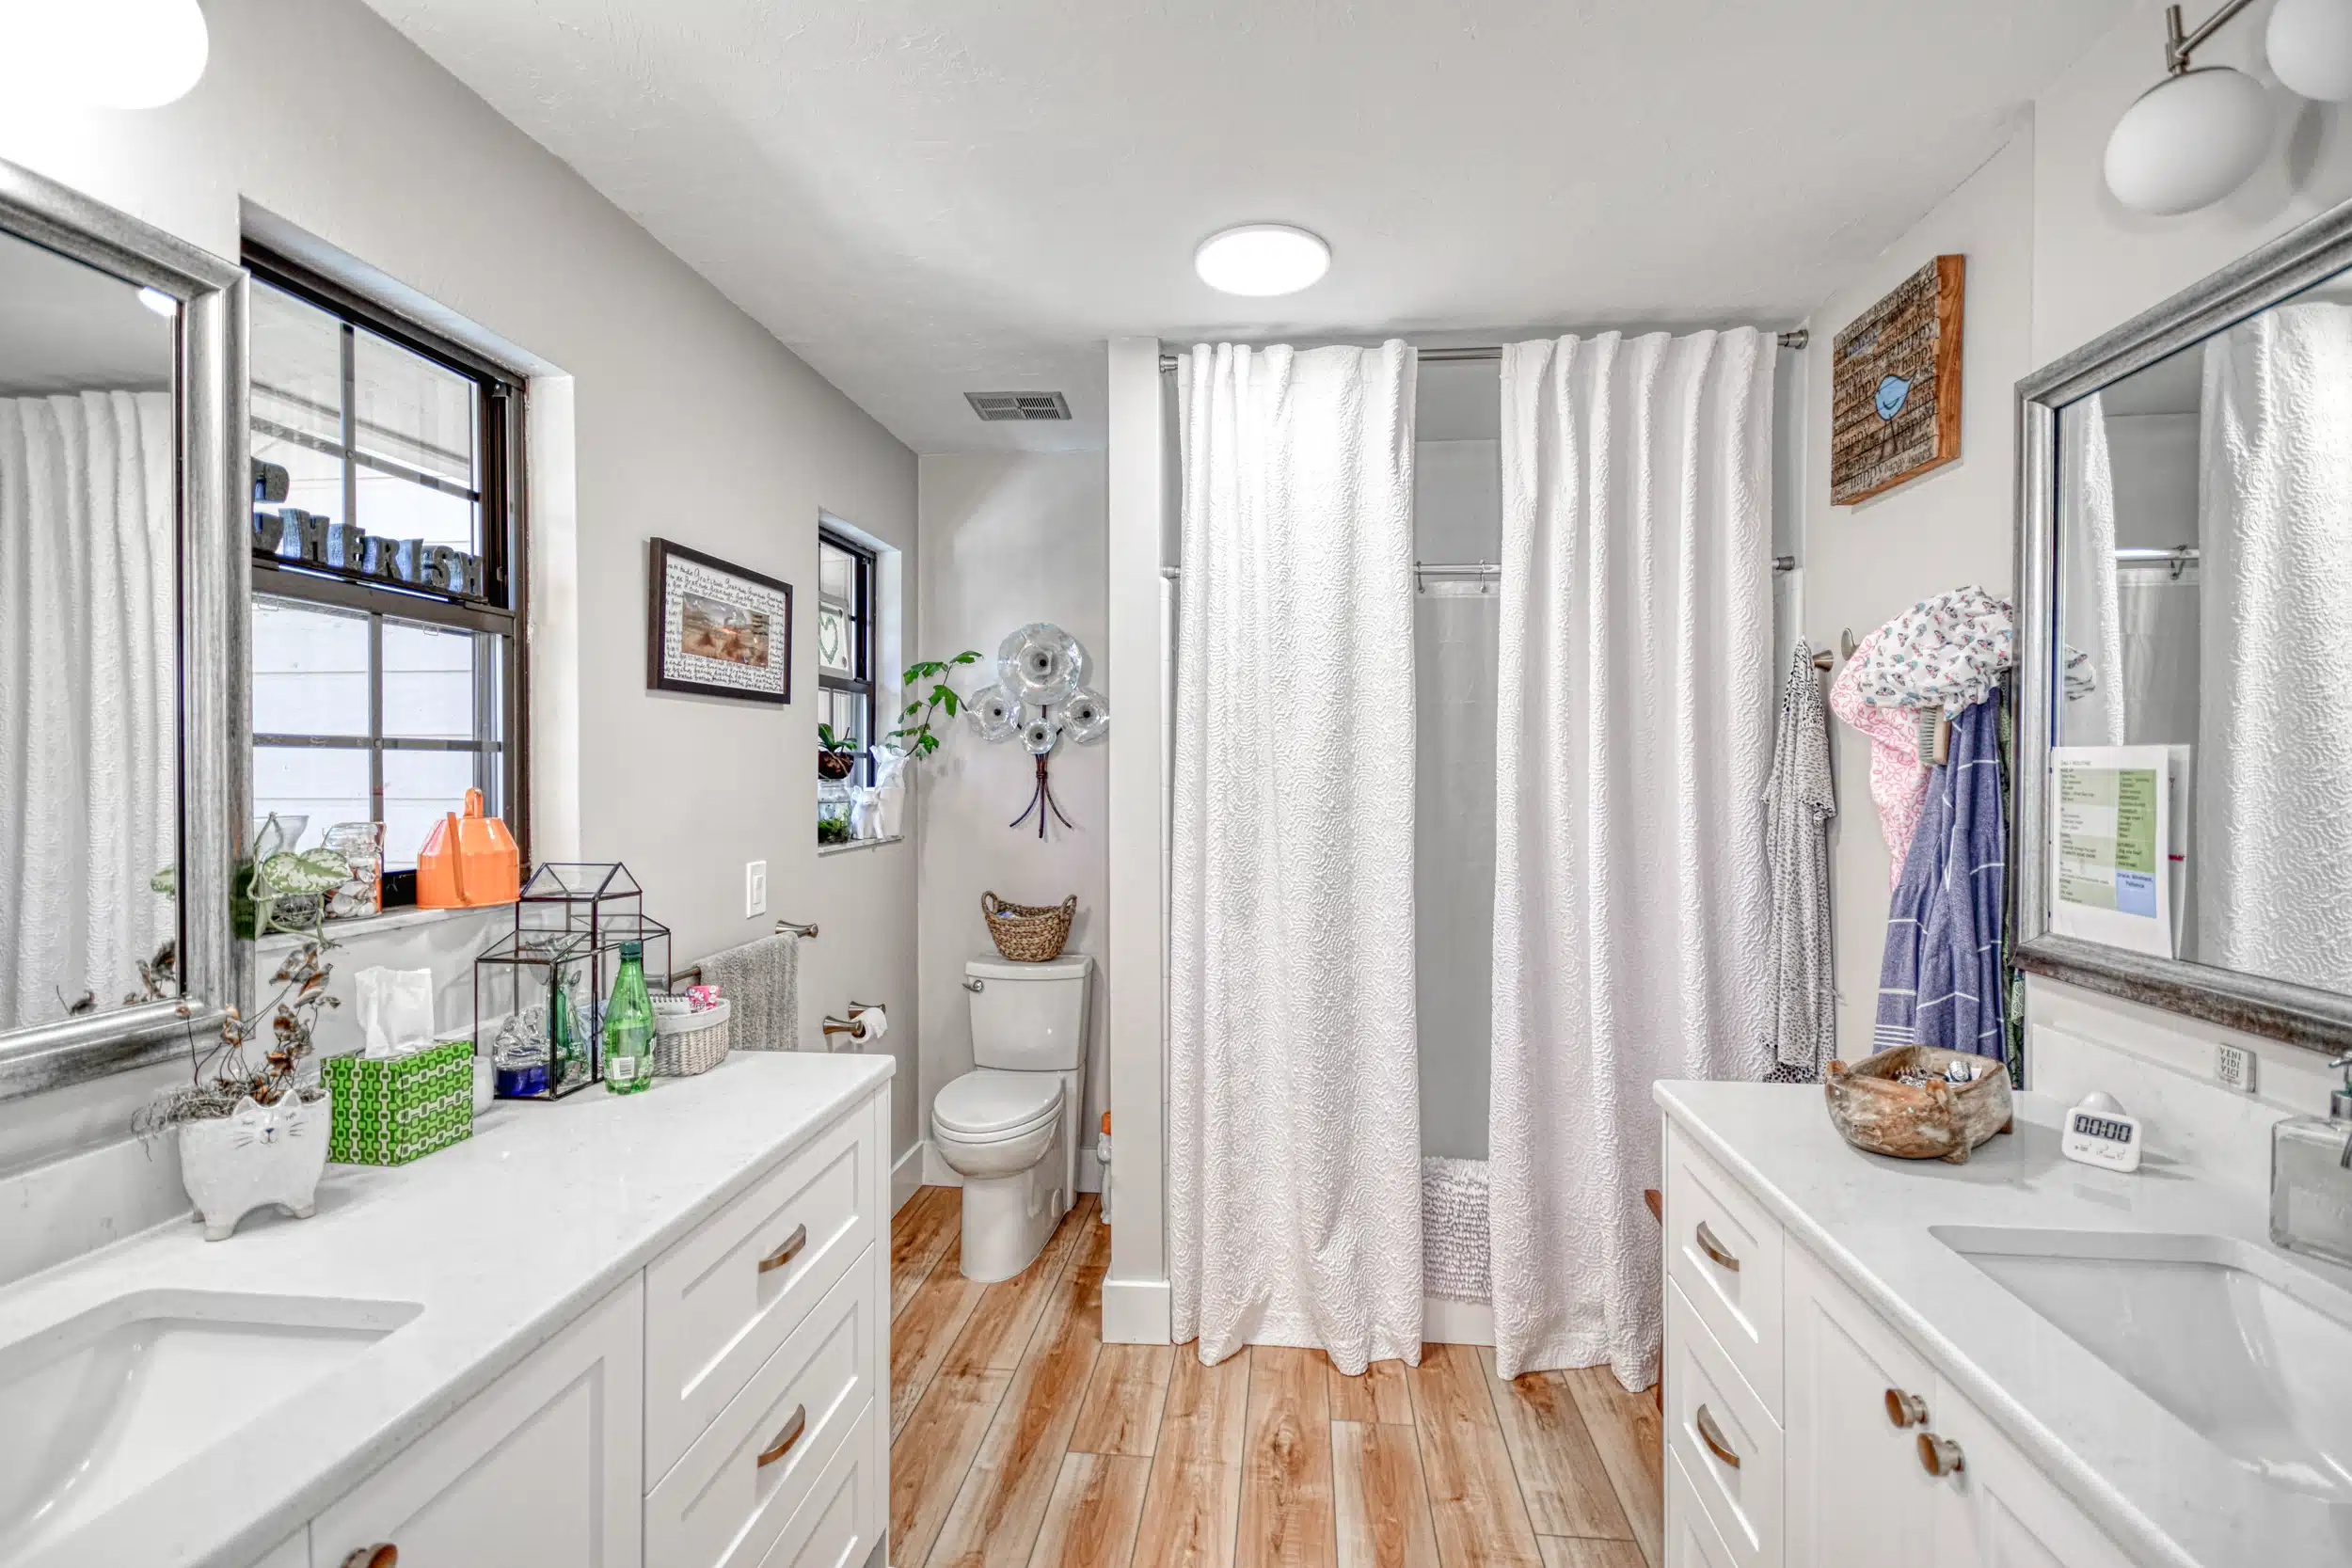
First, the Upstairs
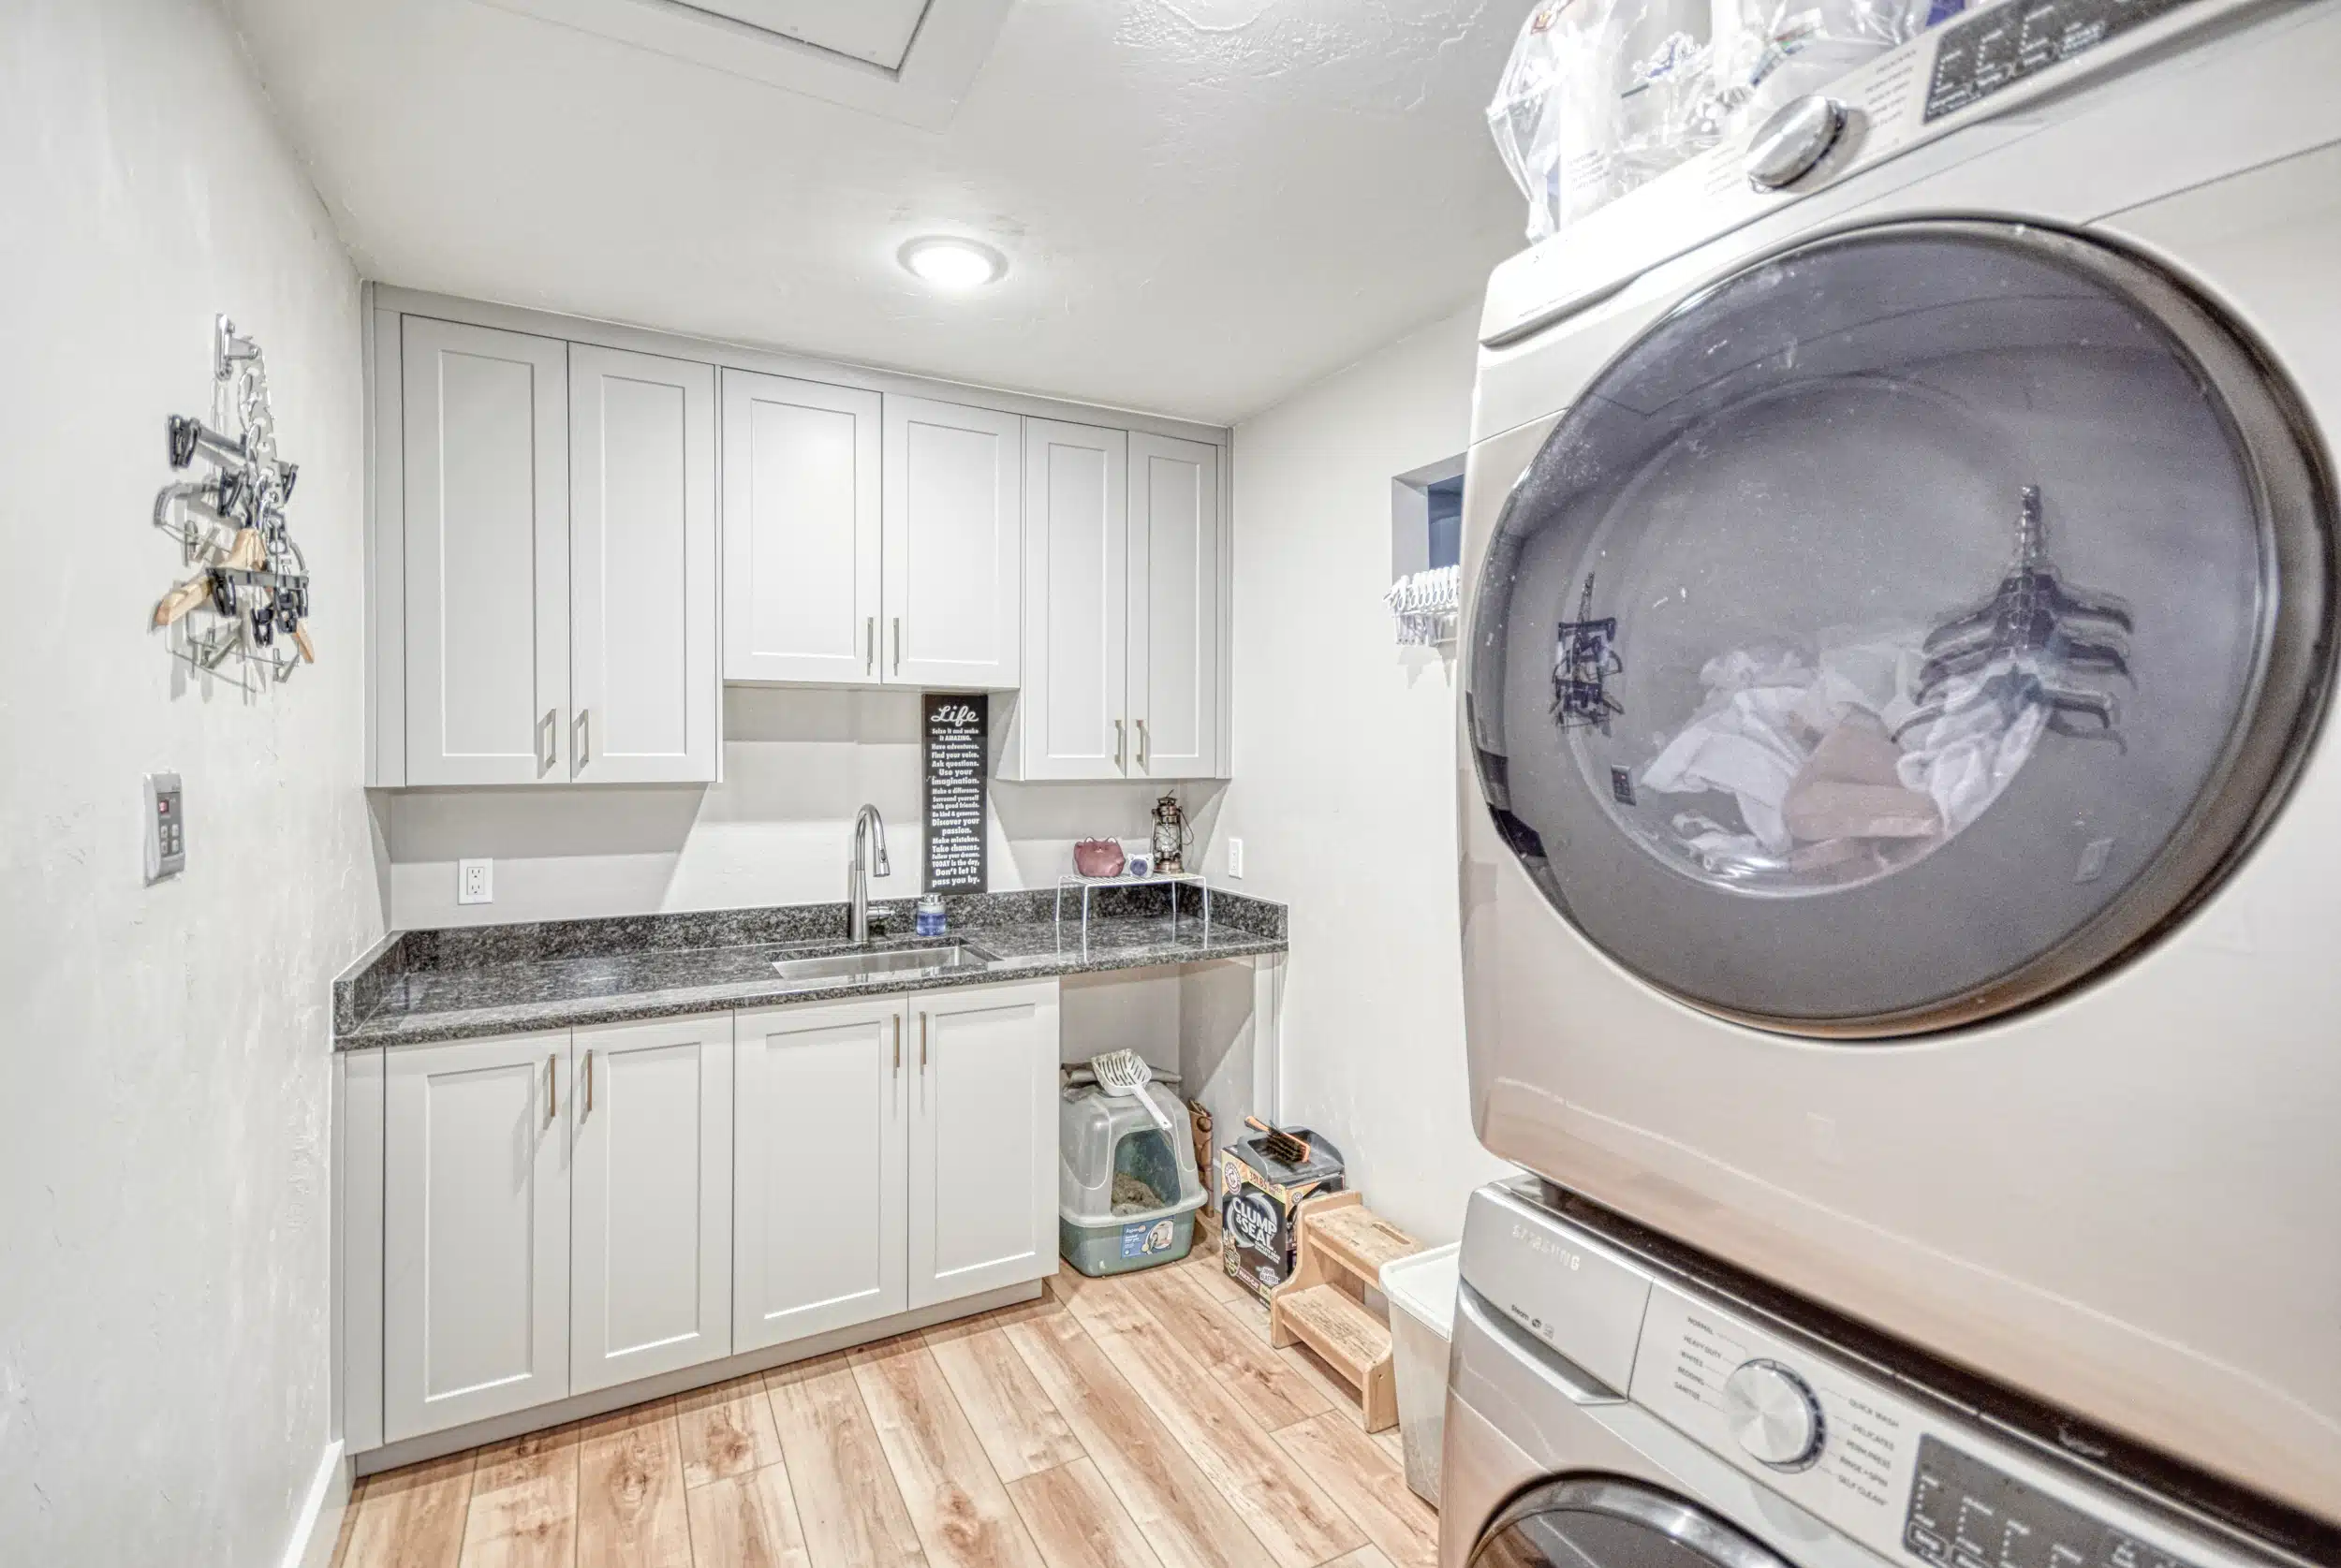
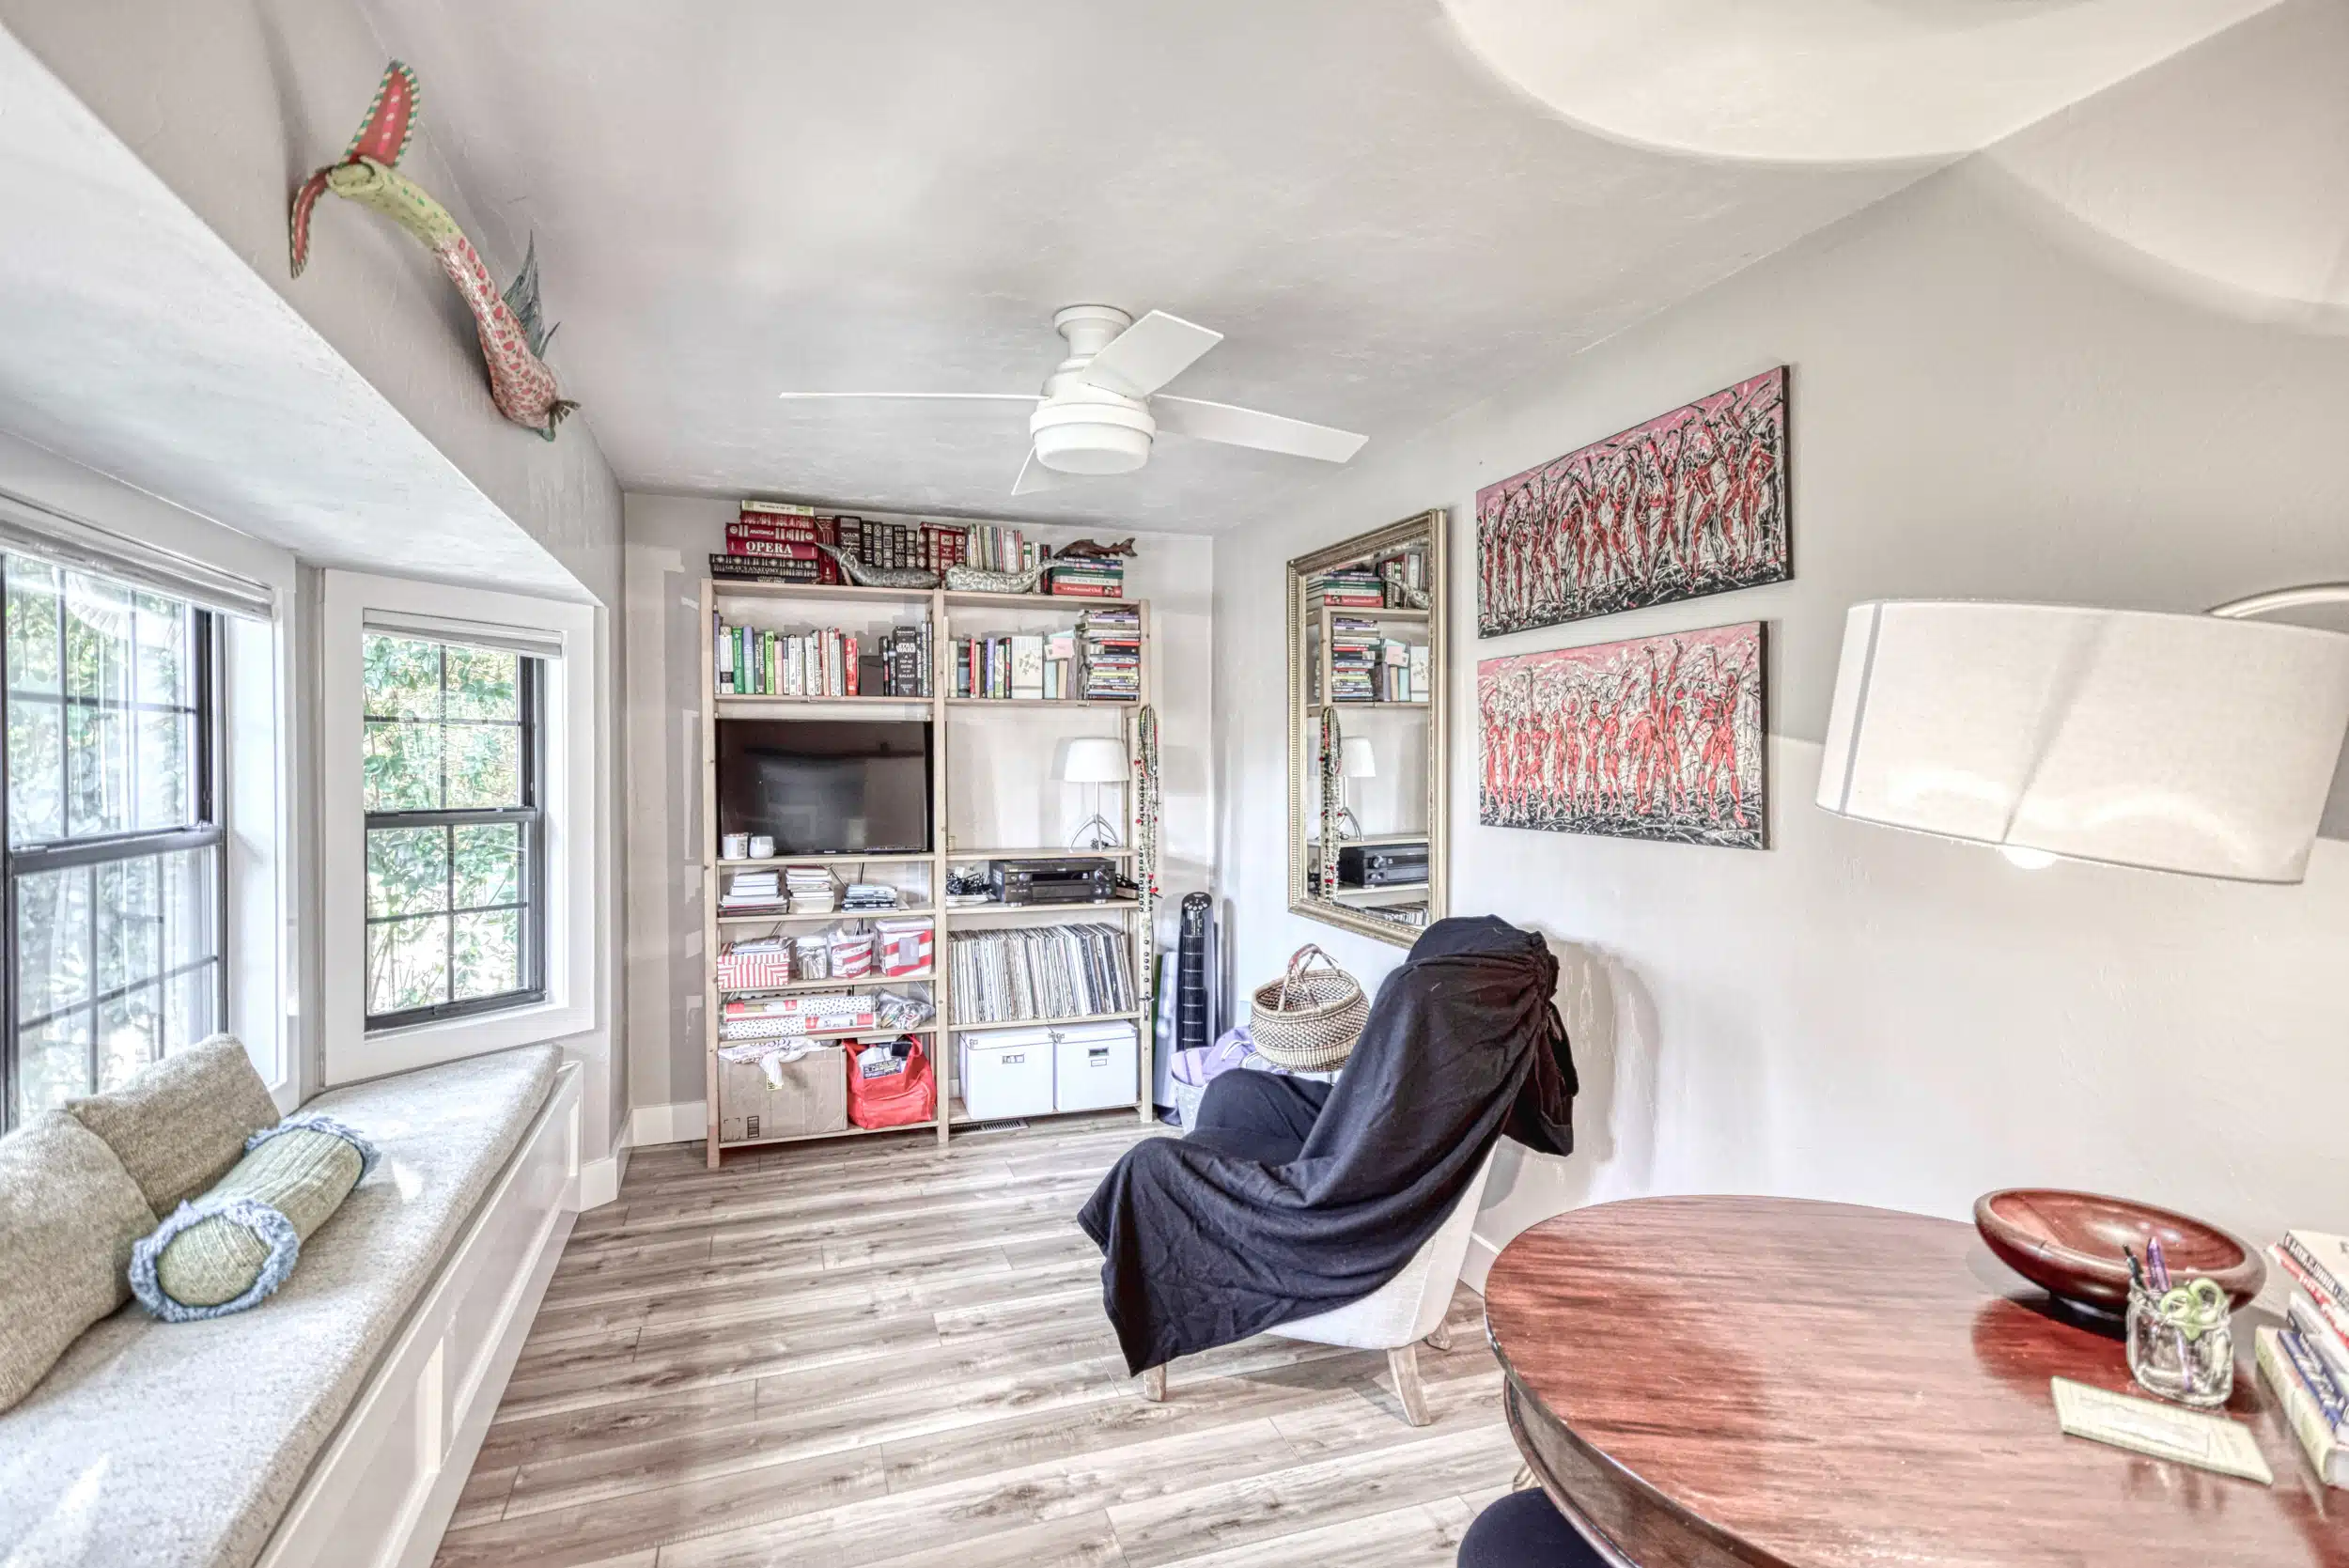
We started with the Upstairs. We updated the main bath and hall bath, replaced all the doors and trim and installed new flooring. We also added a large walk-in closet to the main bedroom.
Then the Downstairs
Once that was done we started downstairs. We remodeled the entire downstairs except for the bedroom and office – that would be done in part 3. Staying in the home during an extensive remodel can be challenging and stressful. Breaking it into 3 parts made the entire project take a little longer but was easier on the family.
Added One More Bath
Originally we were not going to remodel the downstair suite, just the primary suite upstairs but after the upstairs was complete the homeonwer asked us to add the downstairs suite to the end of the project, after the kitchen and the rest of the downstairs was done.
Before and After
Drag the slider in the image below for a quick comparison.
Before / After Photos for this project are tough. It was a whole home remodel and we removed so many walls and change so much that there really isn’t a good point of reference. It was a total transformation!
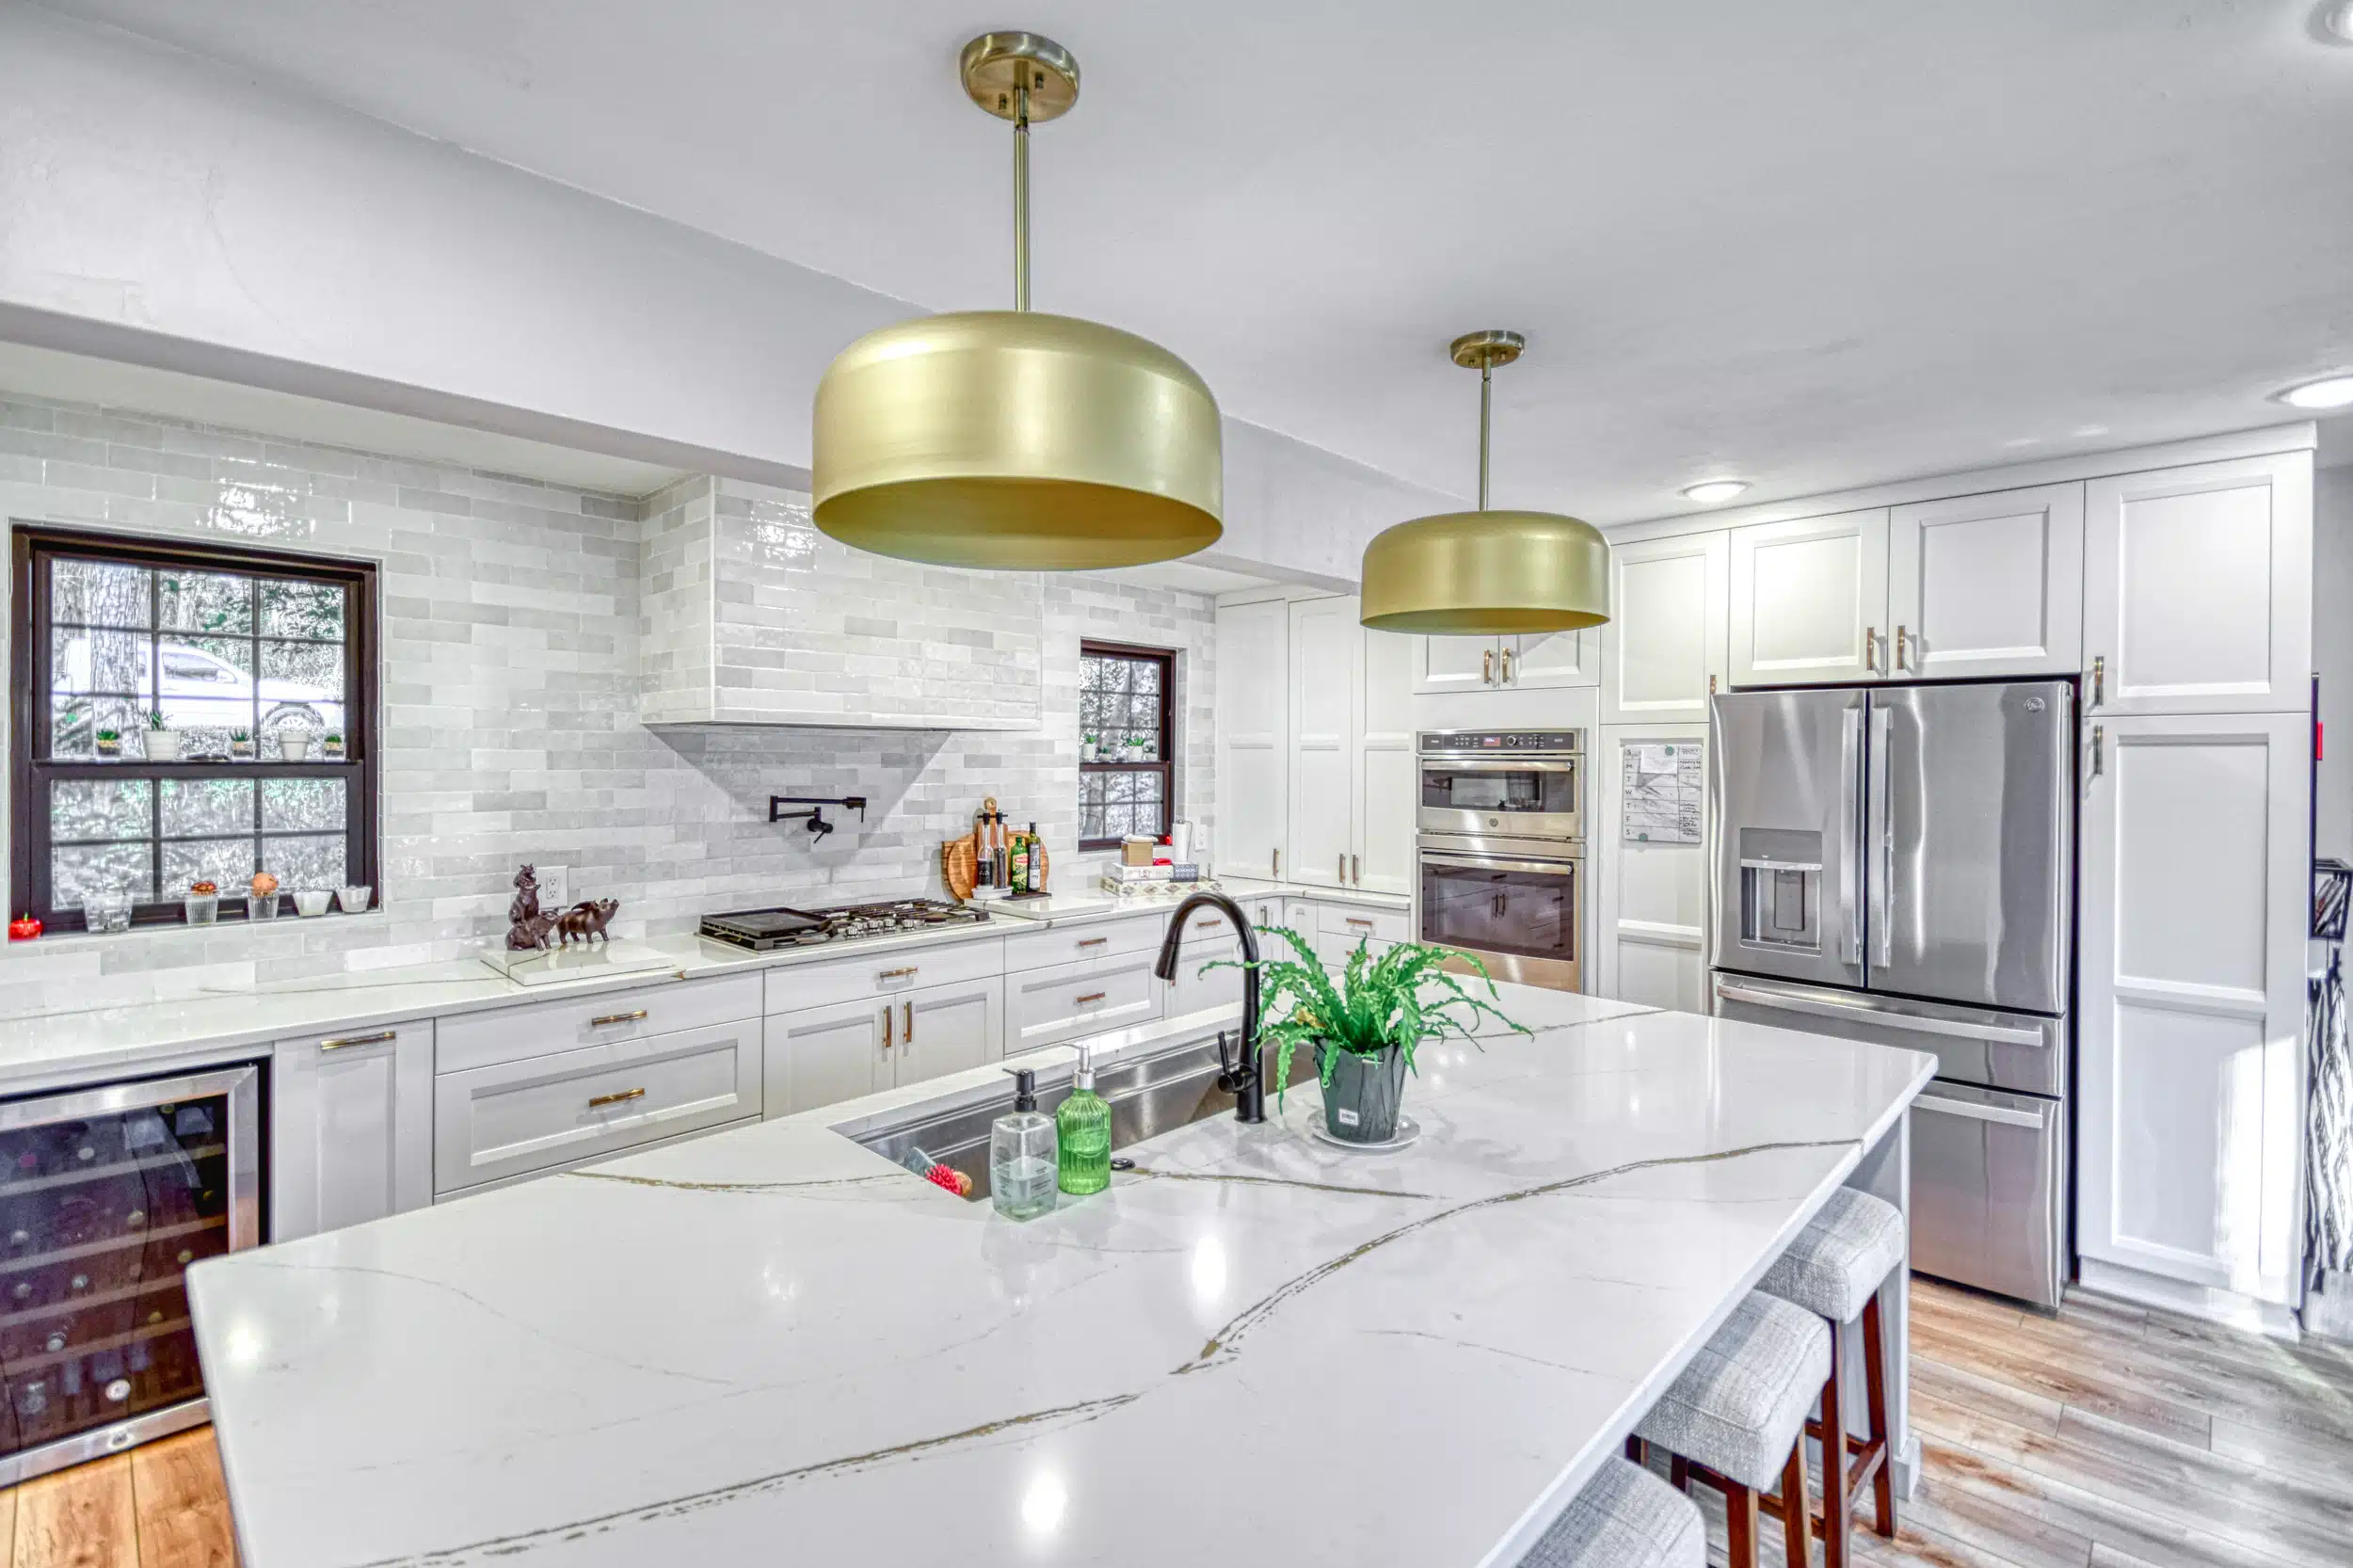
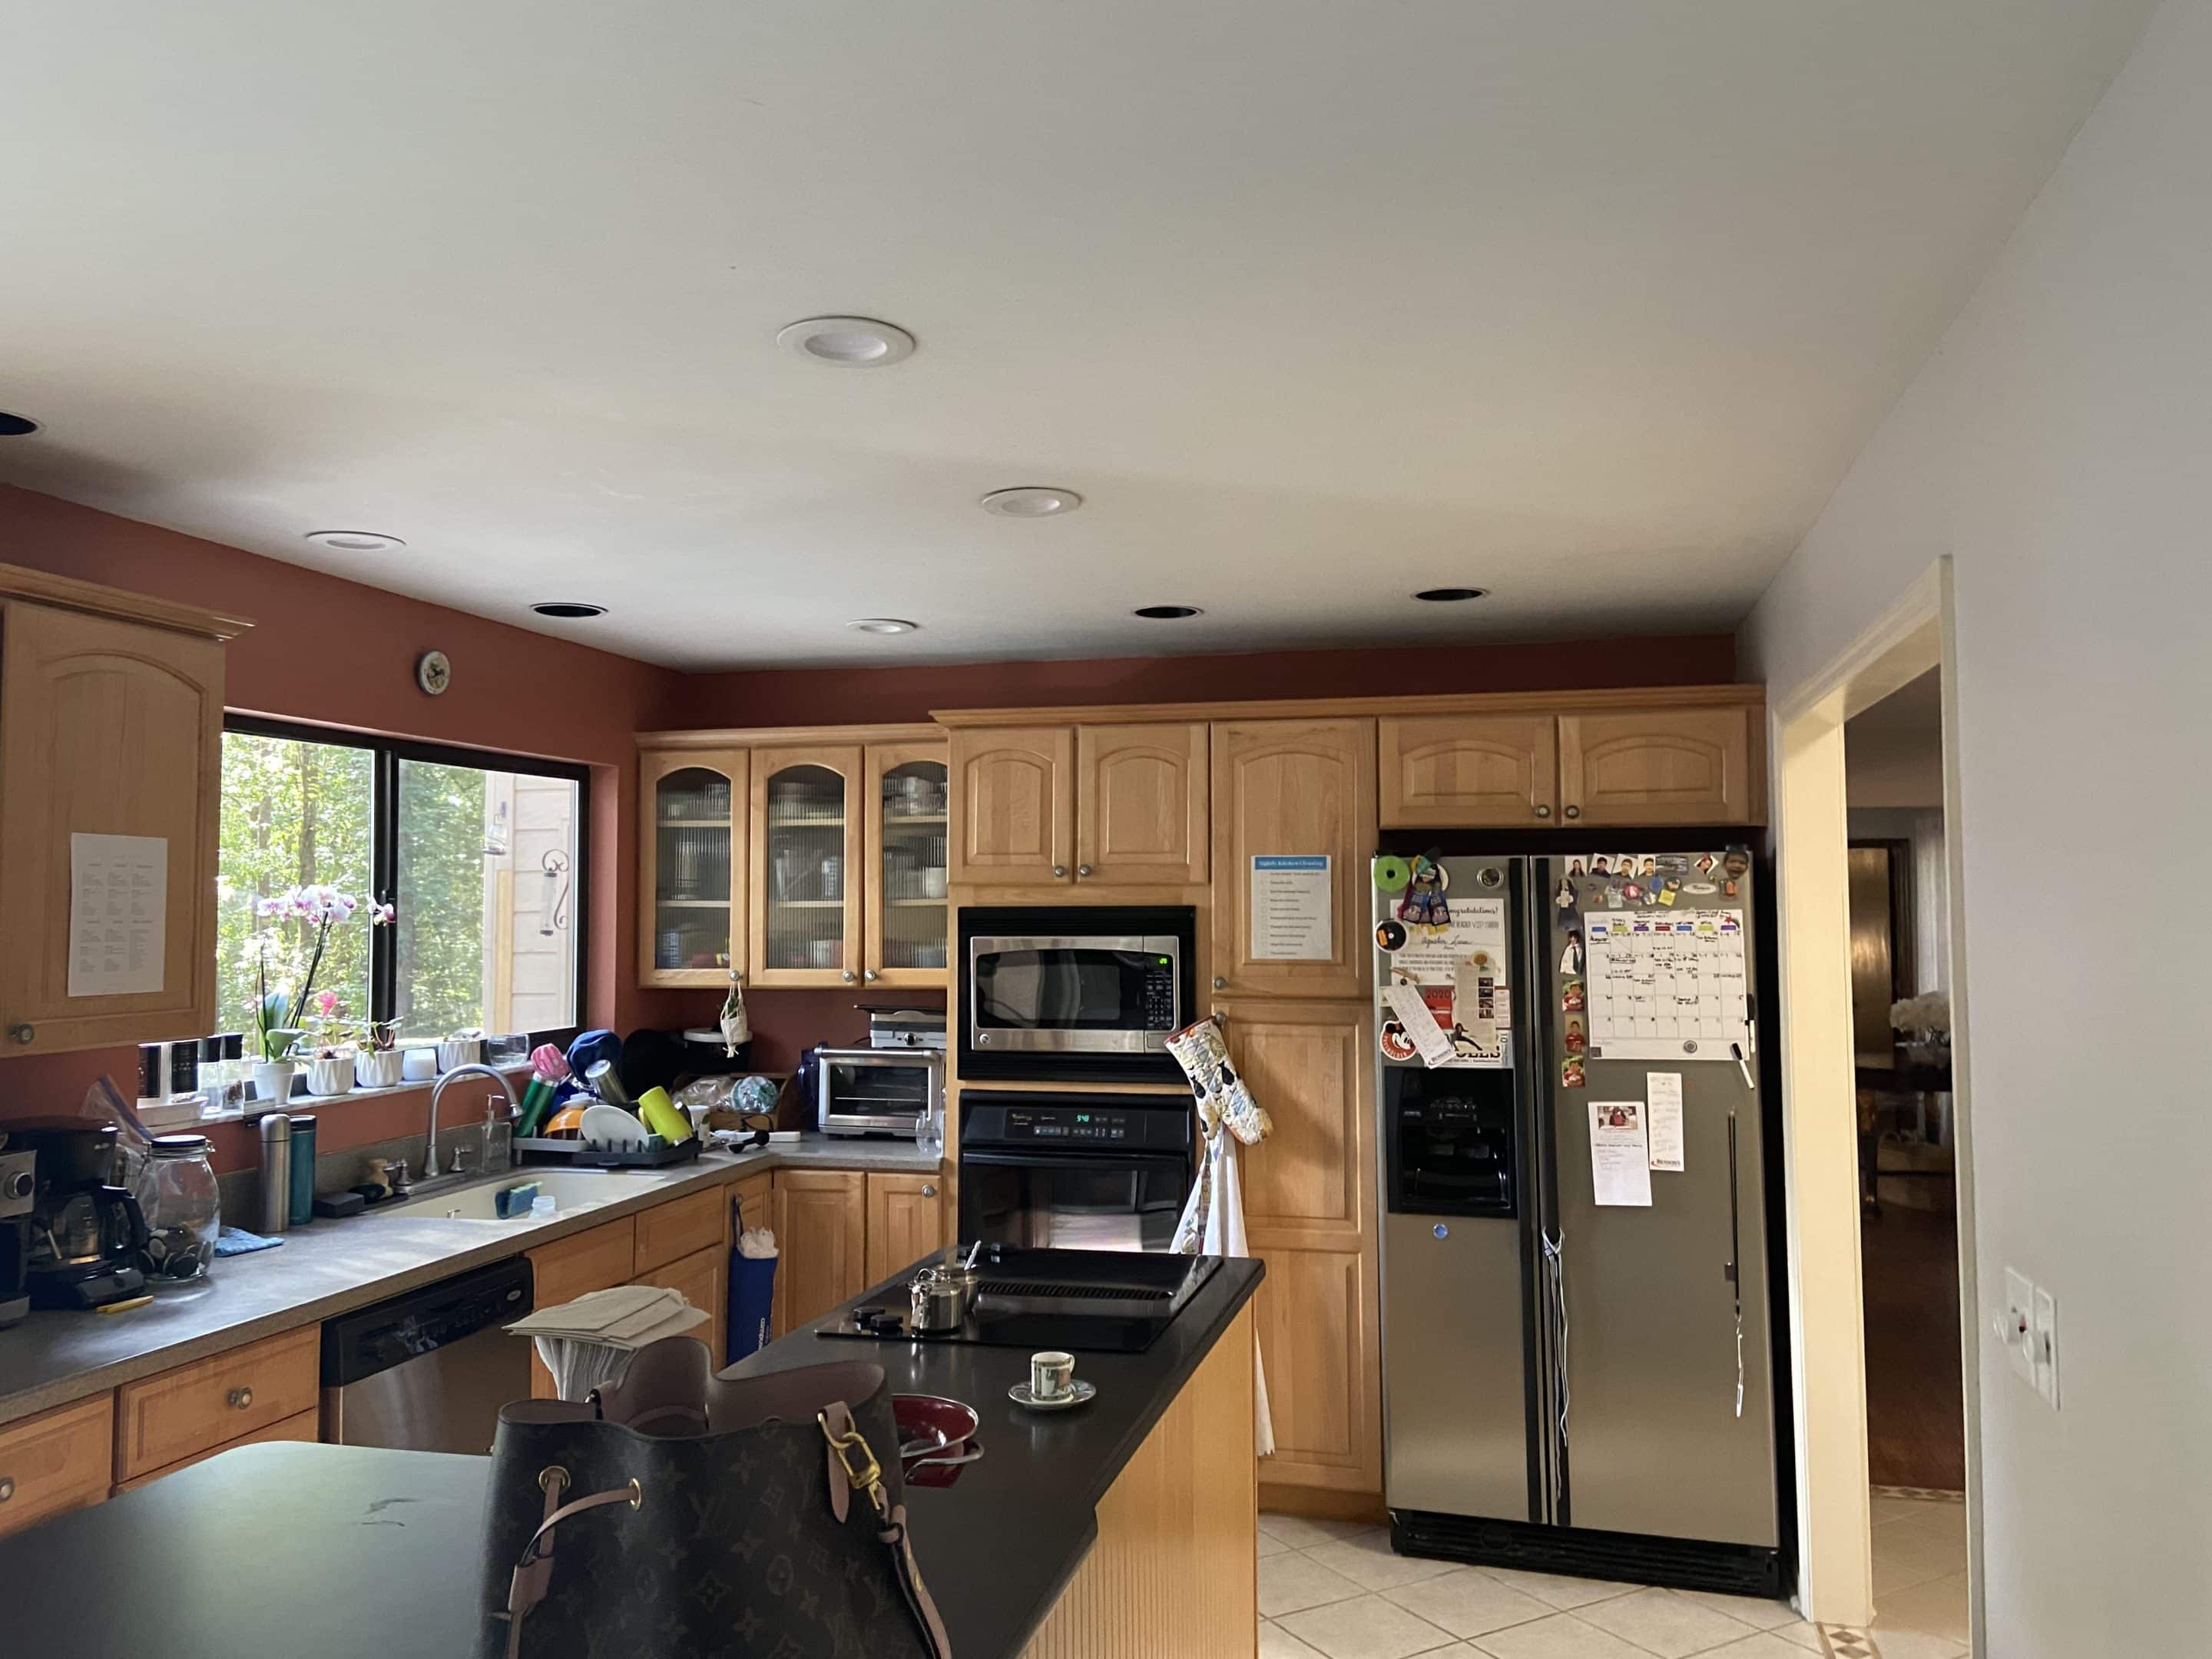
The kitchen picture below might give you some idea. Also take a look at the before and after floor plan below.
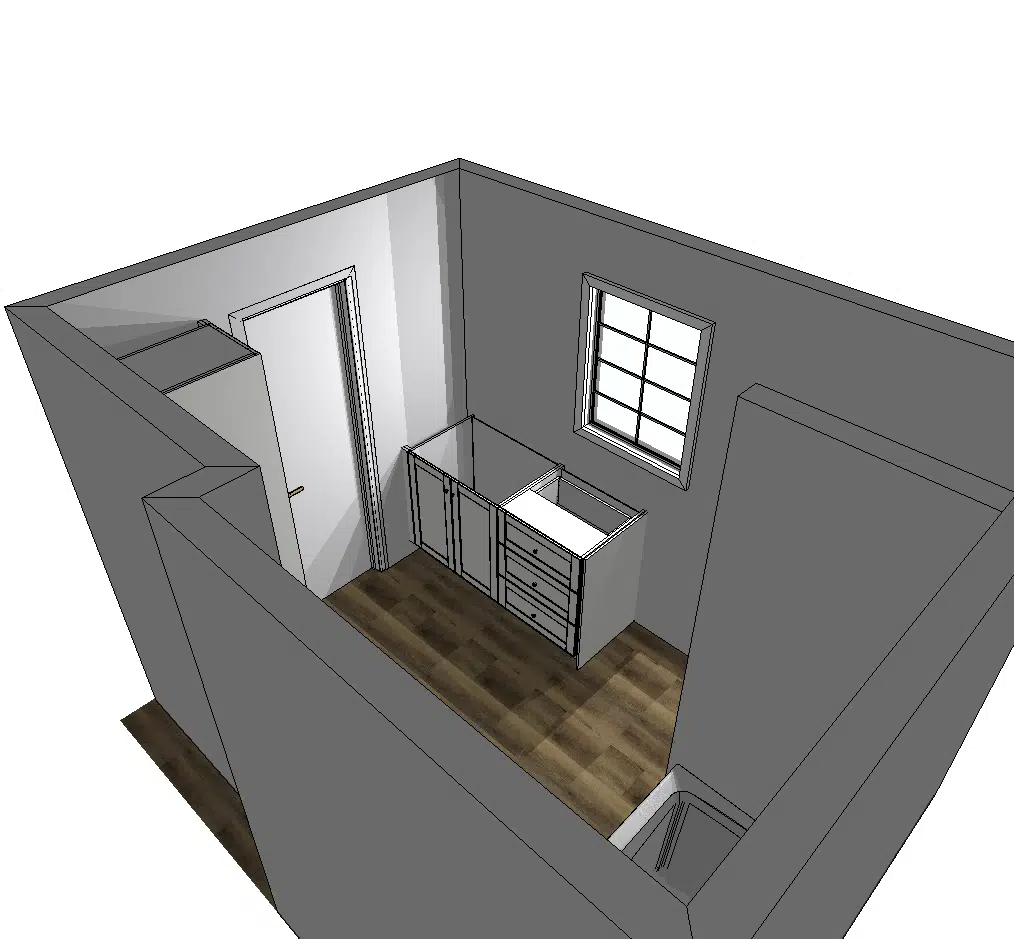
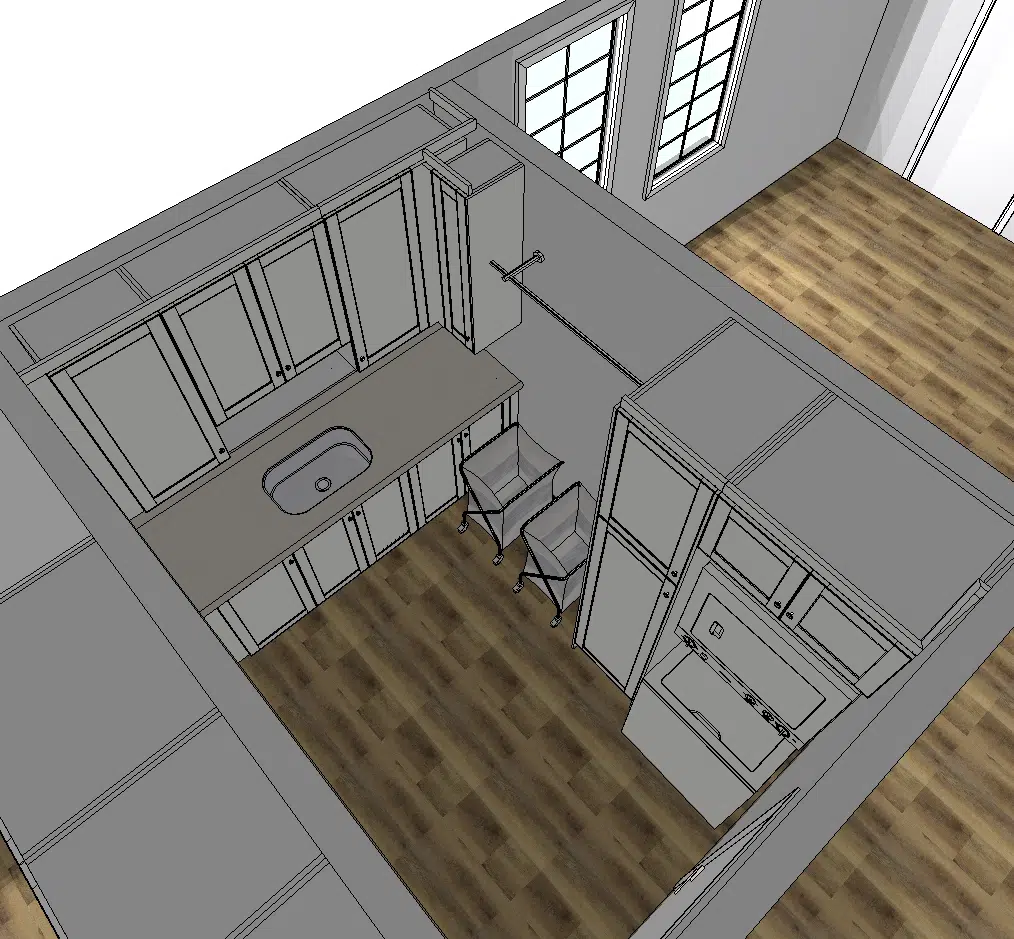
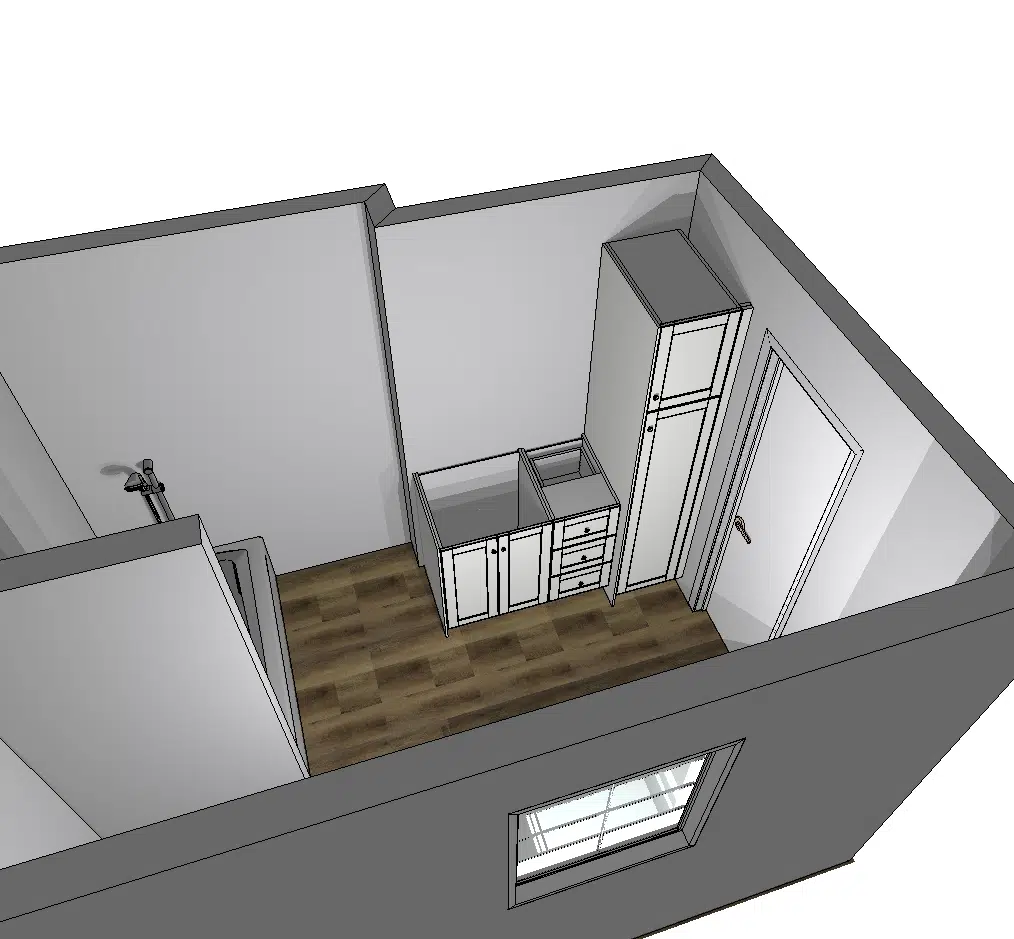
Before / After Floor Plan – Downstairs
This project created such a dramatic change to the layout of the home a before / after picture does not really do it justice. You can see the change a little better in this before / after of the downstairs floorplan.
Our Favorite Things
This was a large project that took months to complete. There was a lot about this project we really liked. Here are some of our favorite things:
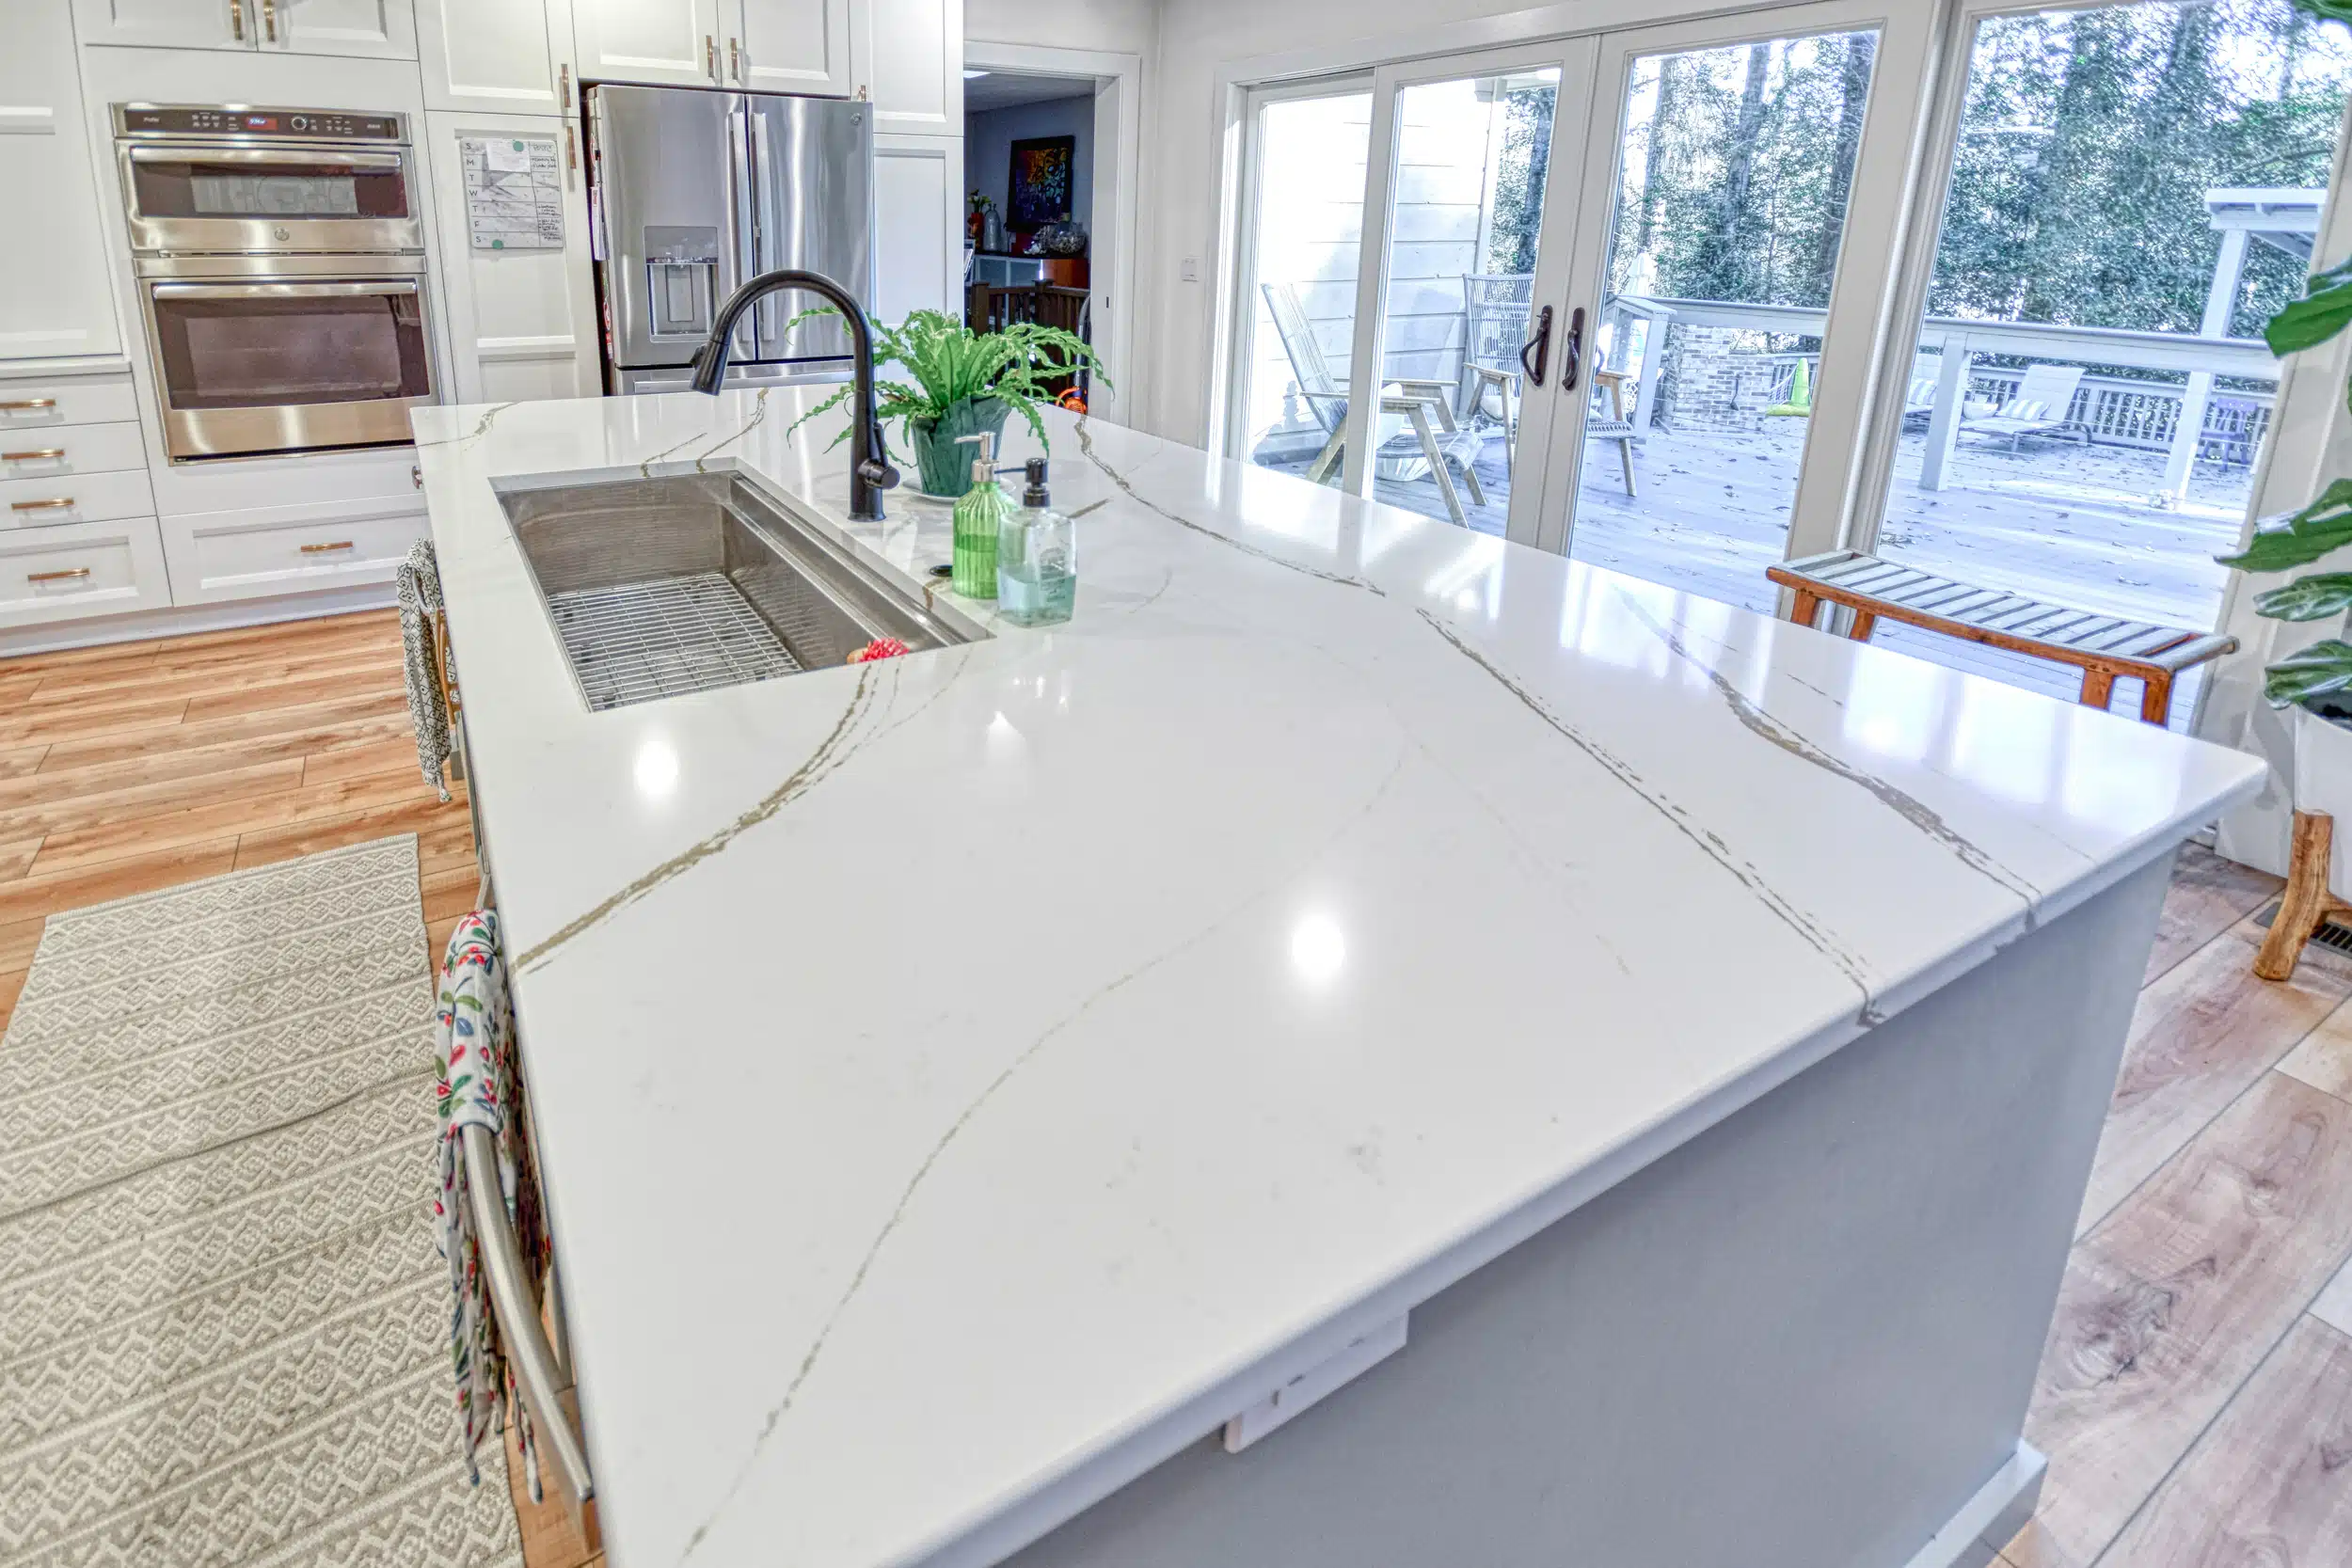
Quartz Countertops
Quartz is becoming the go to countertop for many people. On this project we used Silestone Eternal (Check it out on their website HERE).
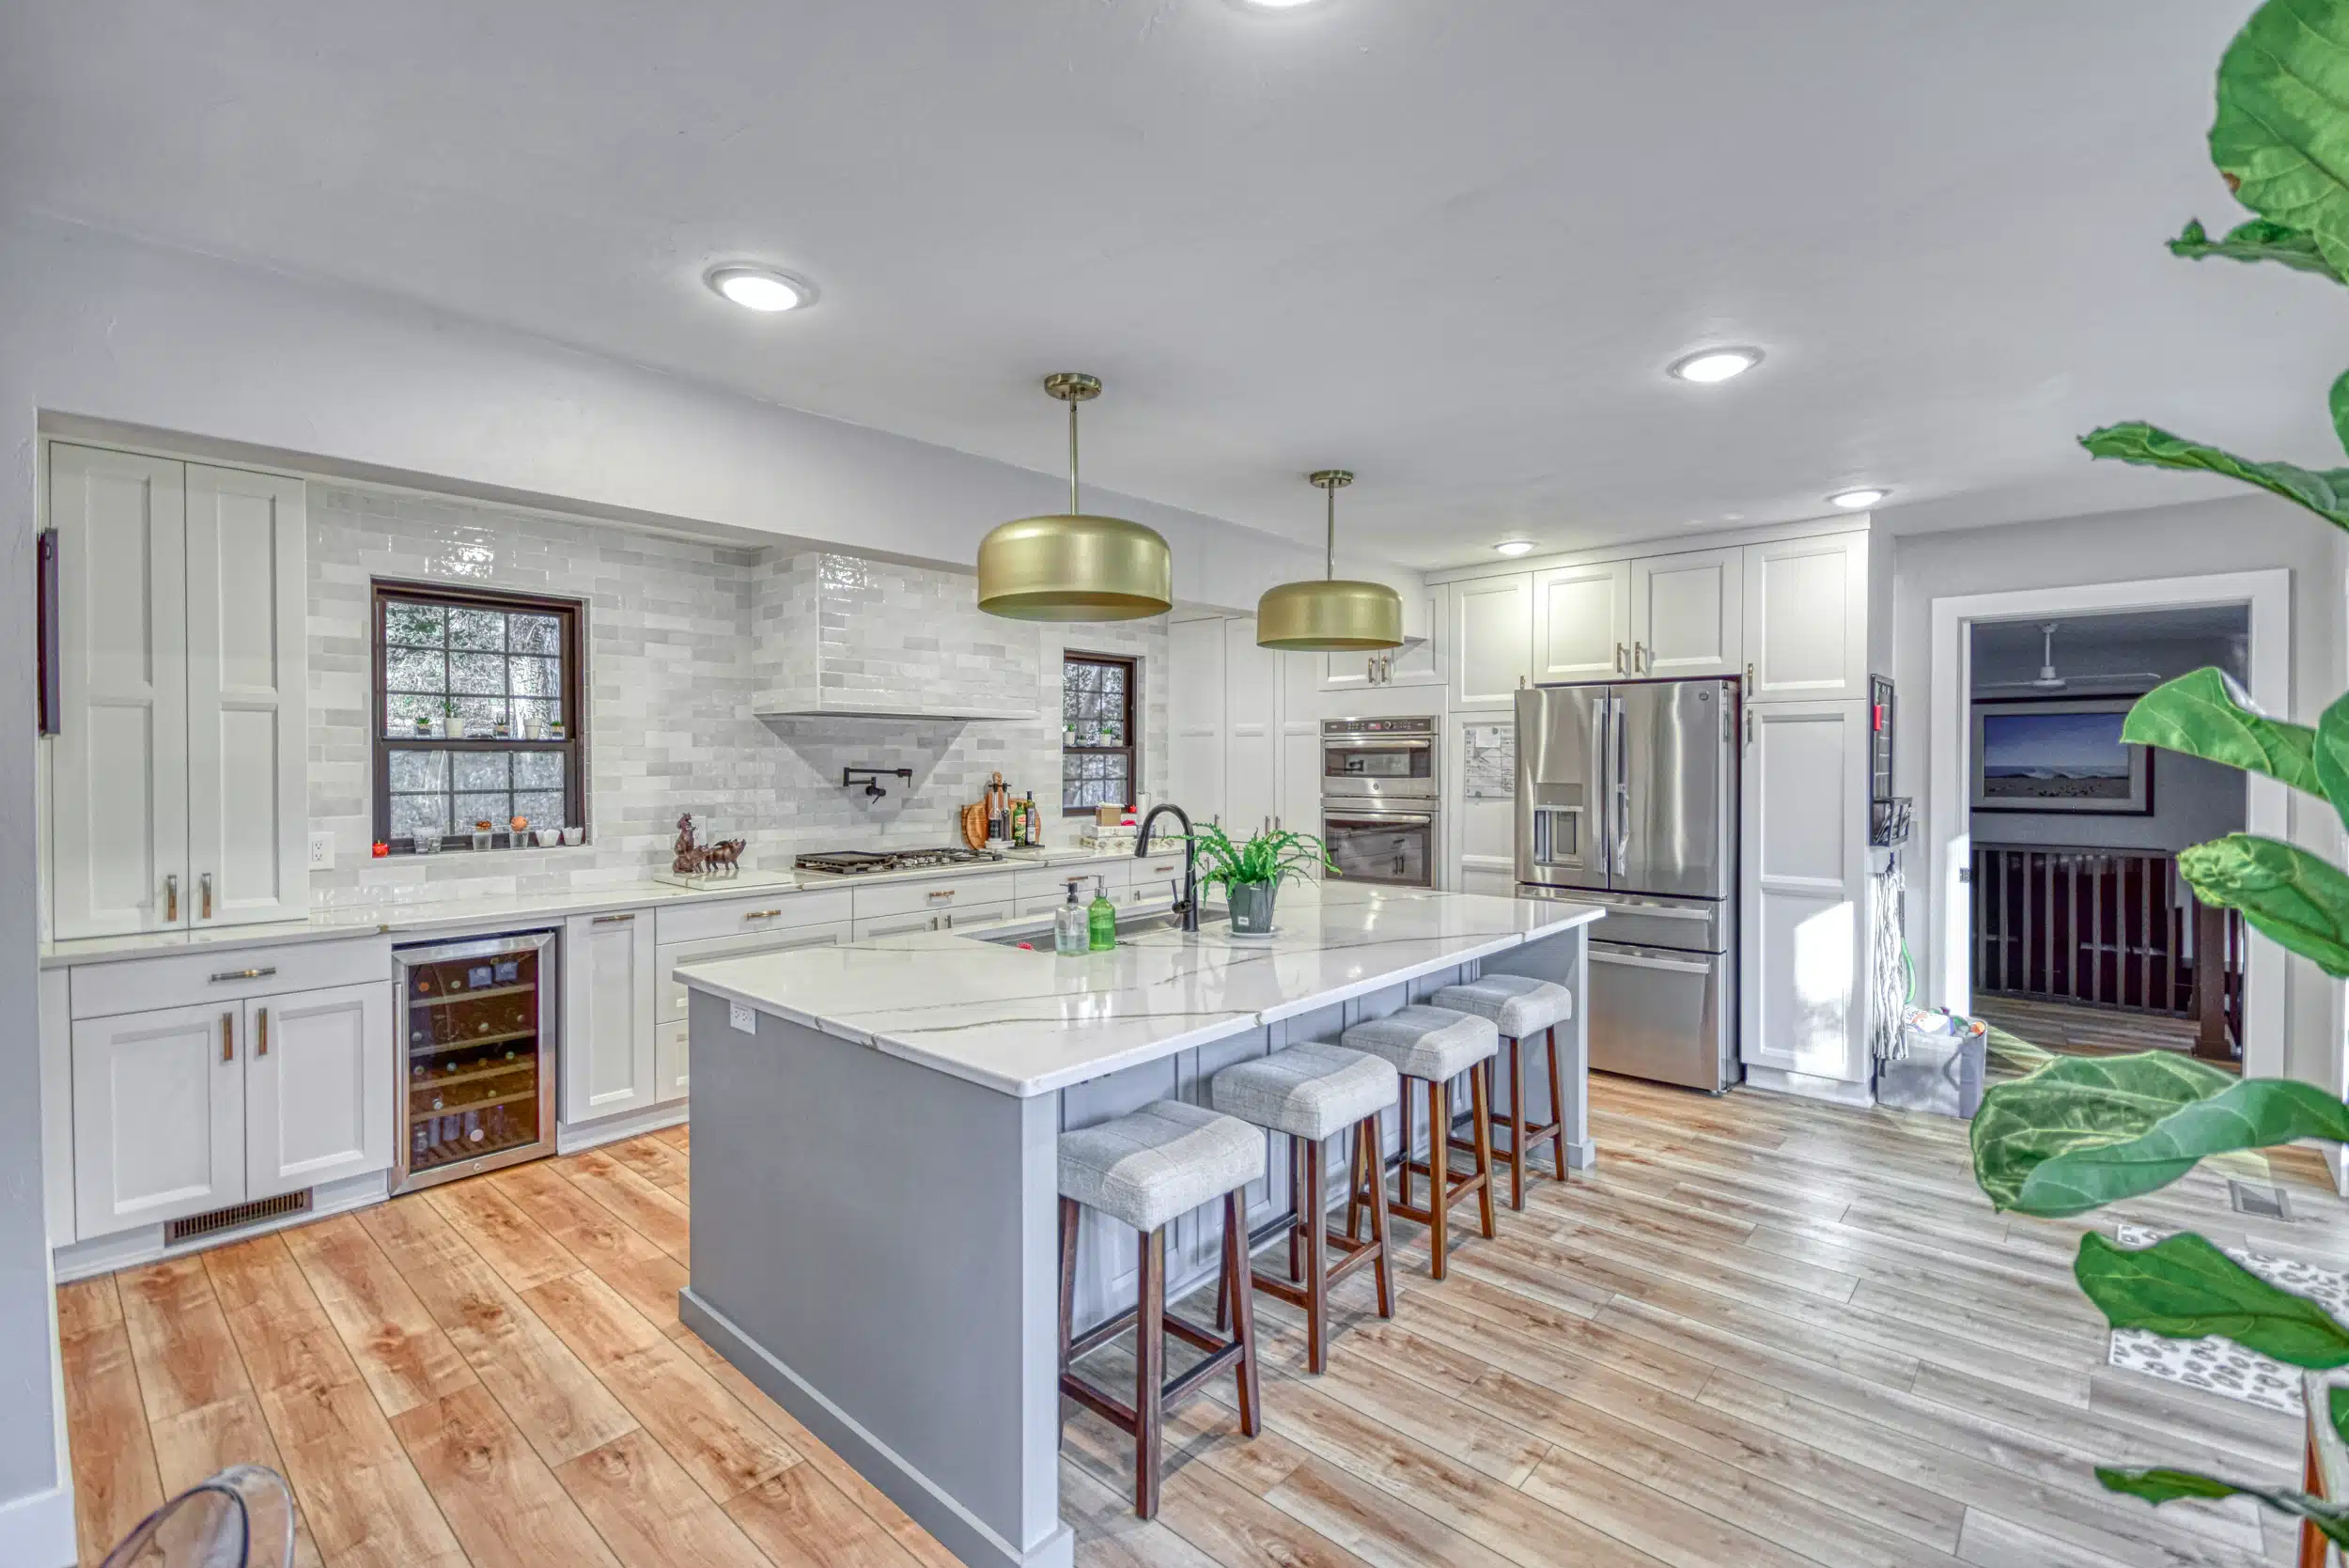
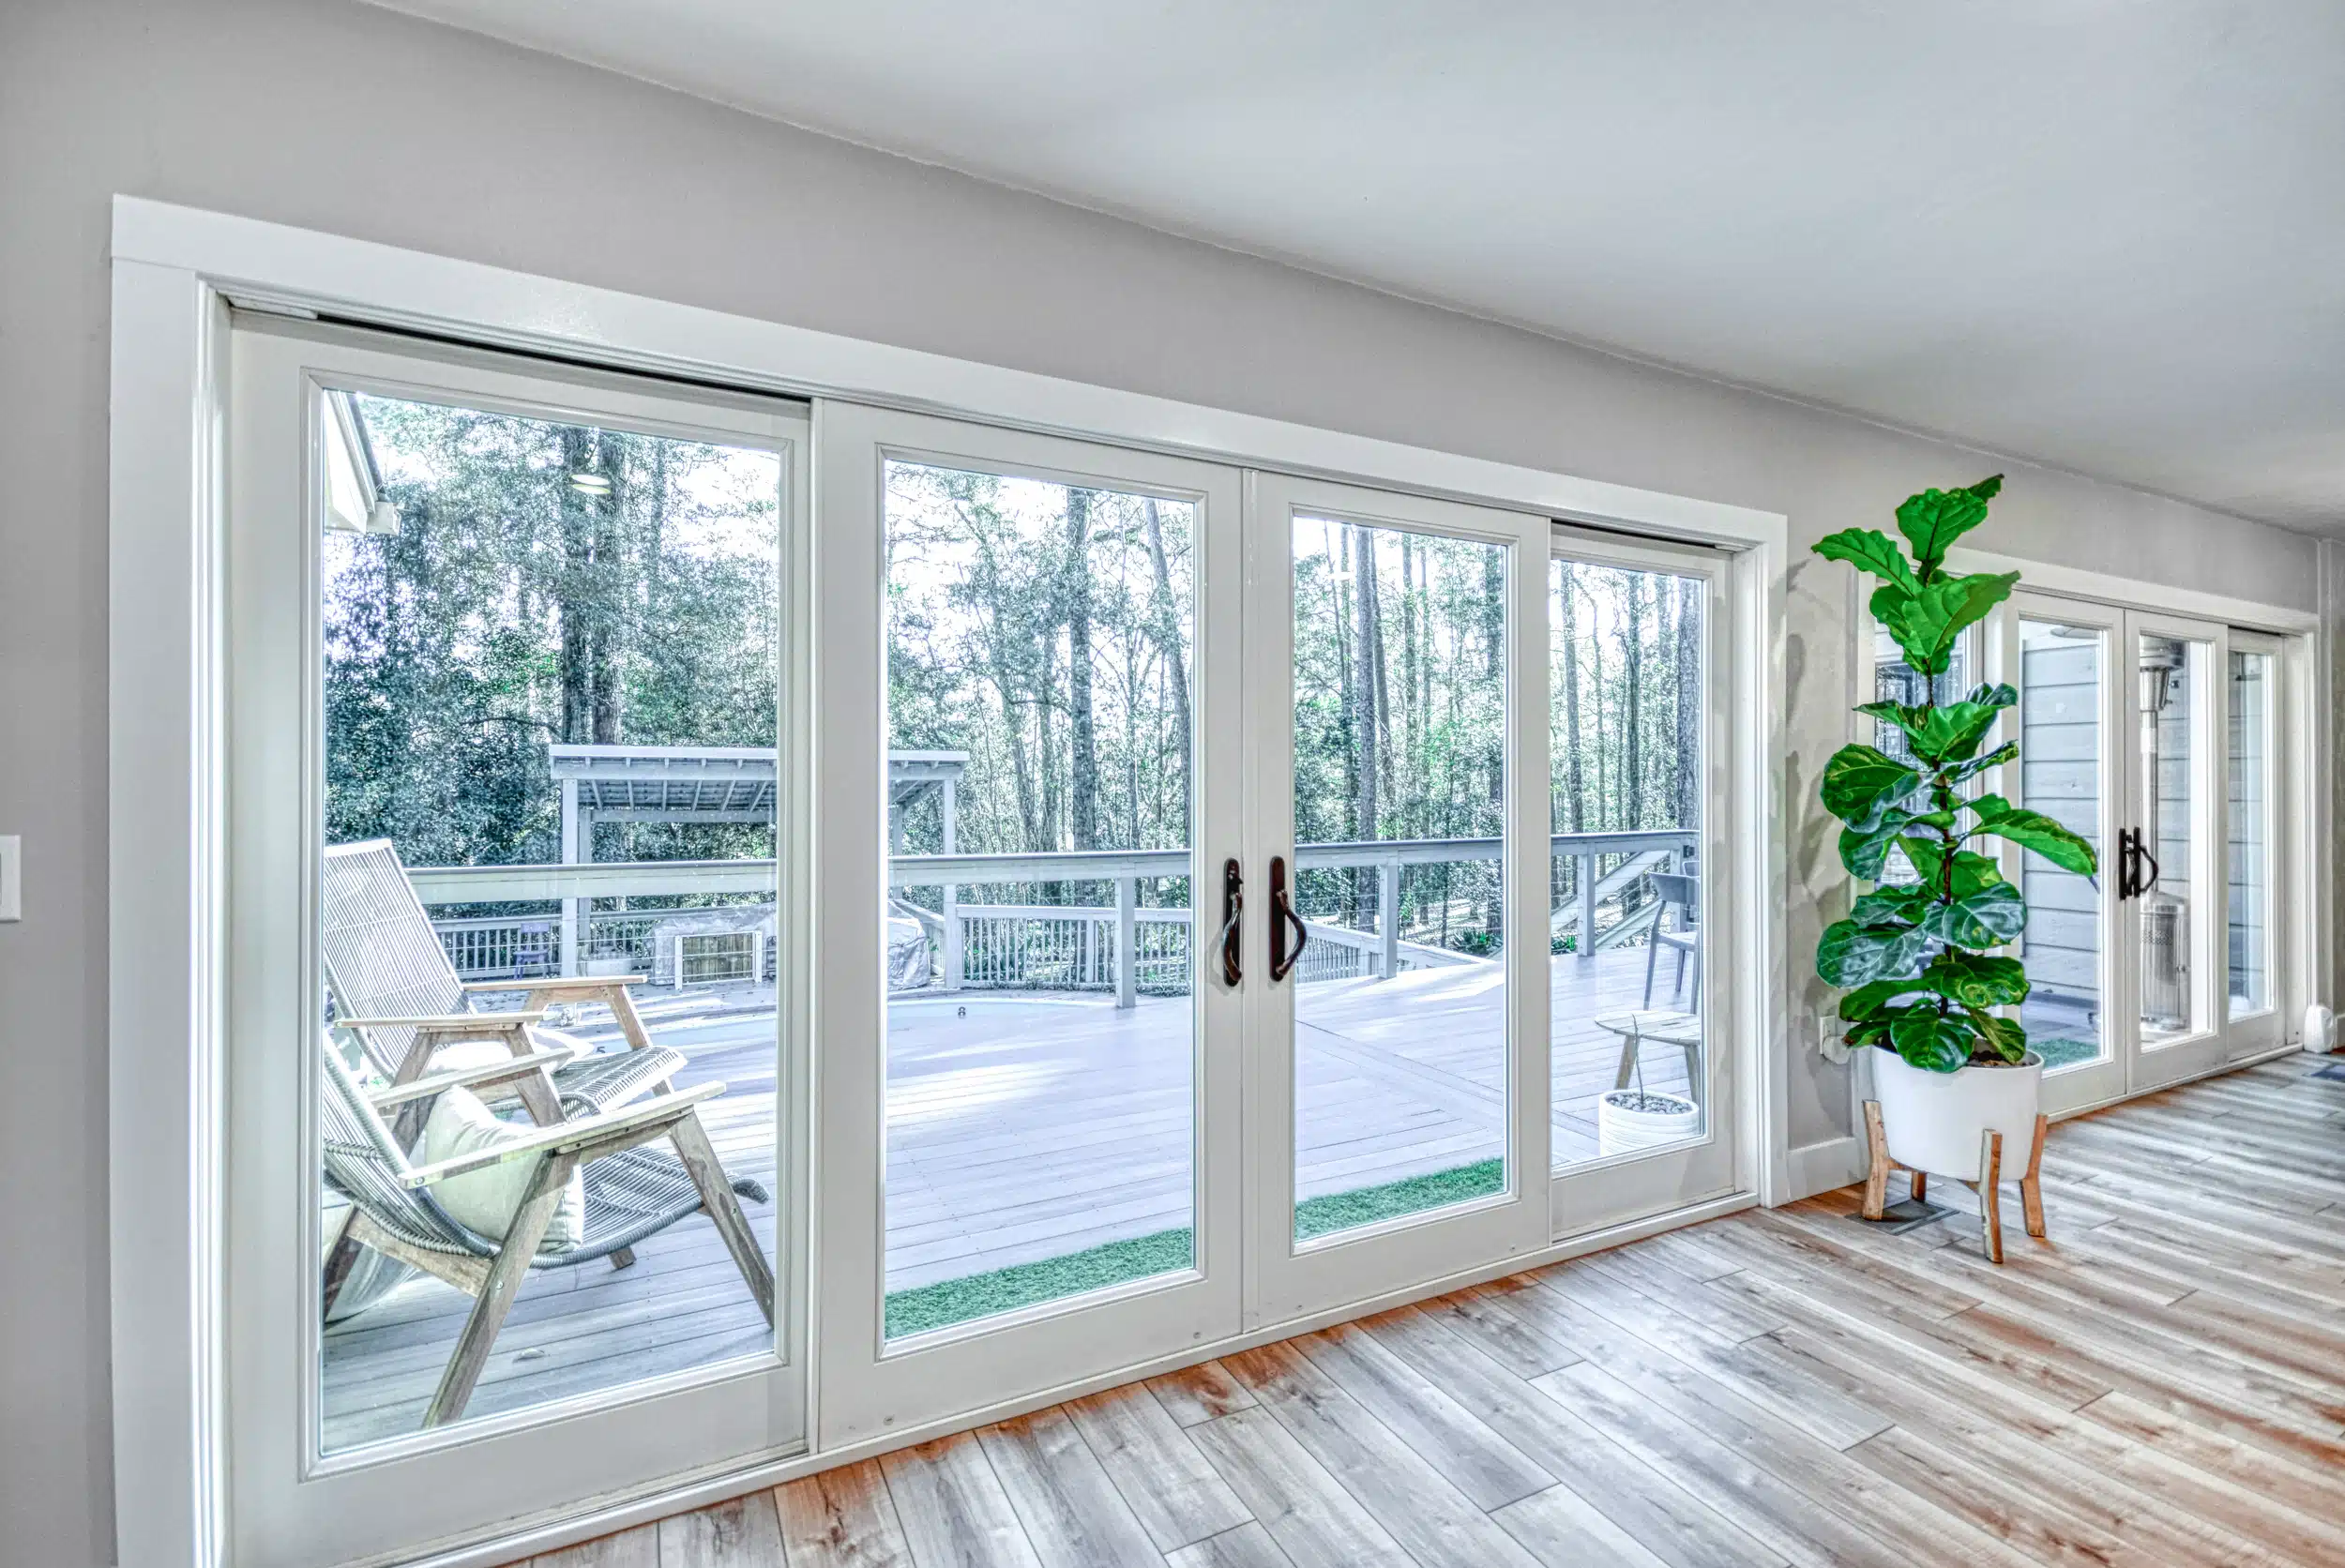
20′ Glass Wall with Sliding Doors
We added a beam to their exterior wall so that we could create a large wall of glass to bring lots of light into the new space and show off the Clients Deck and Pool. Natural light is a great way to make any space feel larger and more welcoming.
Massive Island
An island is the centerpoint of any kitchen that has one. It is the place to cook. It is the place to clean. It is the place to come together. Thats why we installed a beautiful 39 sq ft island in the middle of this client’s kitchen.
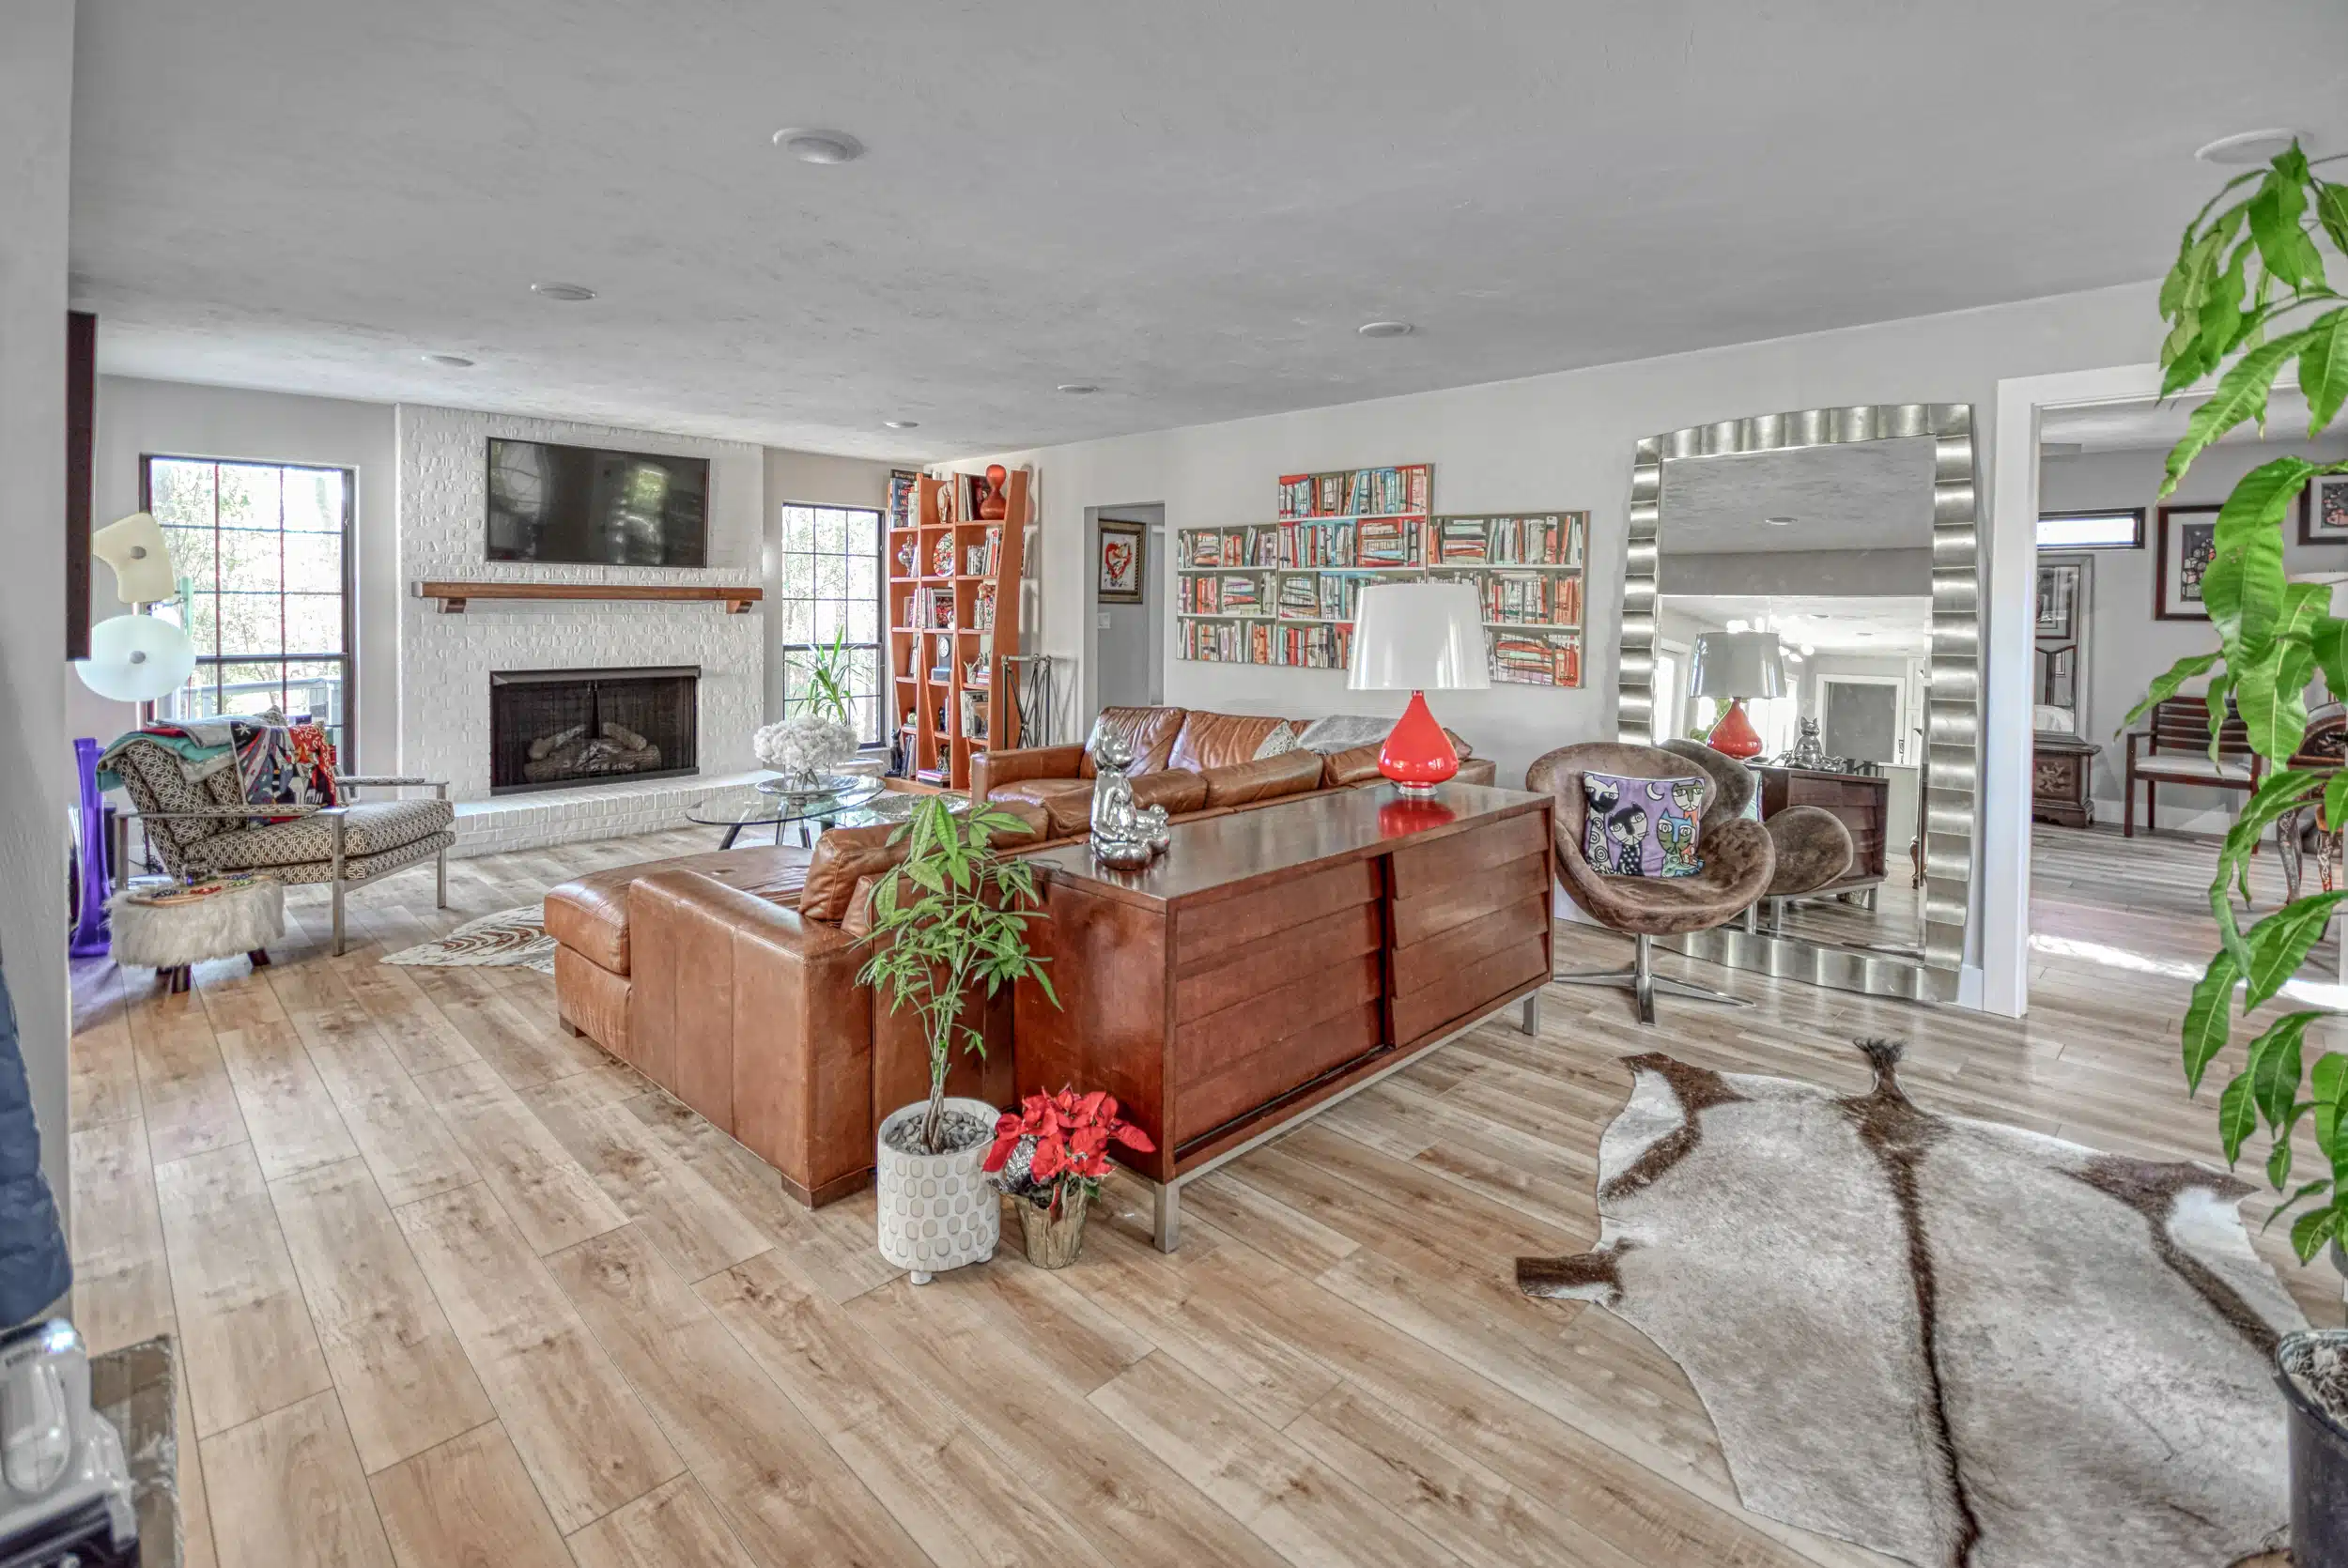
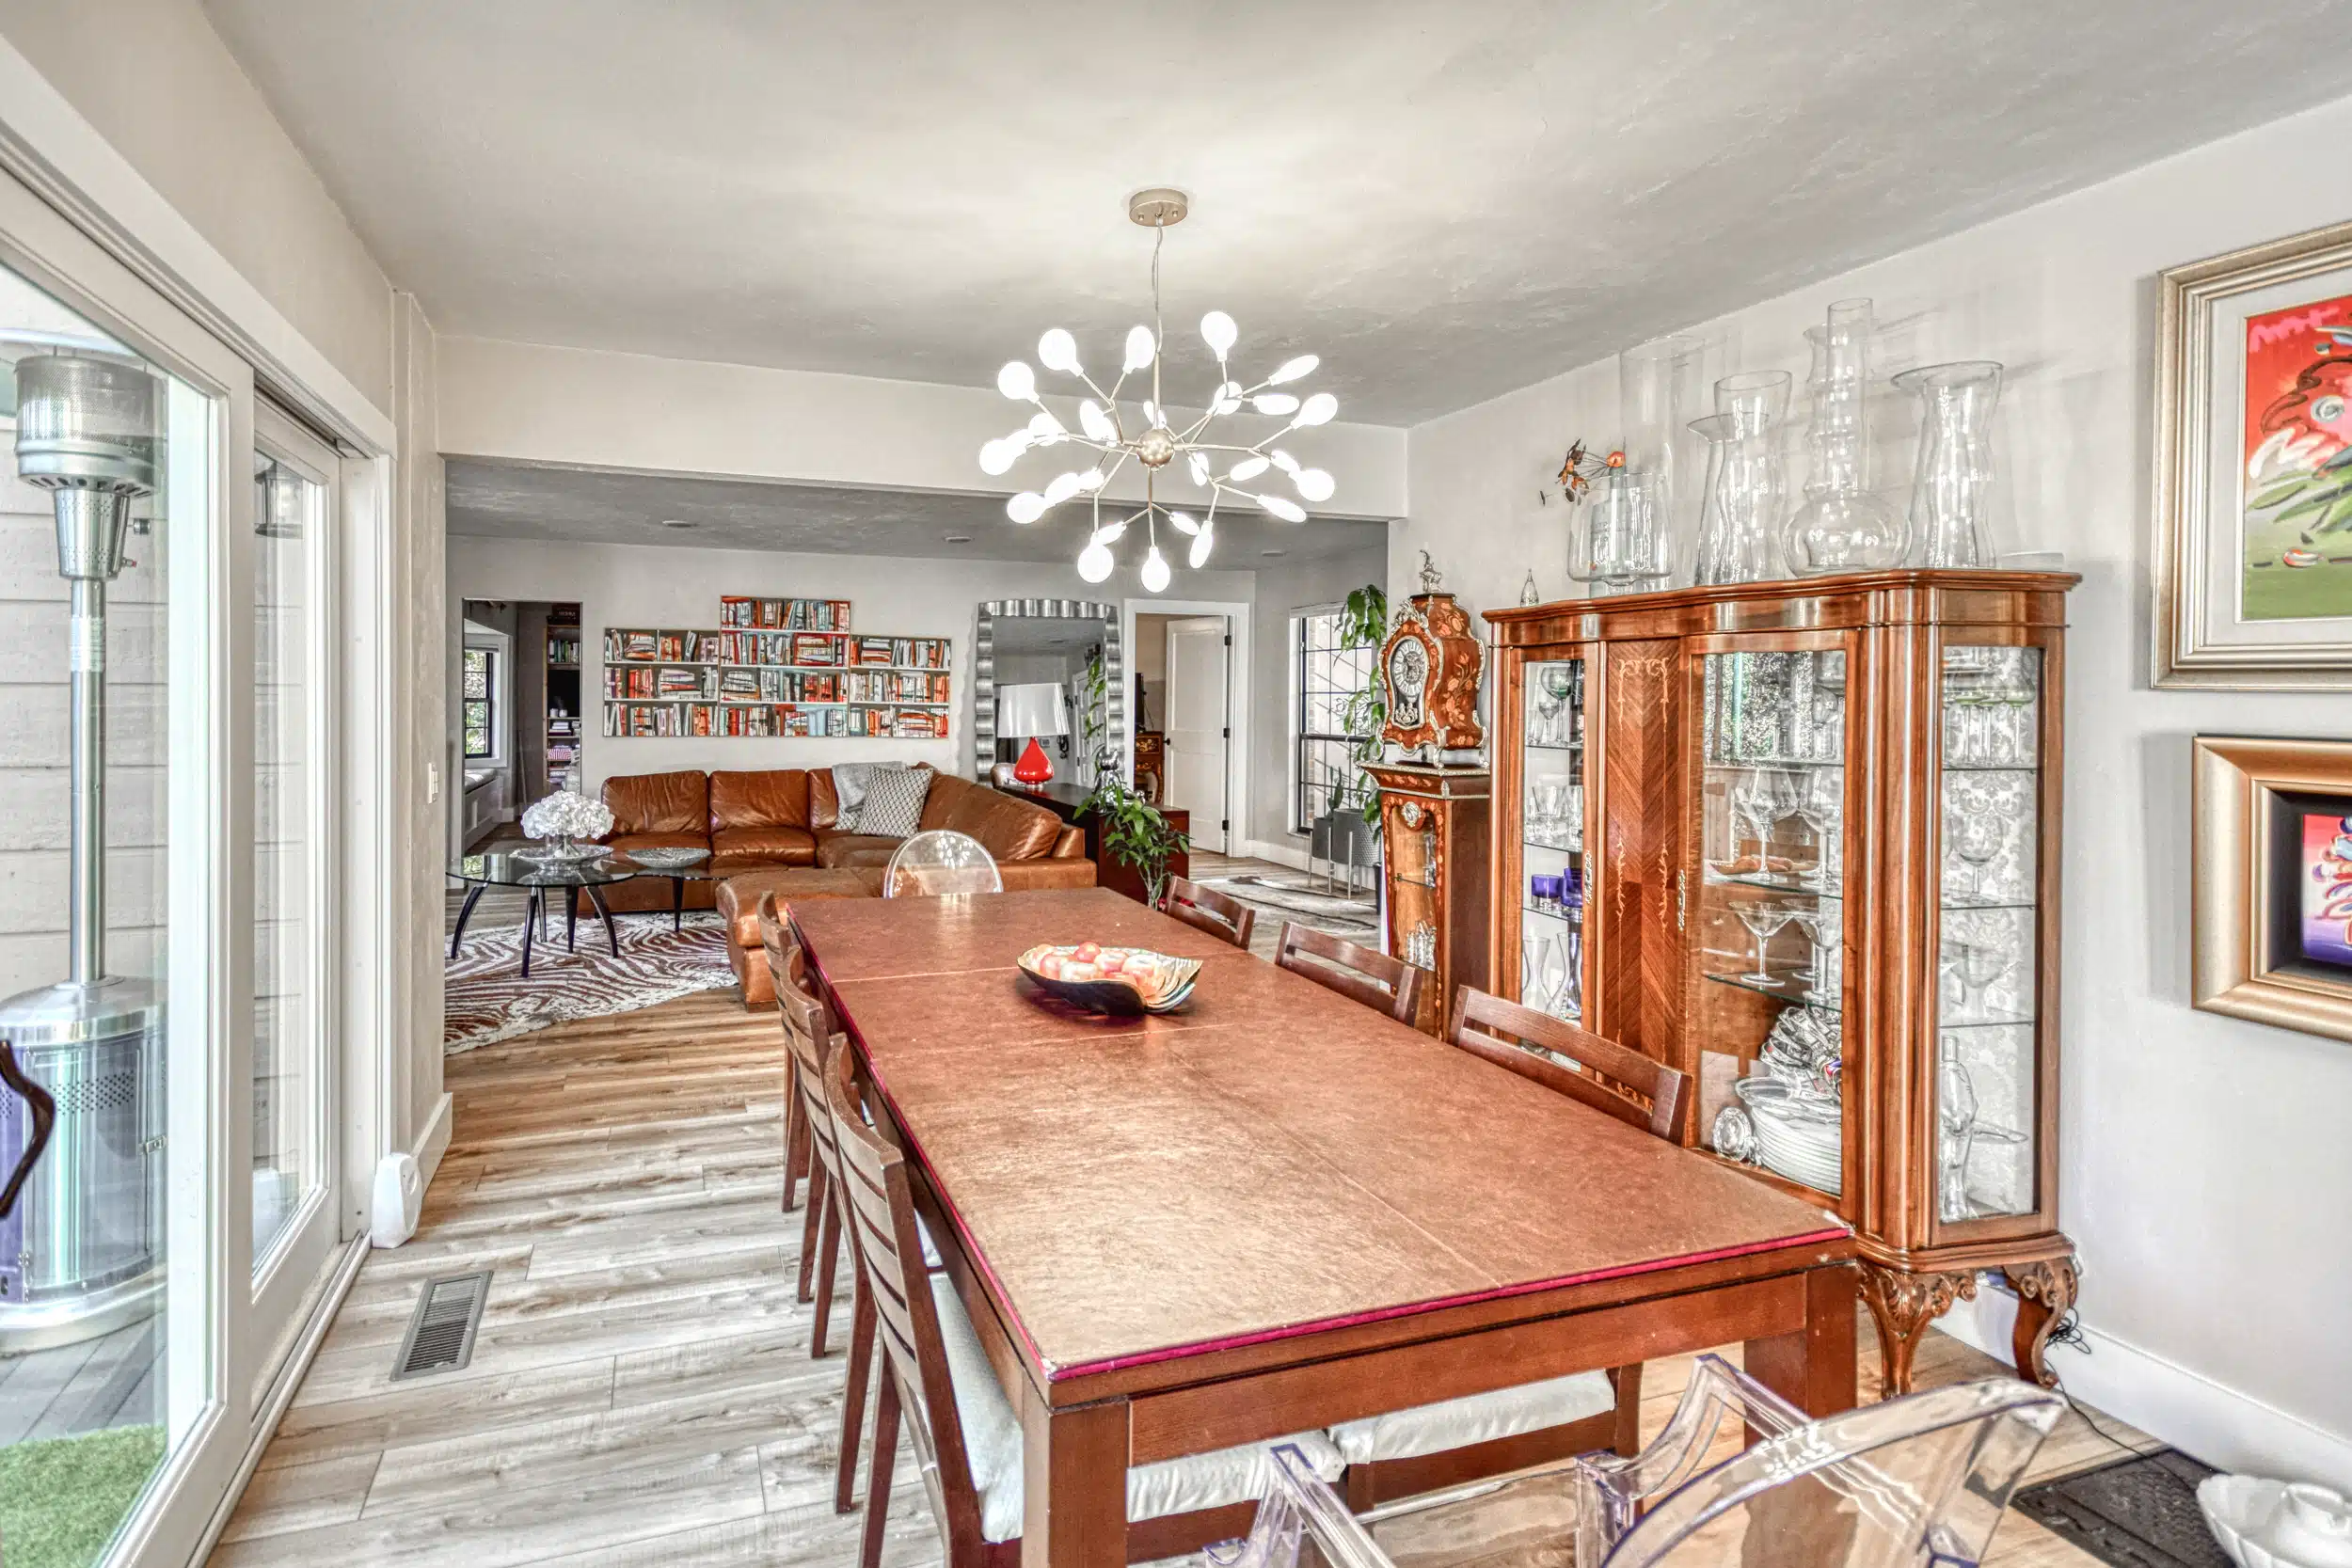
Open Floor Plan
We removed several walls in and installed support beams to open up the whole downstairs. This pairs nicely with the 20′ glass doors in making the house feel as spacious as possible.
Walk-in Closet
We added a walk-in closet to the primary suite upstiars. A walk-in closet is not only a luxuroius way to store your belongings, but can also make the often difficult task of sharing storage space with a partner a breeze.
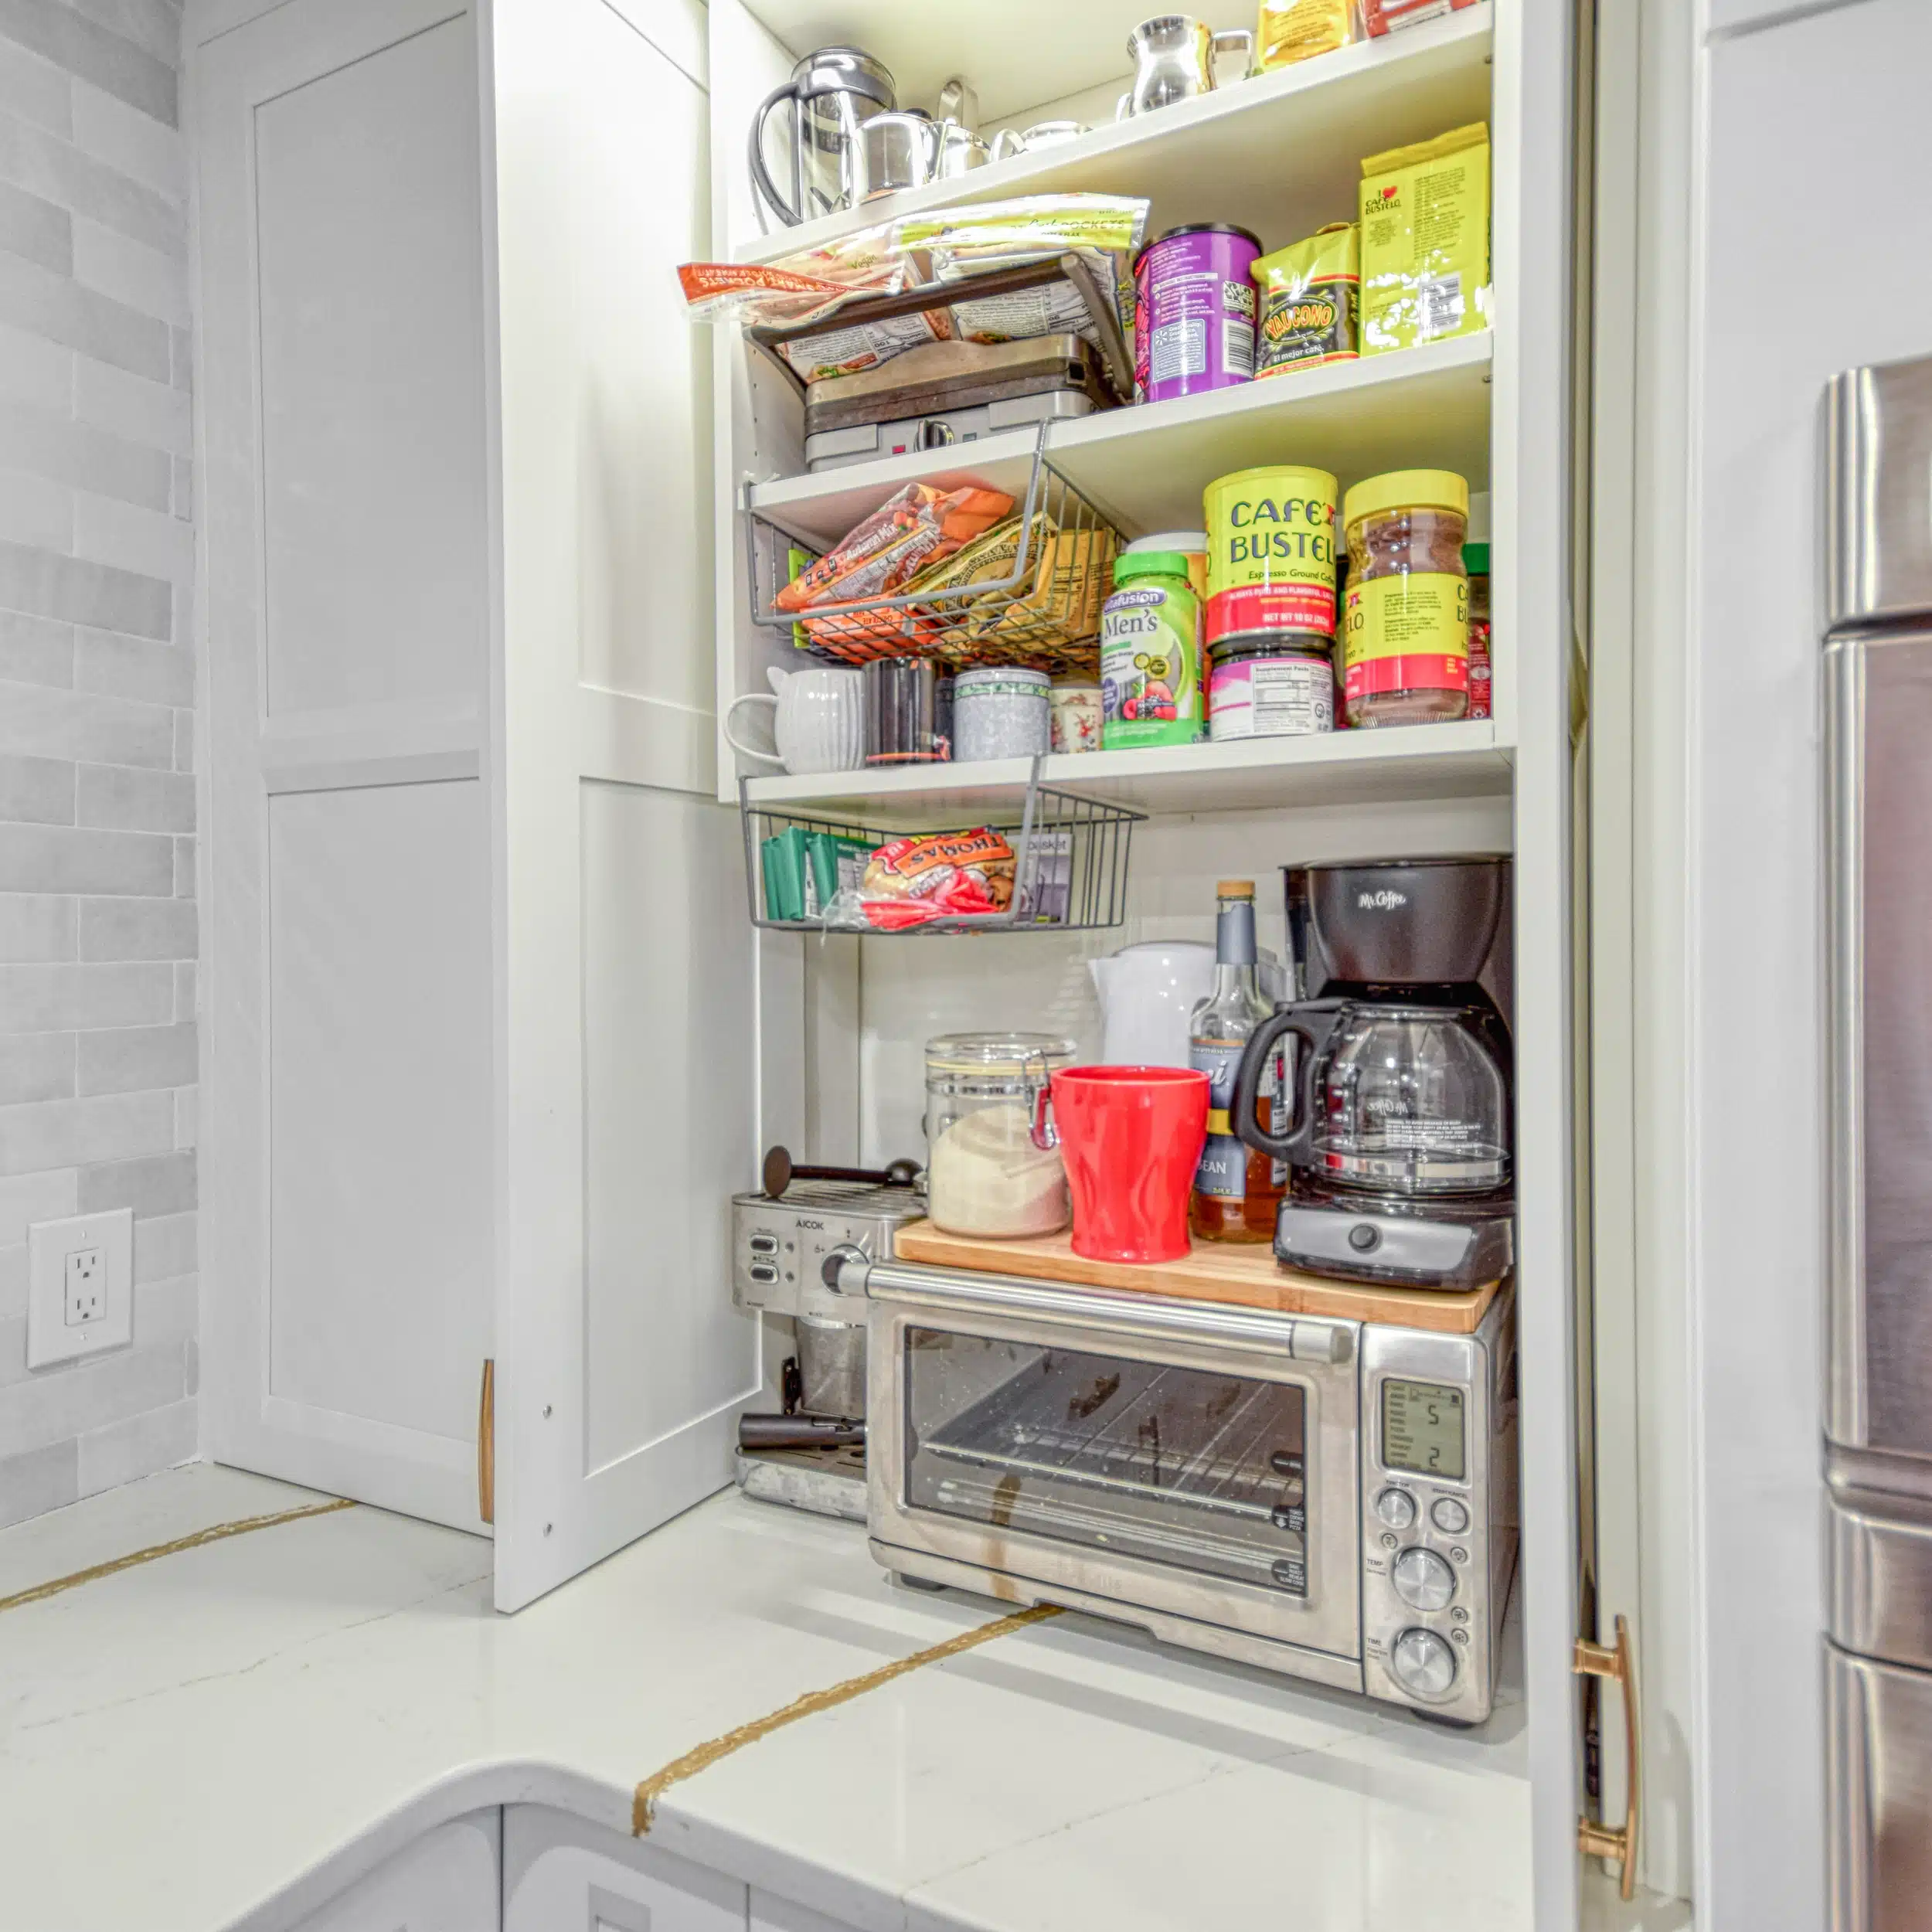
Espresso Cabinet
The esspresso cabinet allows for a seemingly modular approach to your kitchen. With the doors closed, the kitchen will look as clean and sleek as ever. However, with the doors open, you get an open faced storage area that beautifully hybridizes function and form.
Large Tile Hood
The hood in this kitchen is a range hood insert, meaning that the hood itself is hidden in a stylized shroud meant to match the kitchen. This particular hood is covered in the same tile as the walls, making a normally intrusive part of a kitchen blend into the sleek design.
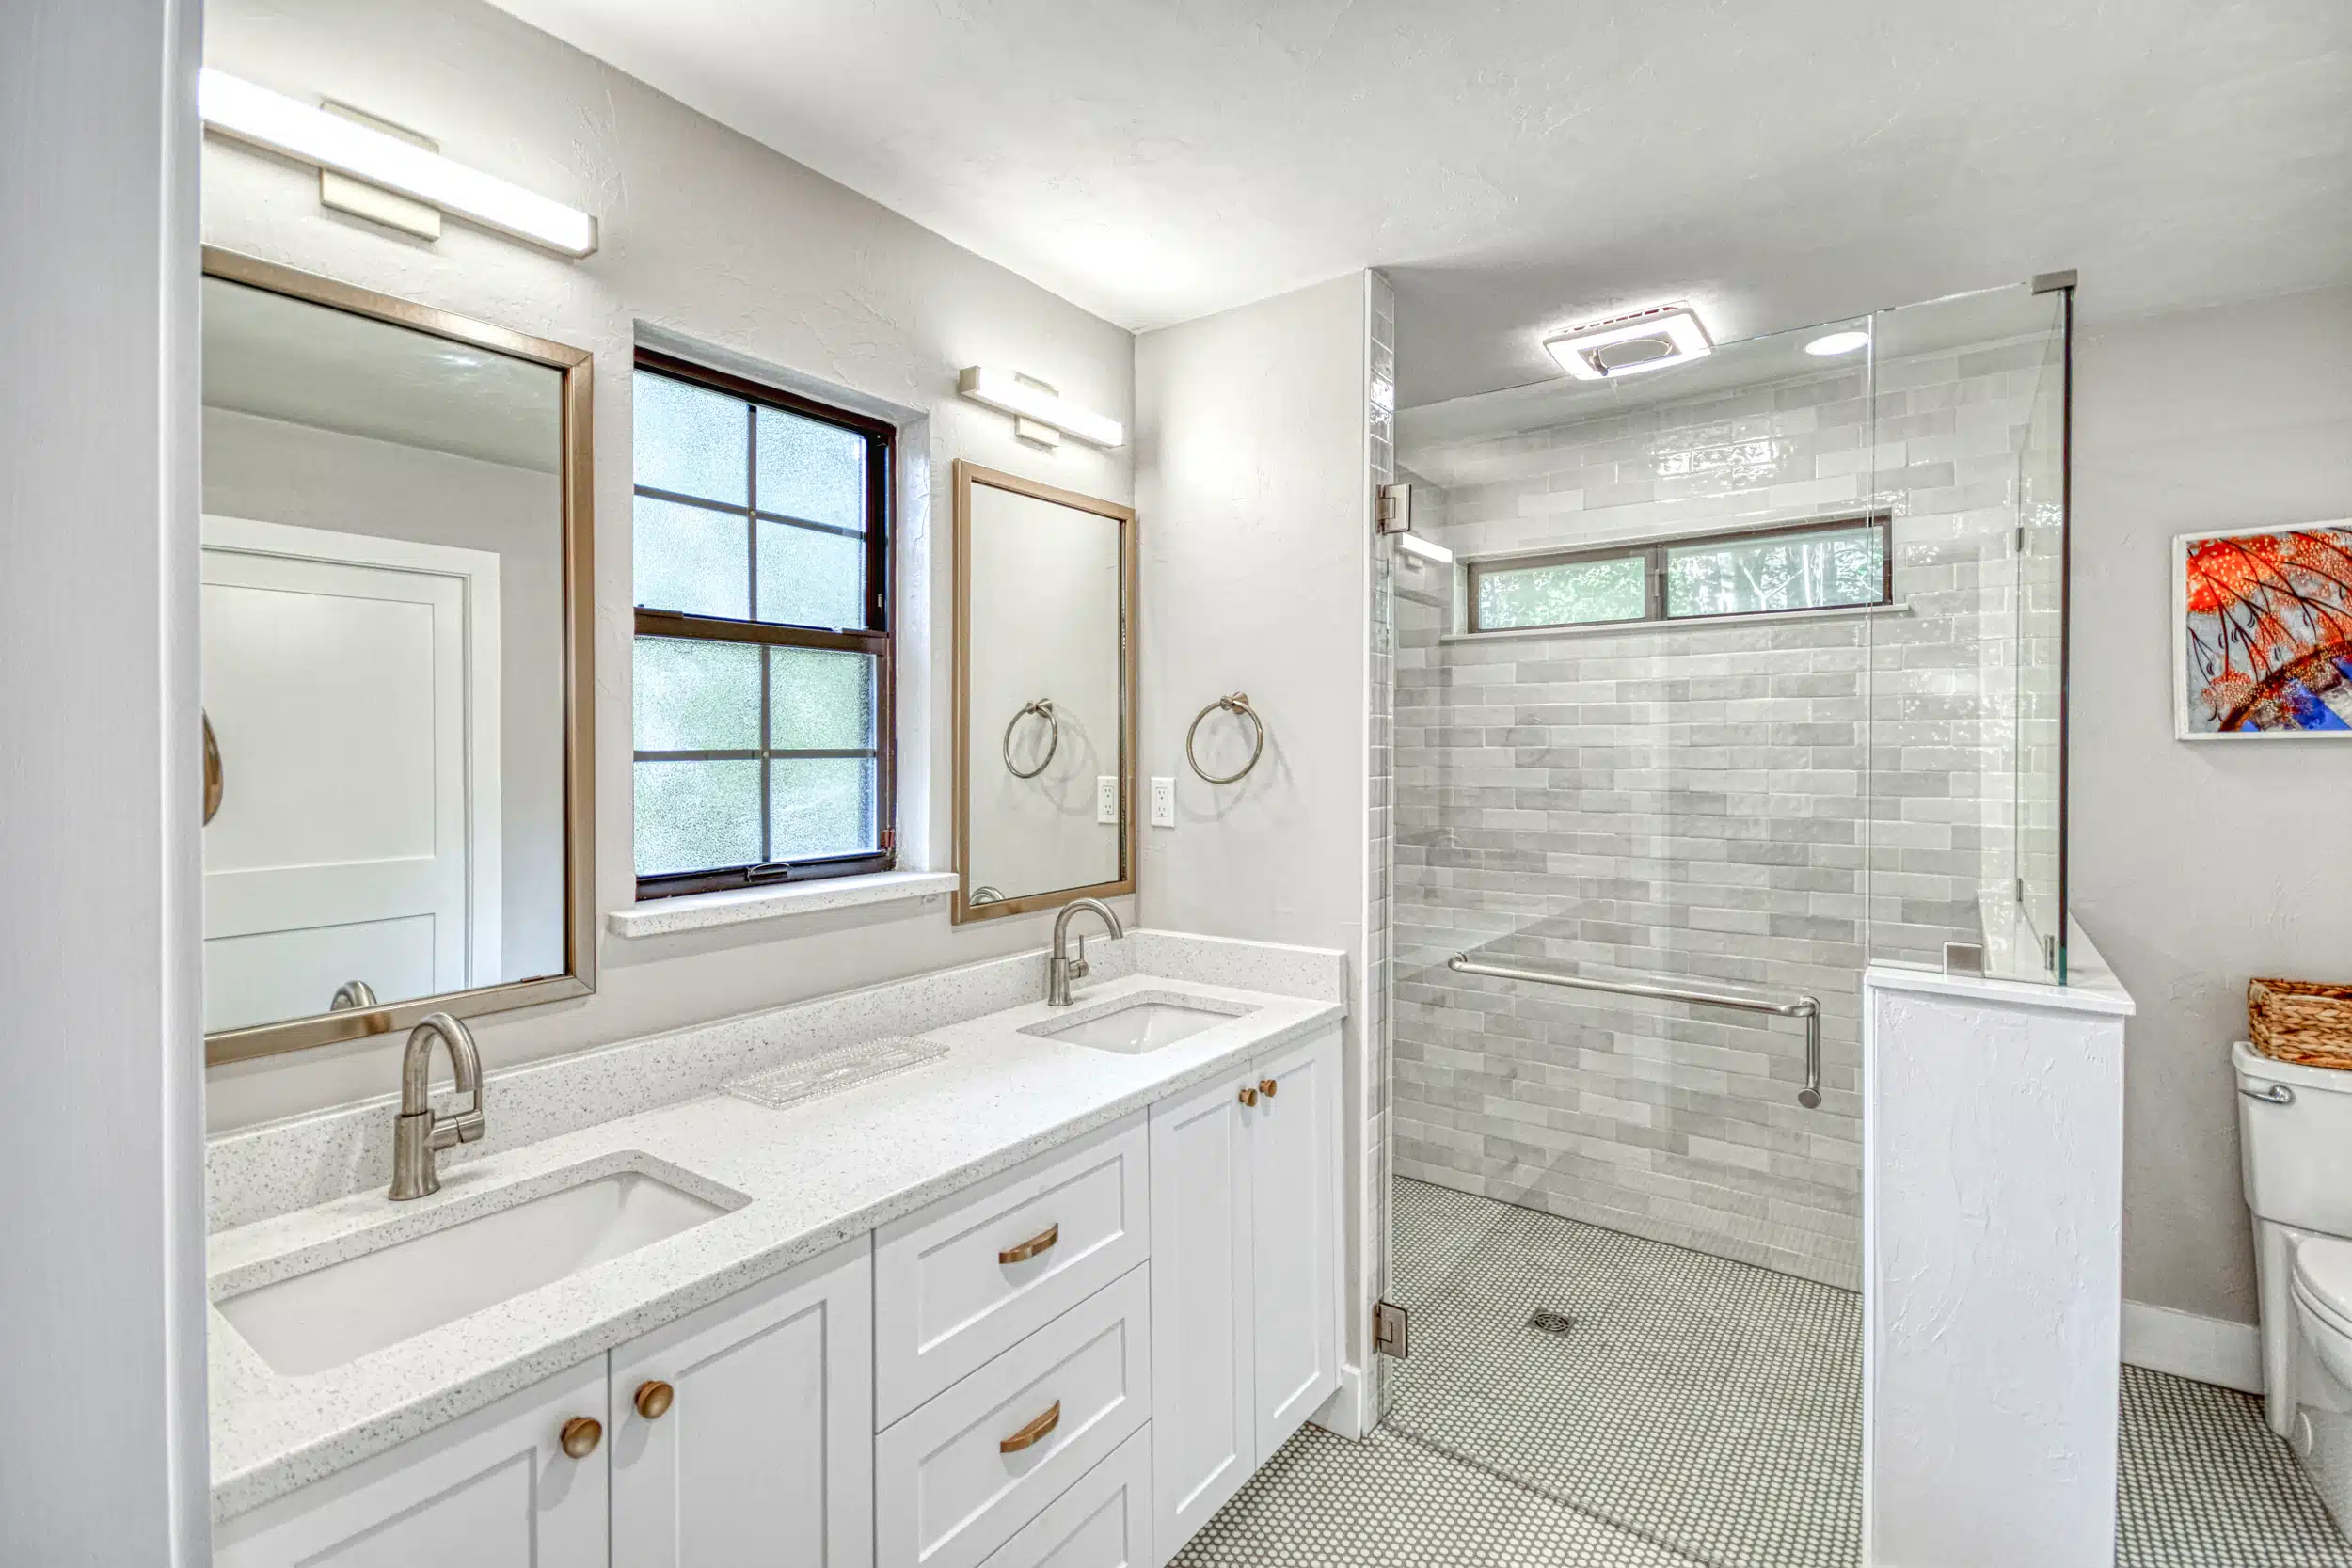
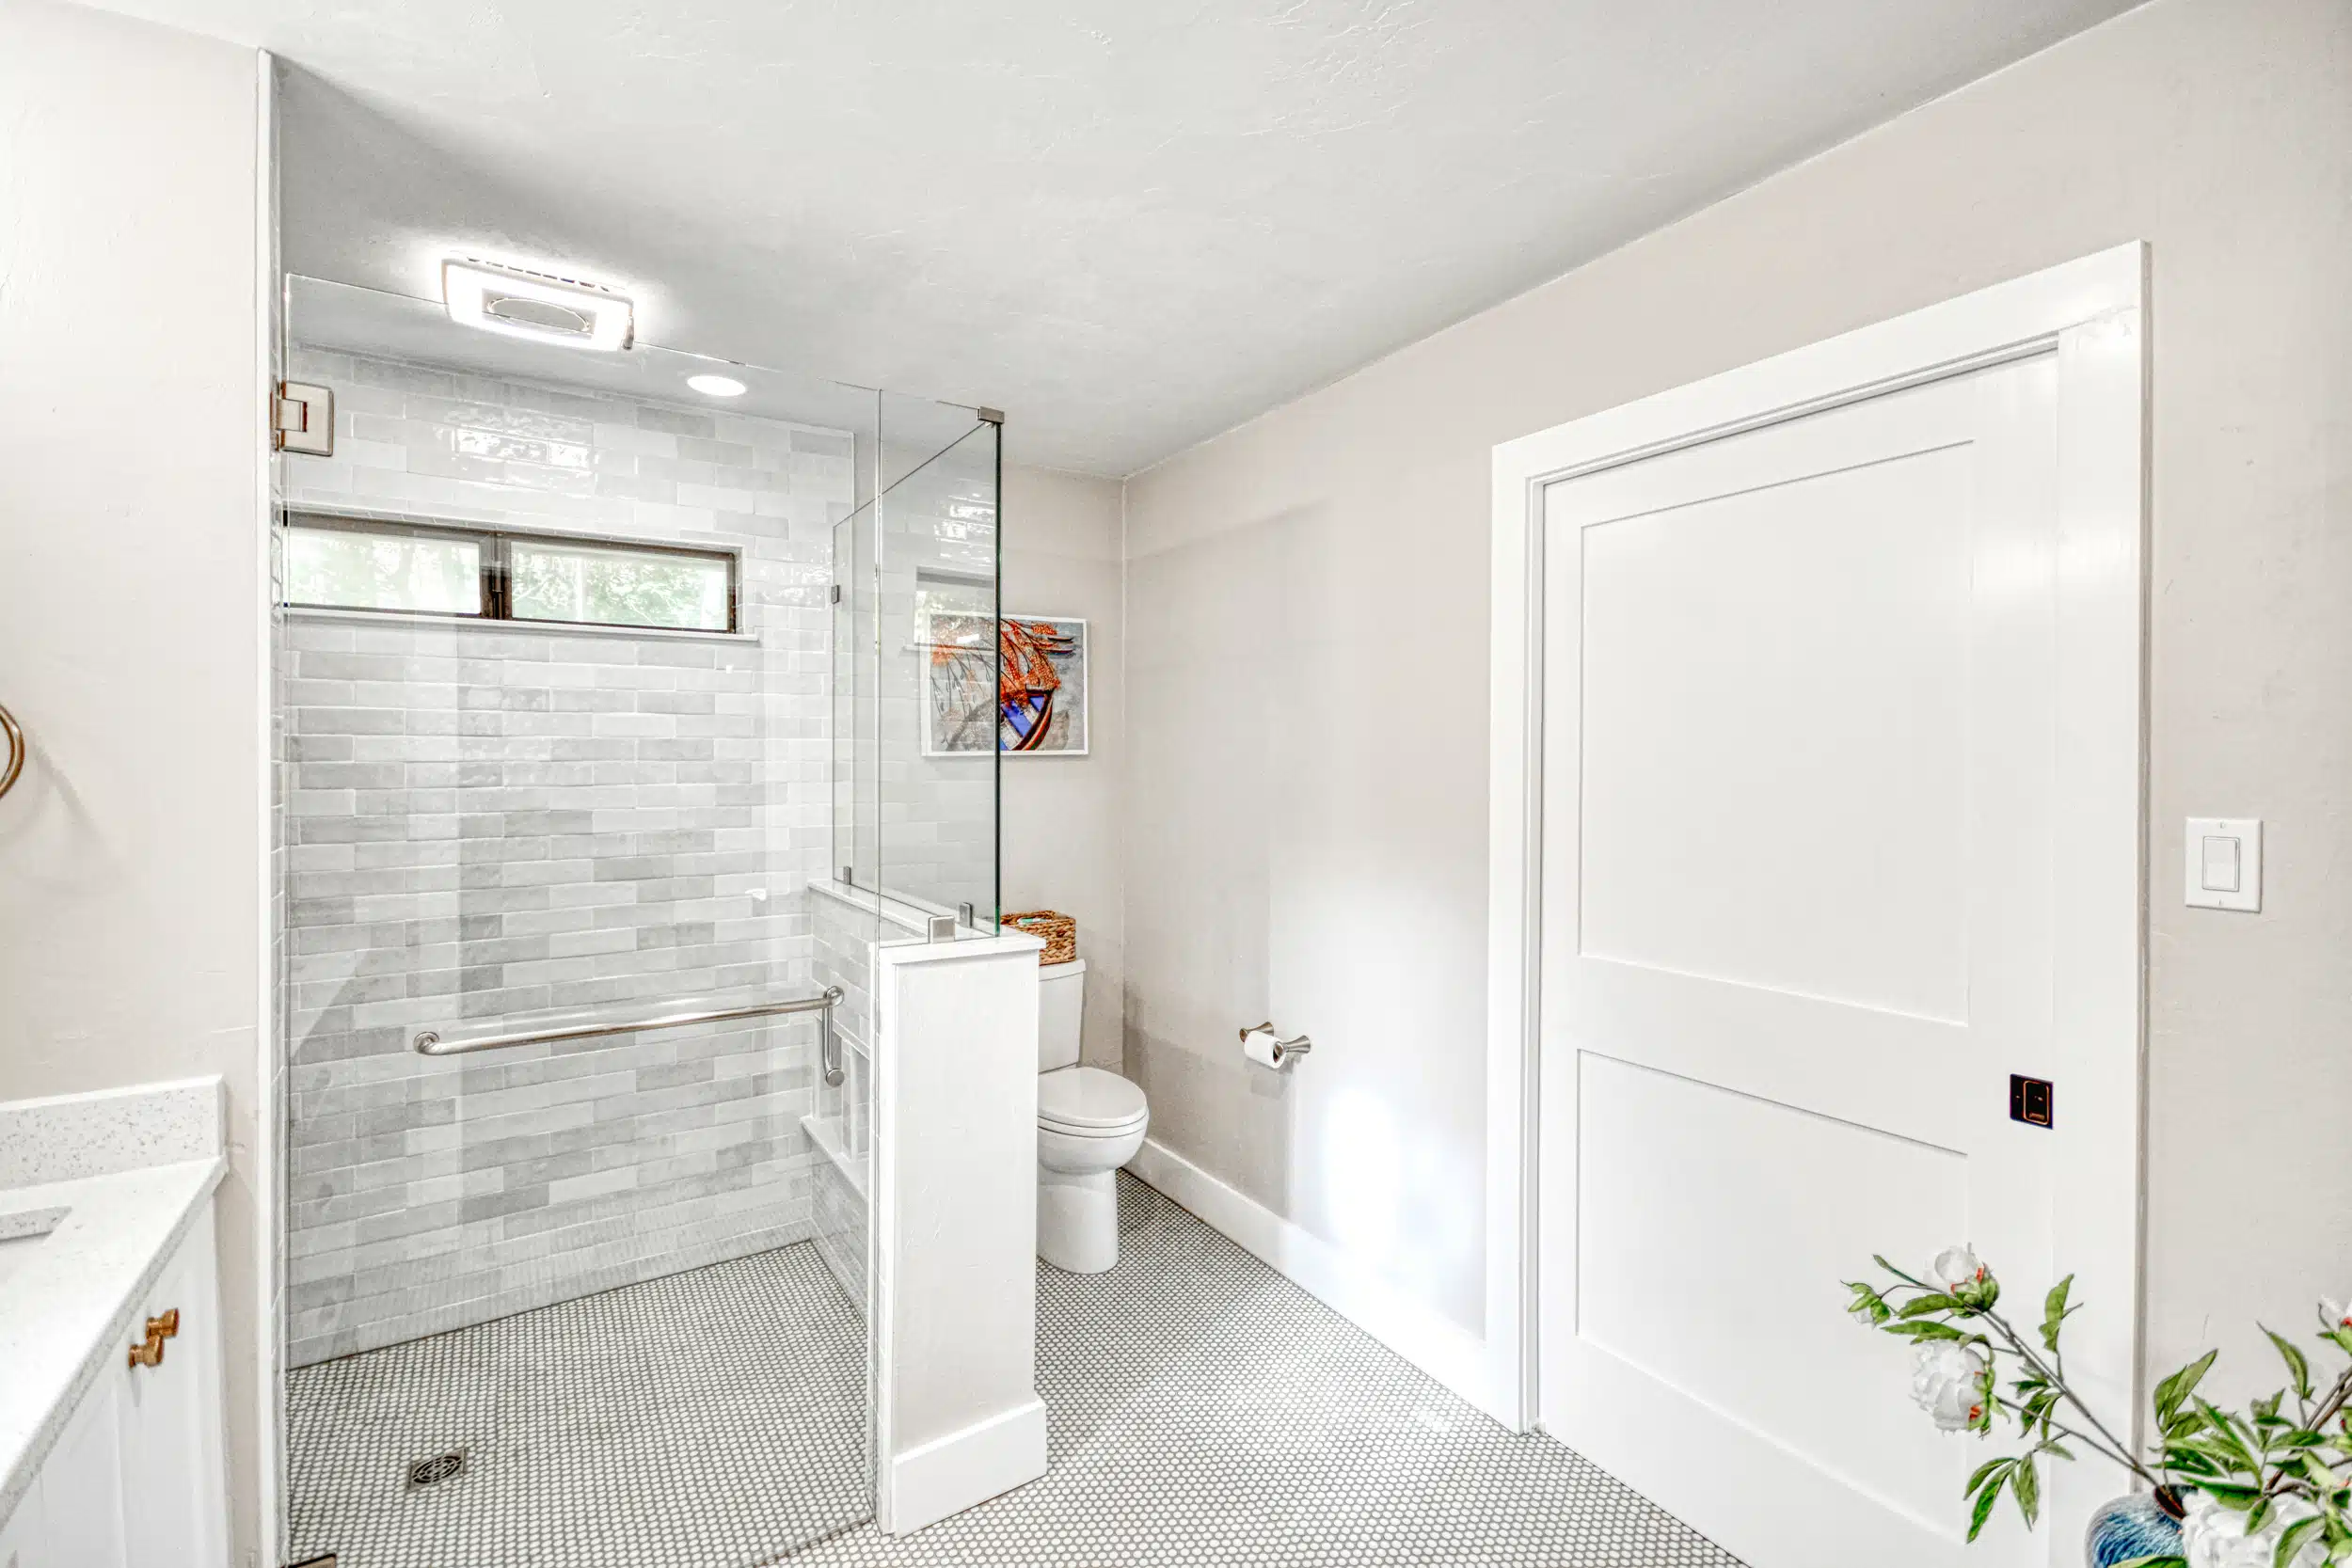
Barrier-Free Shower
Also called a walk-in shower, the barrier-free shower is defined by being flush with the floor of the bathroom. The tile on the floor of this bathroom effortlessly flows into the shower, allowing for beauty to your eyes and predictable traction to your feet on an often slippery bathroom floor.
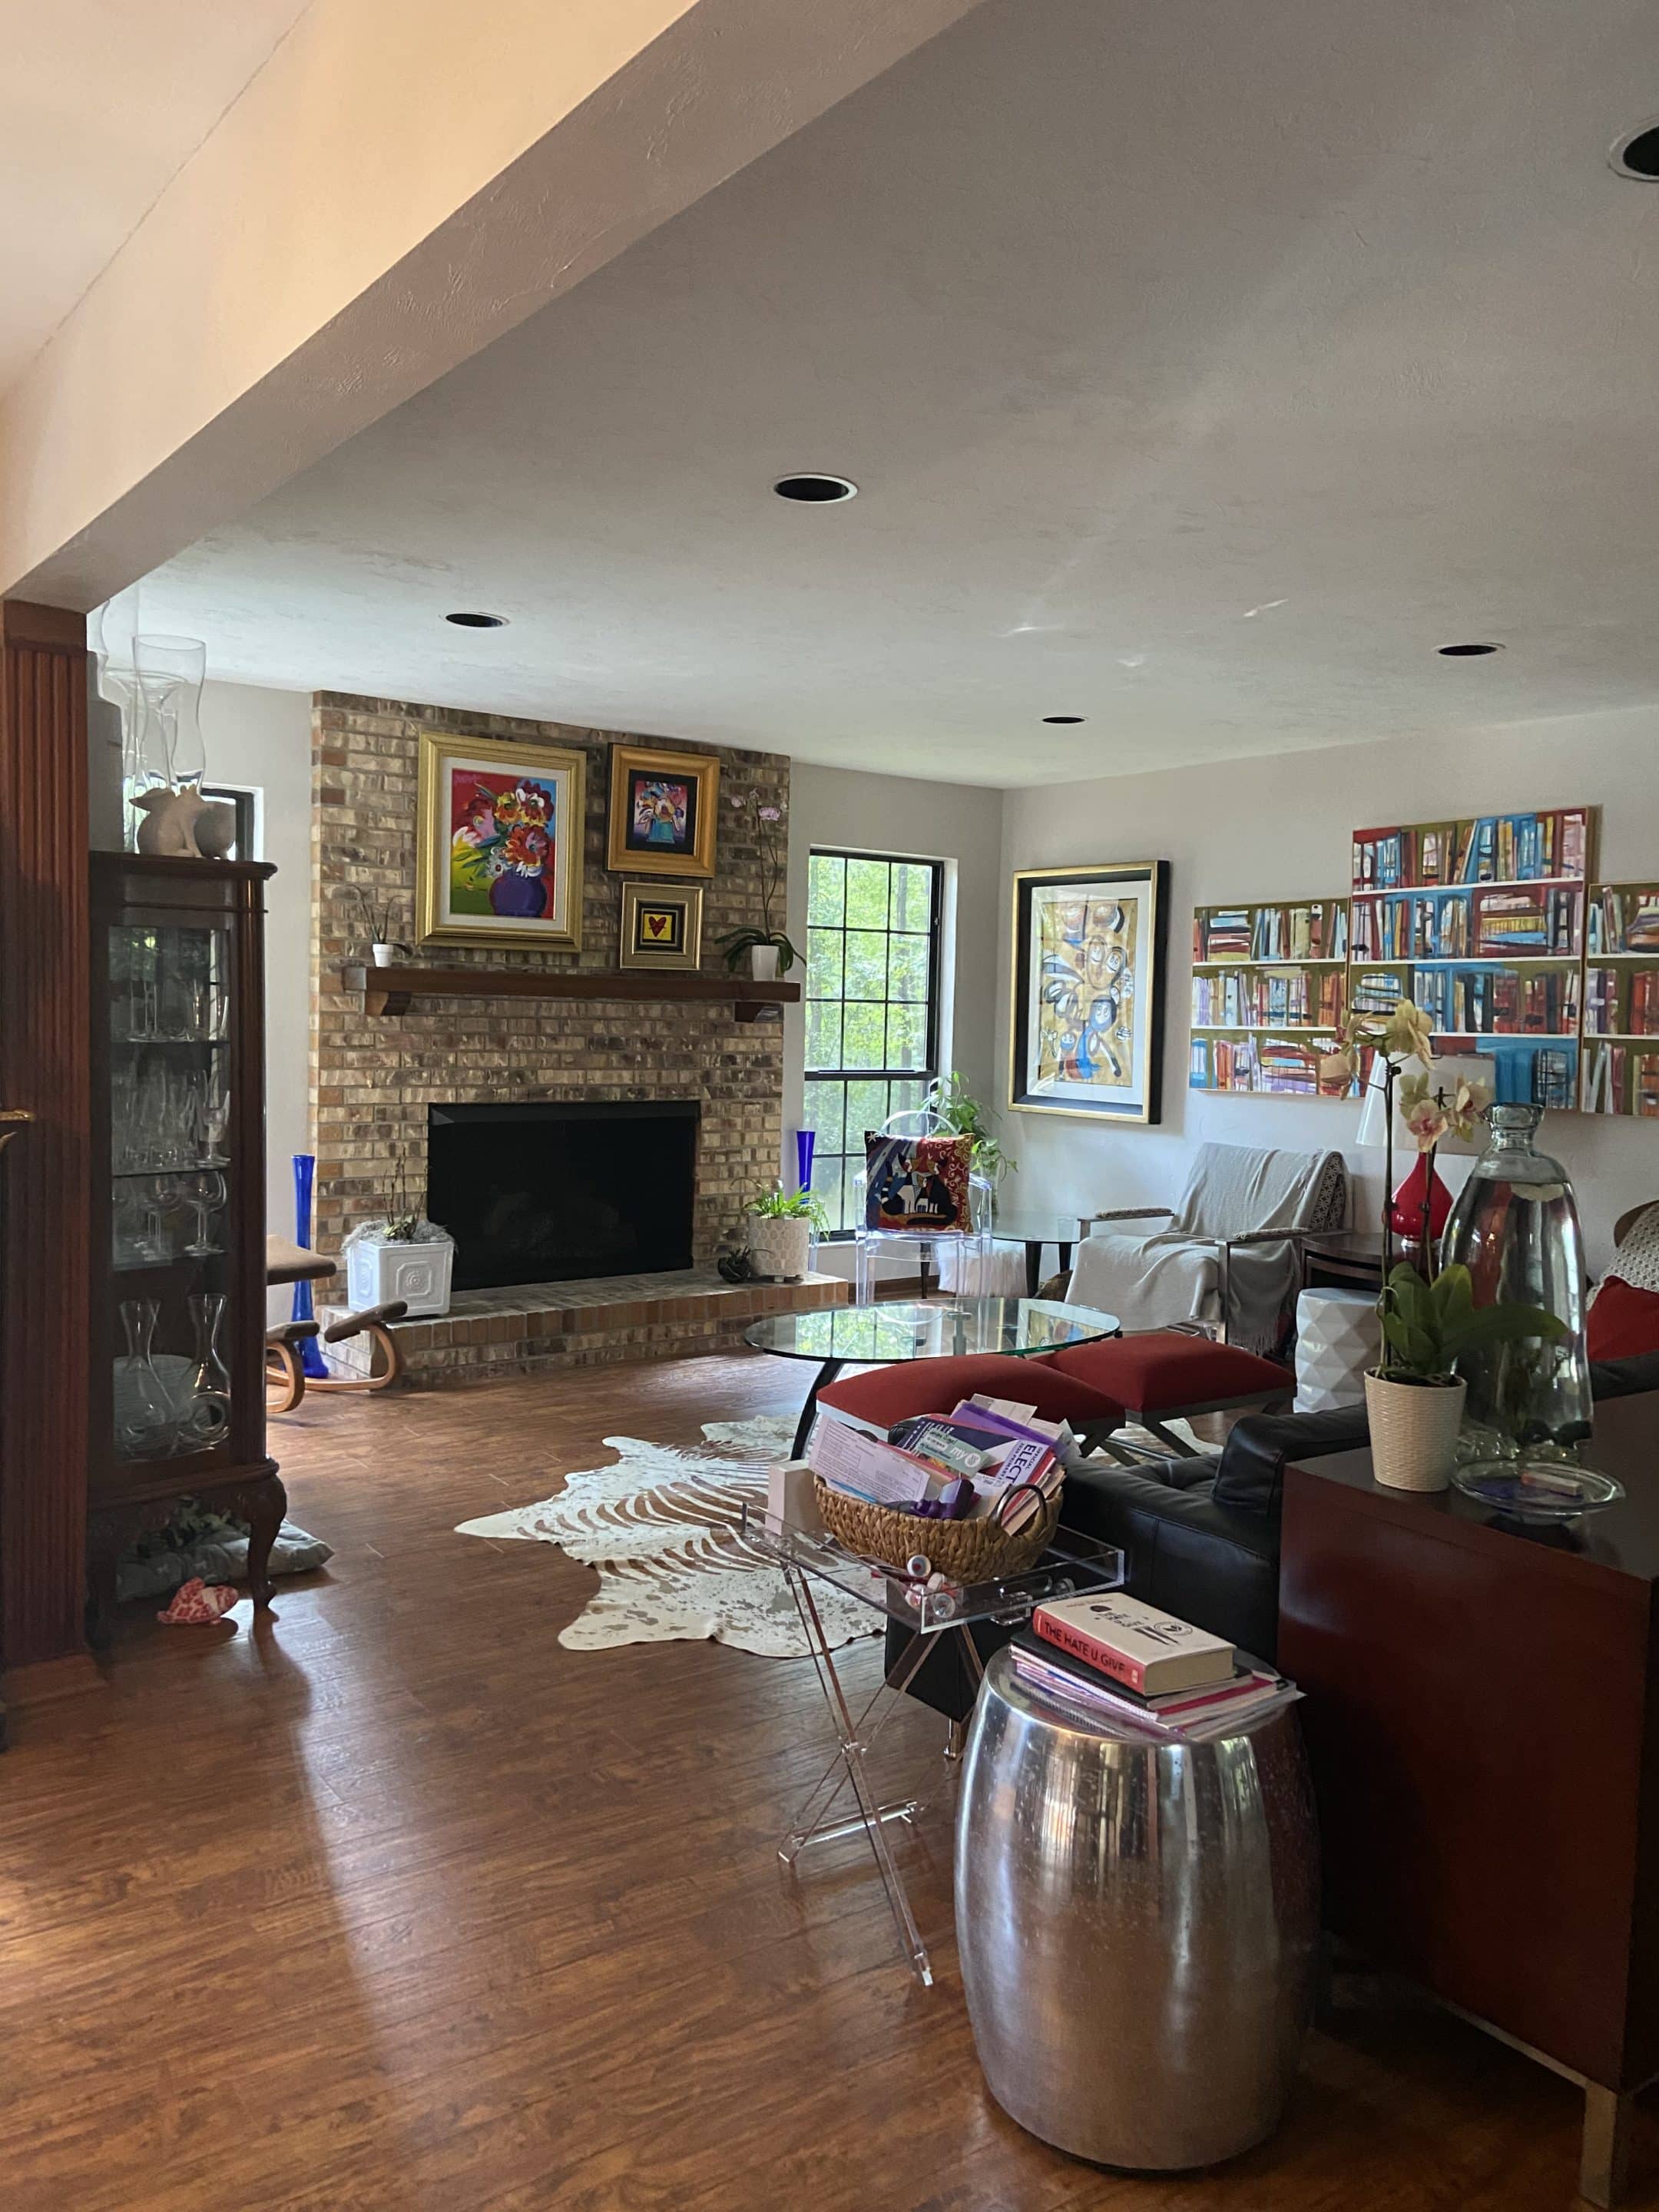
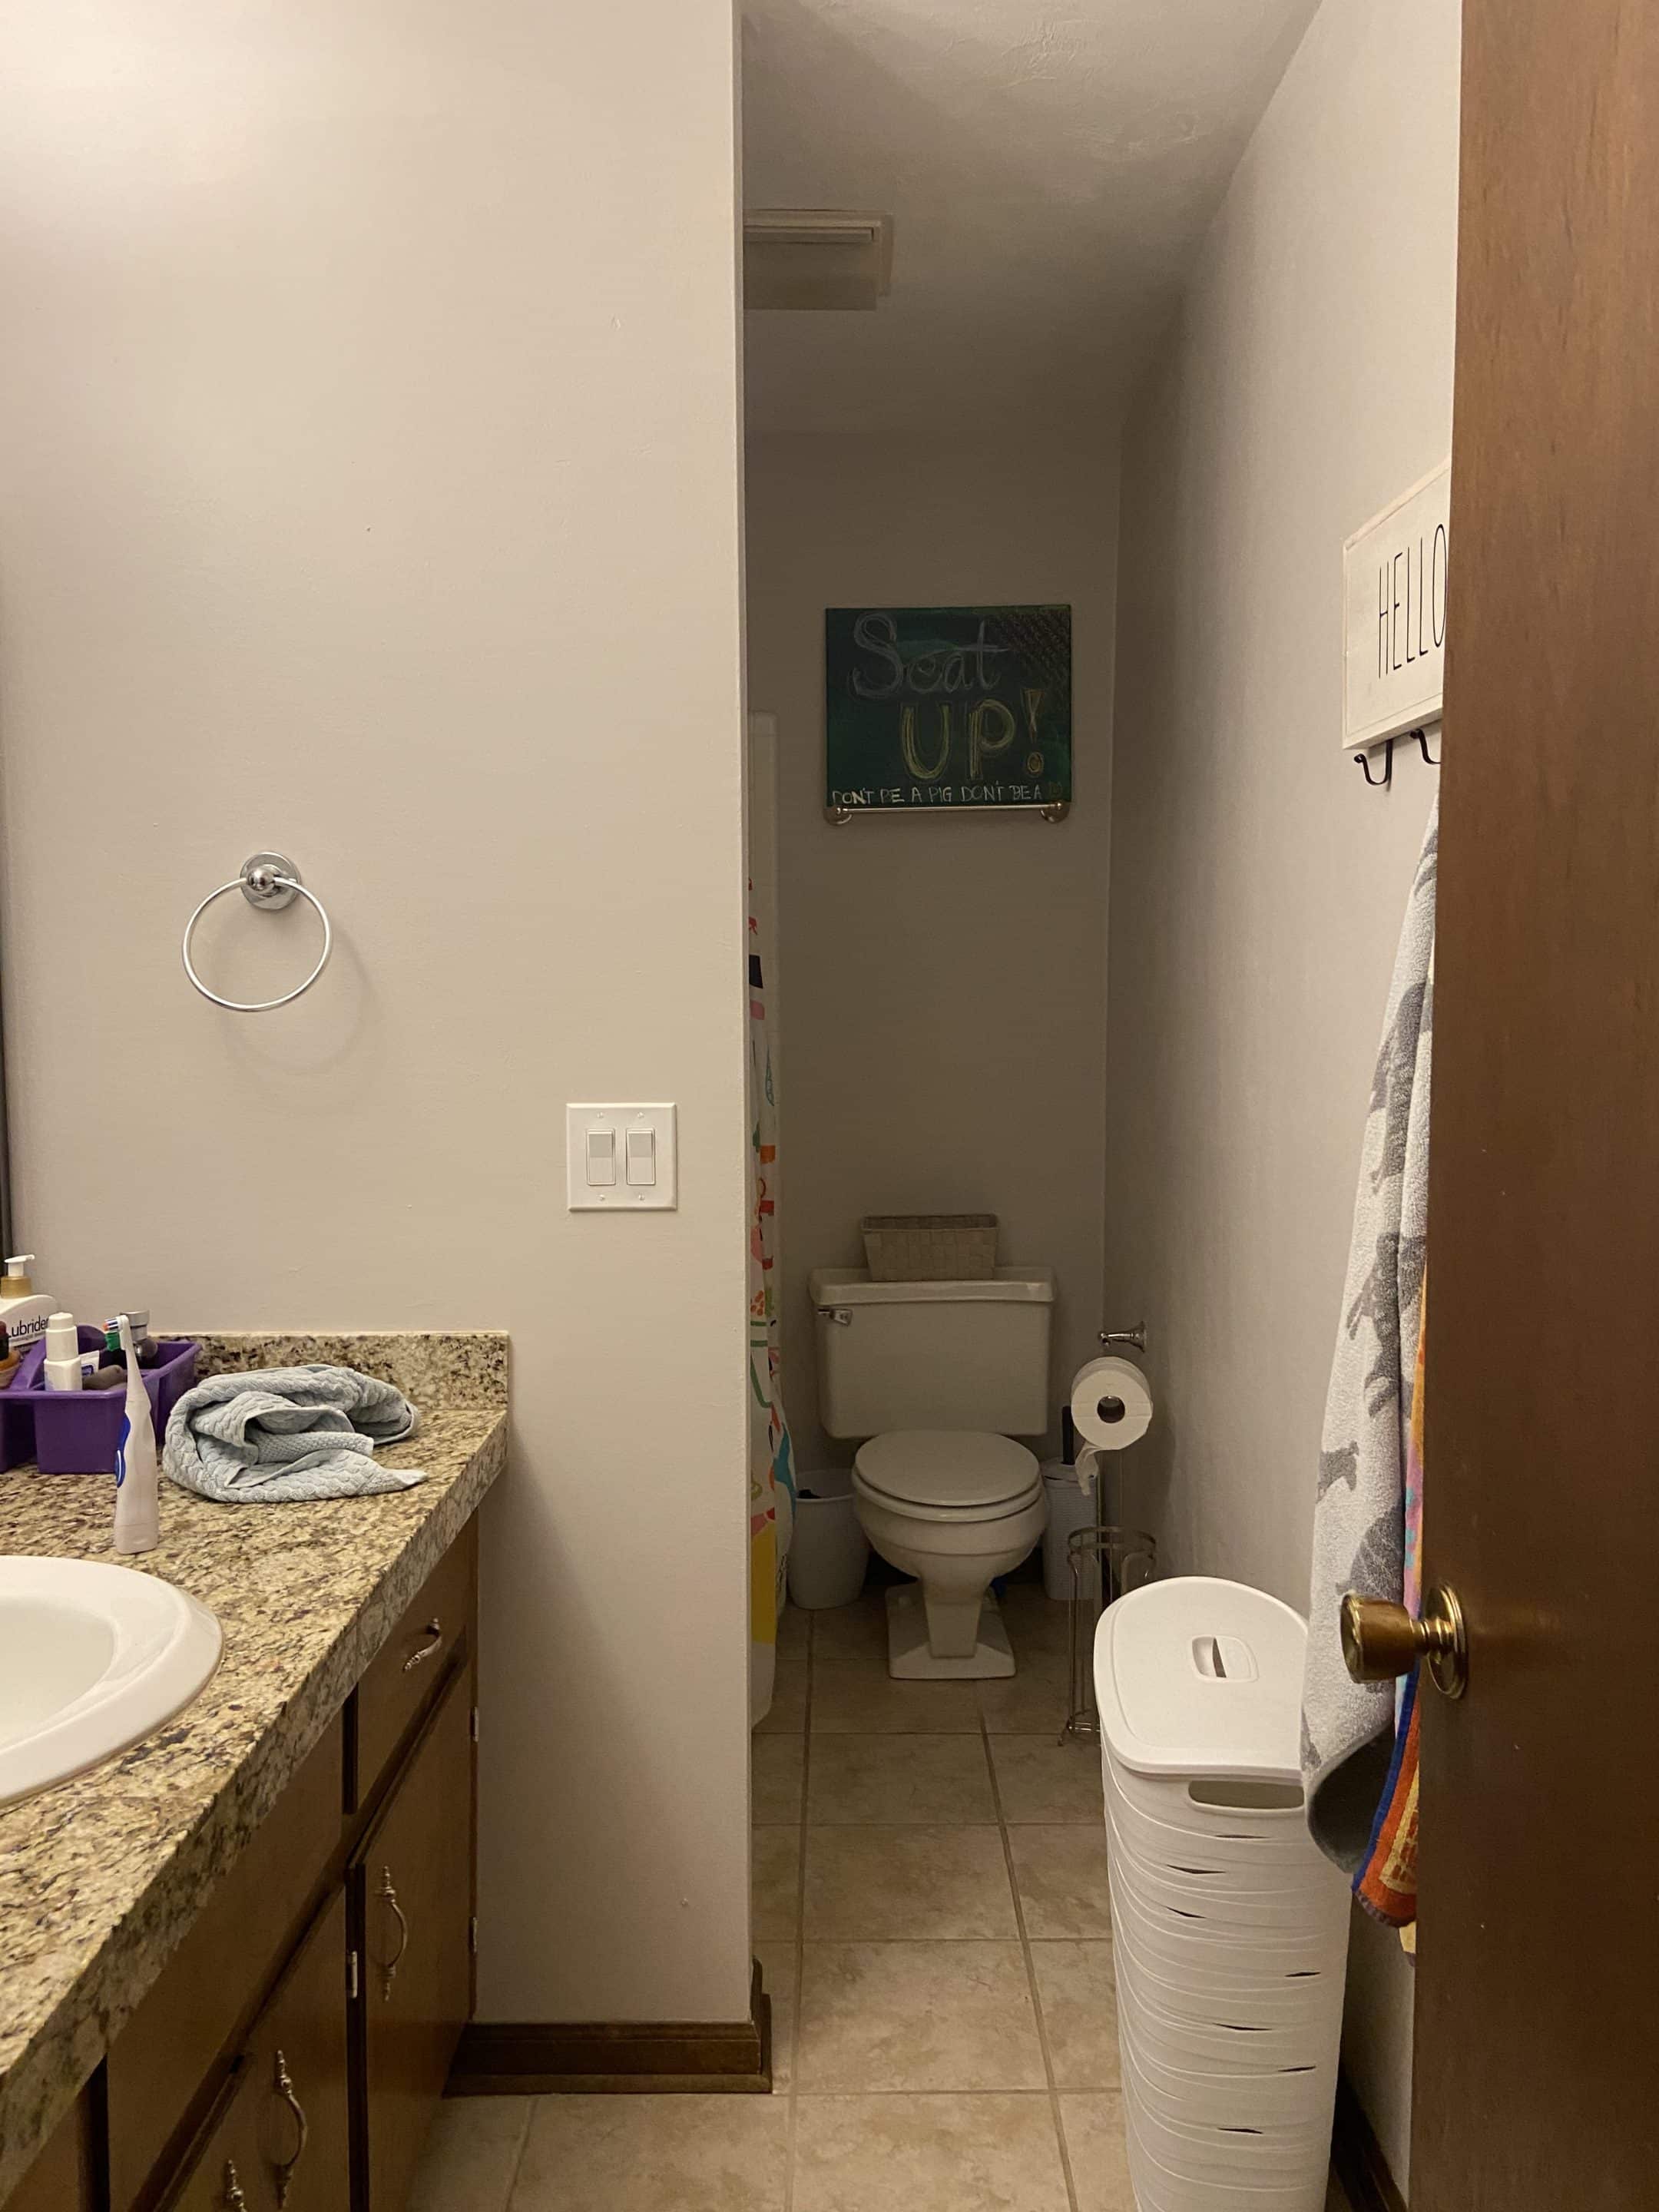
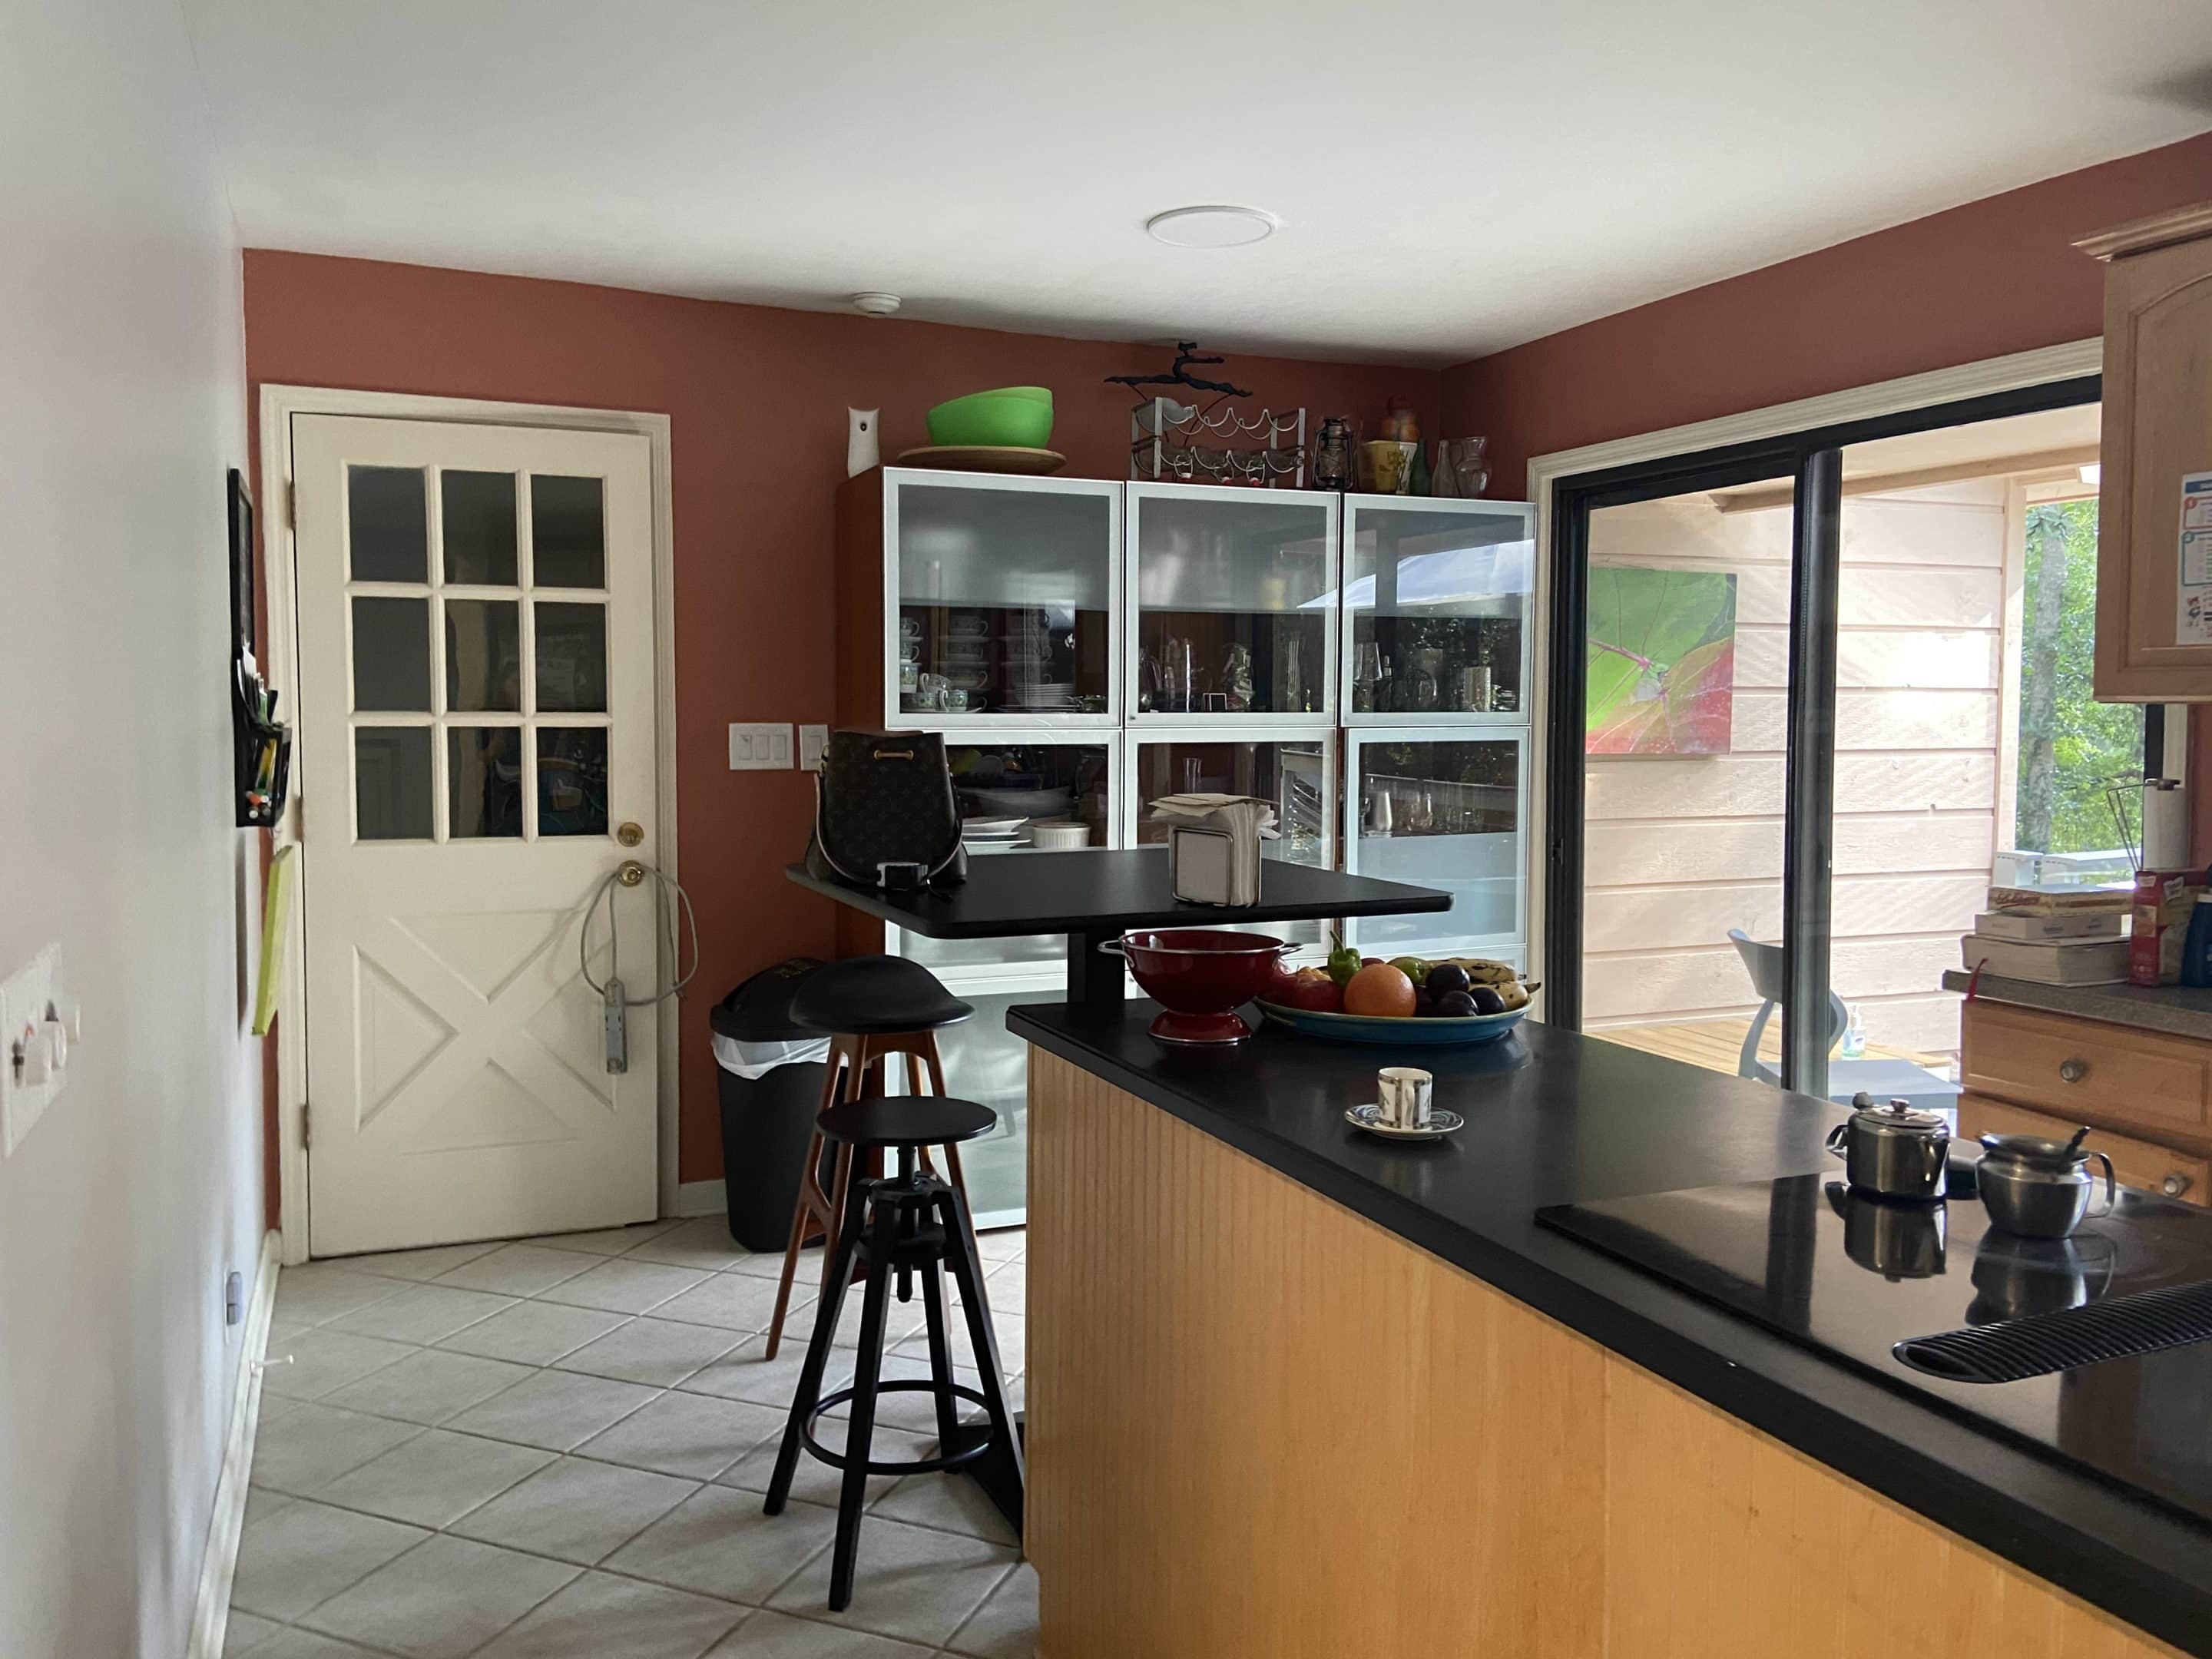
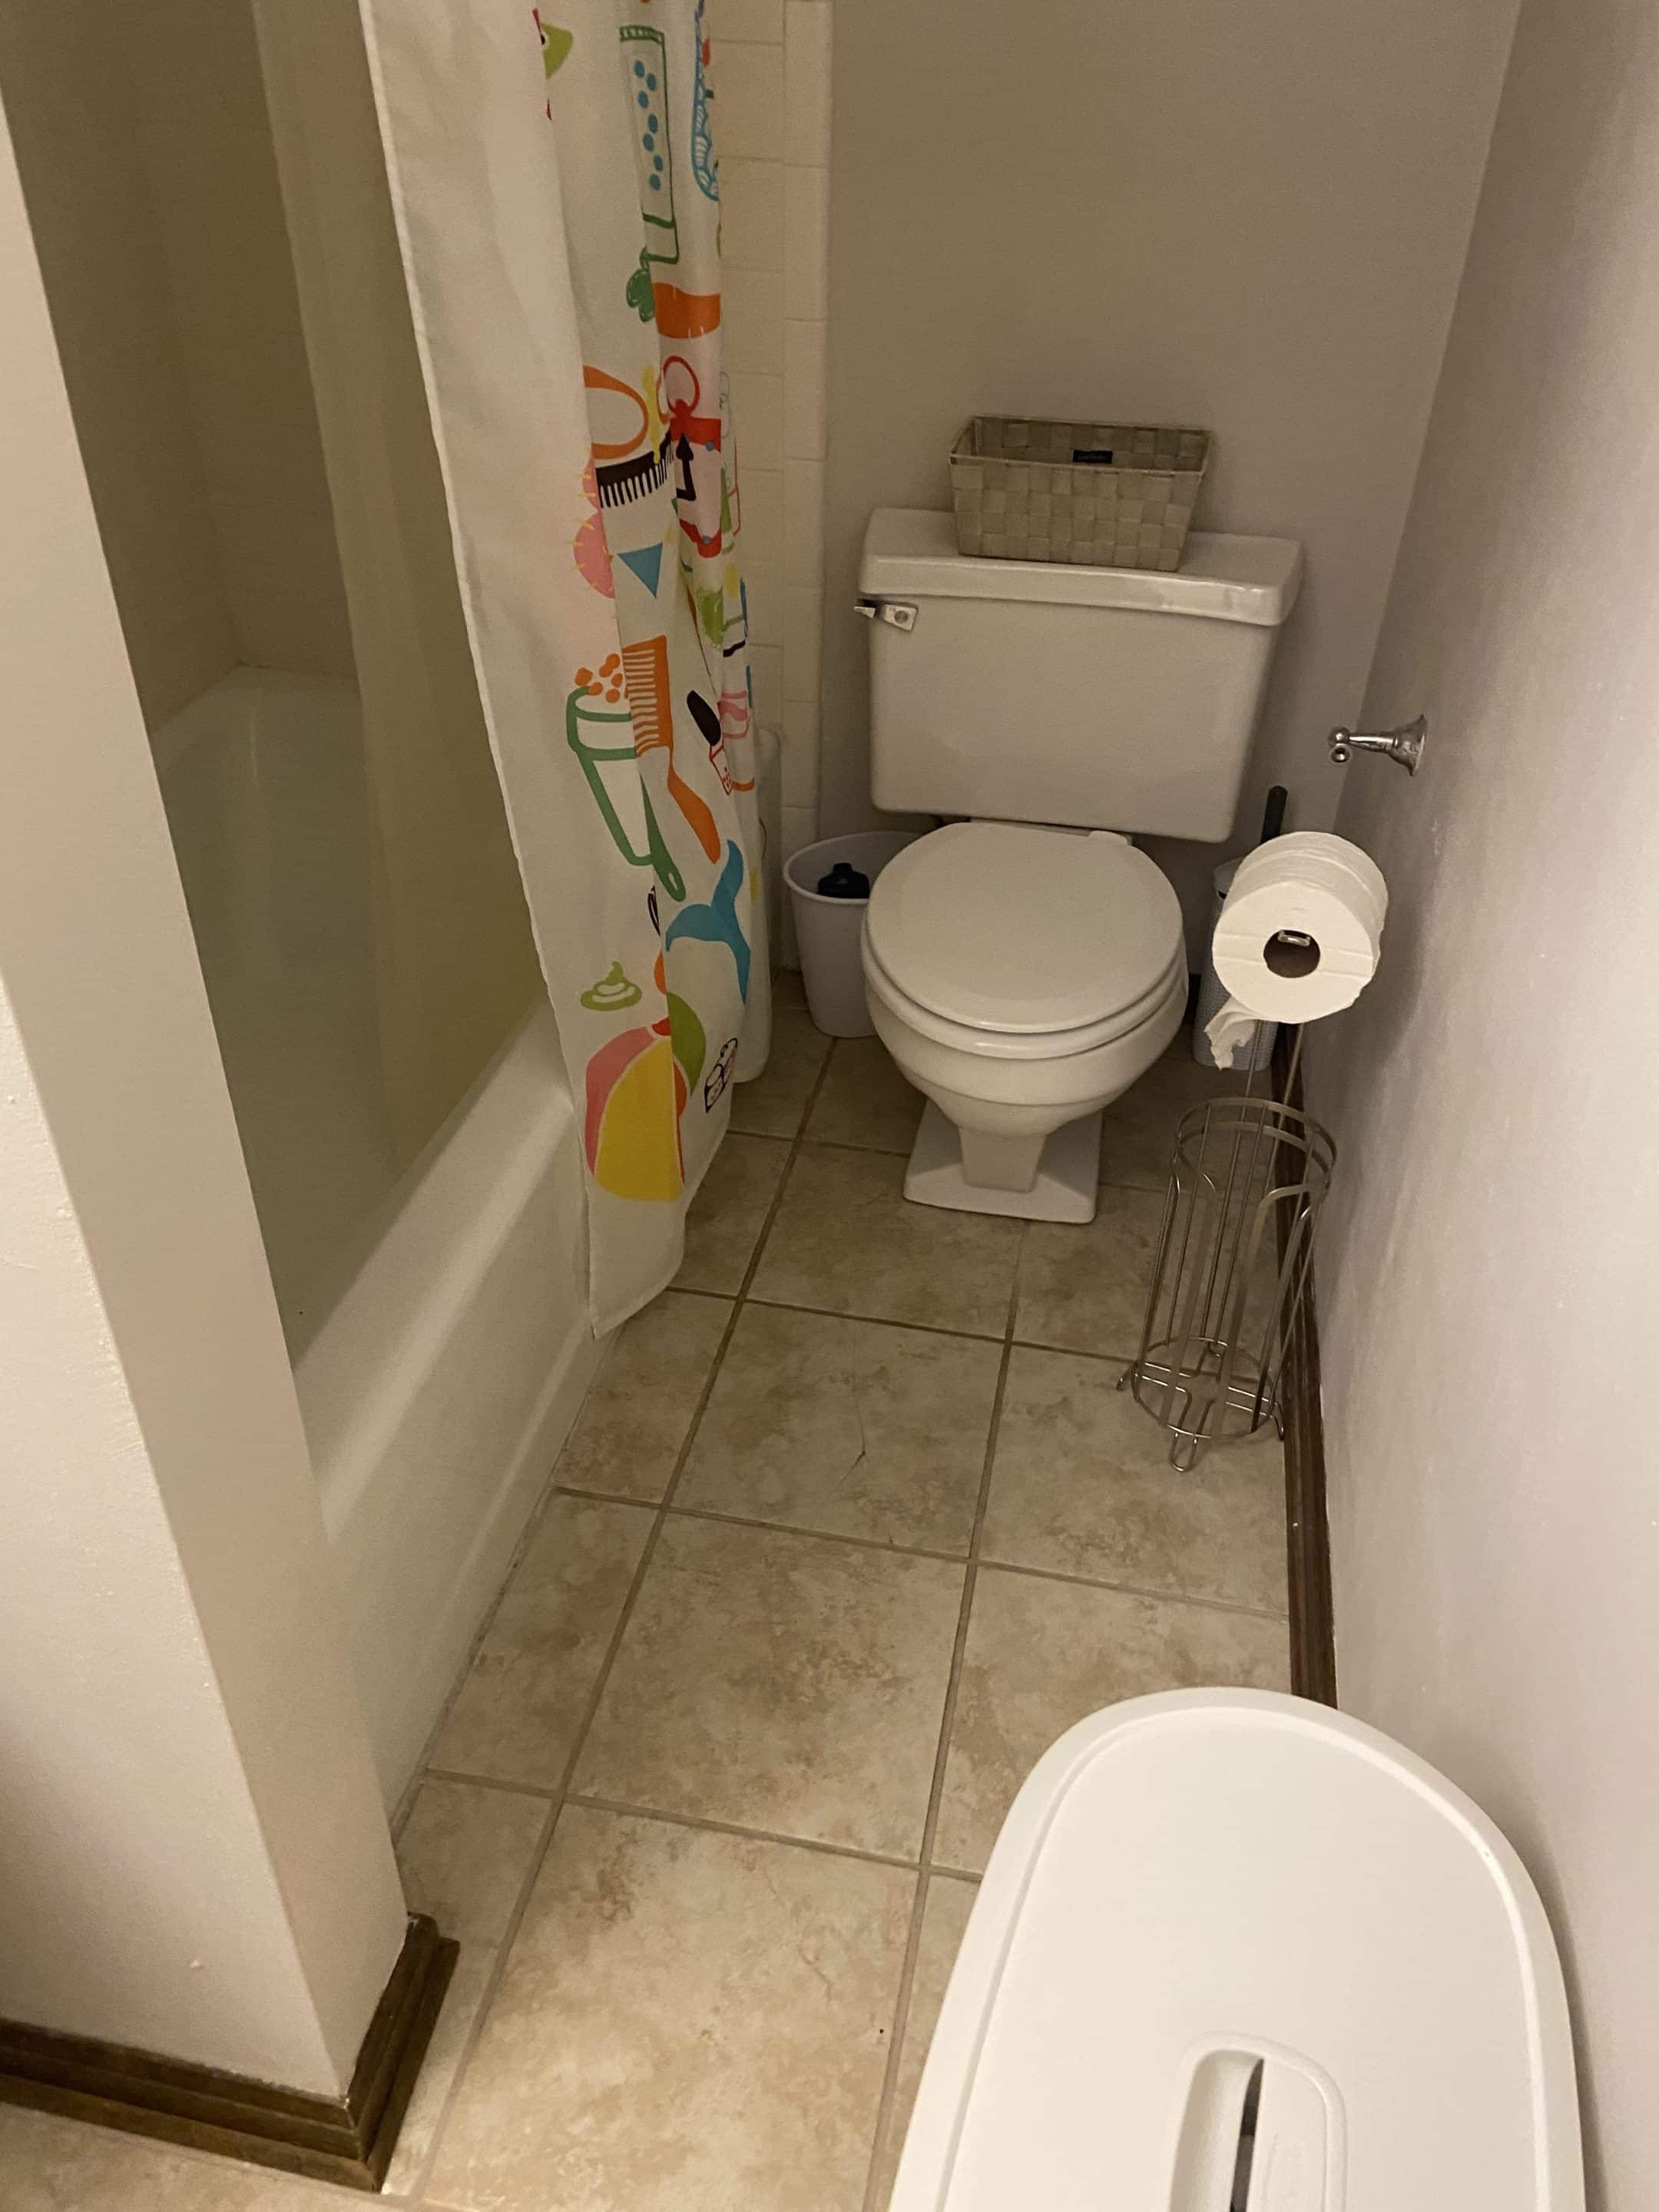
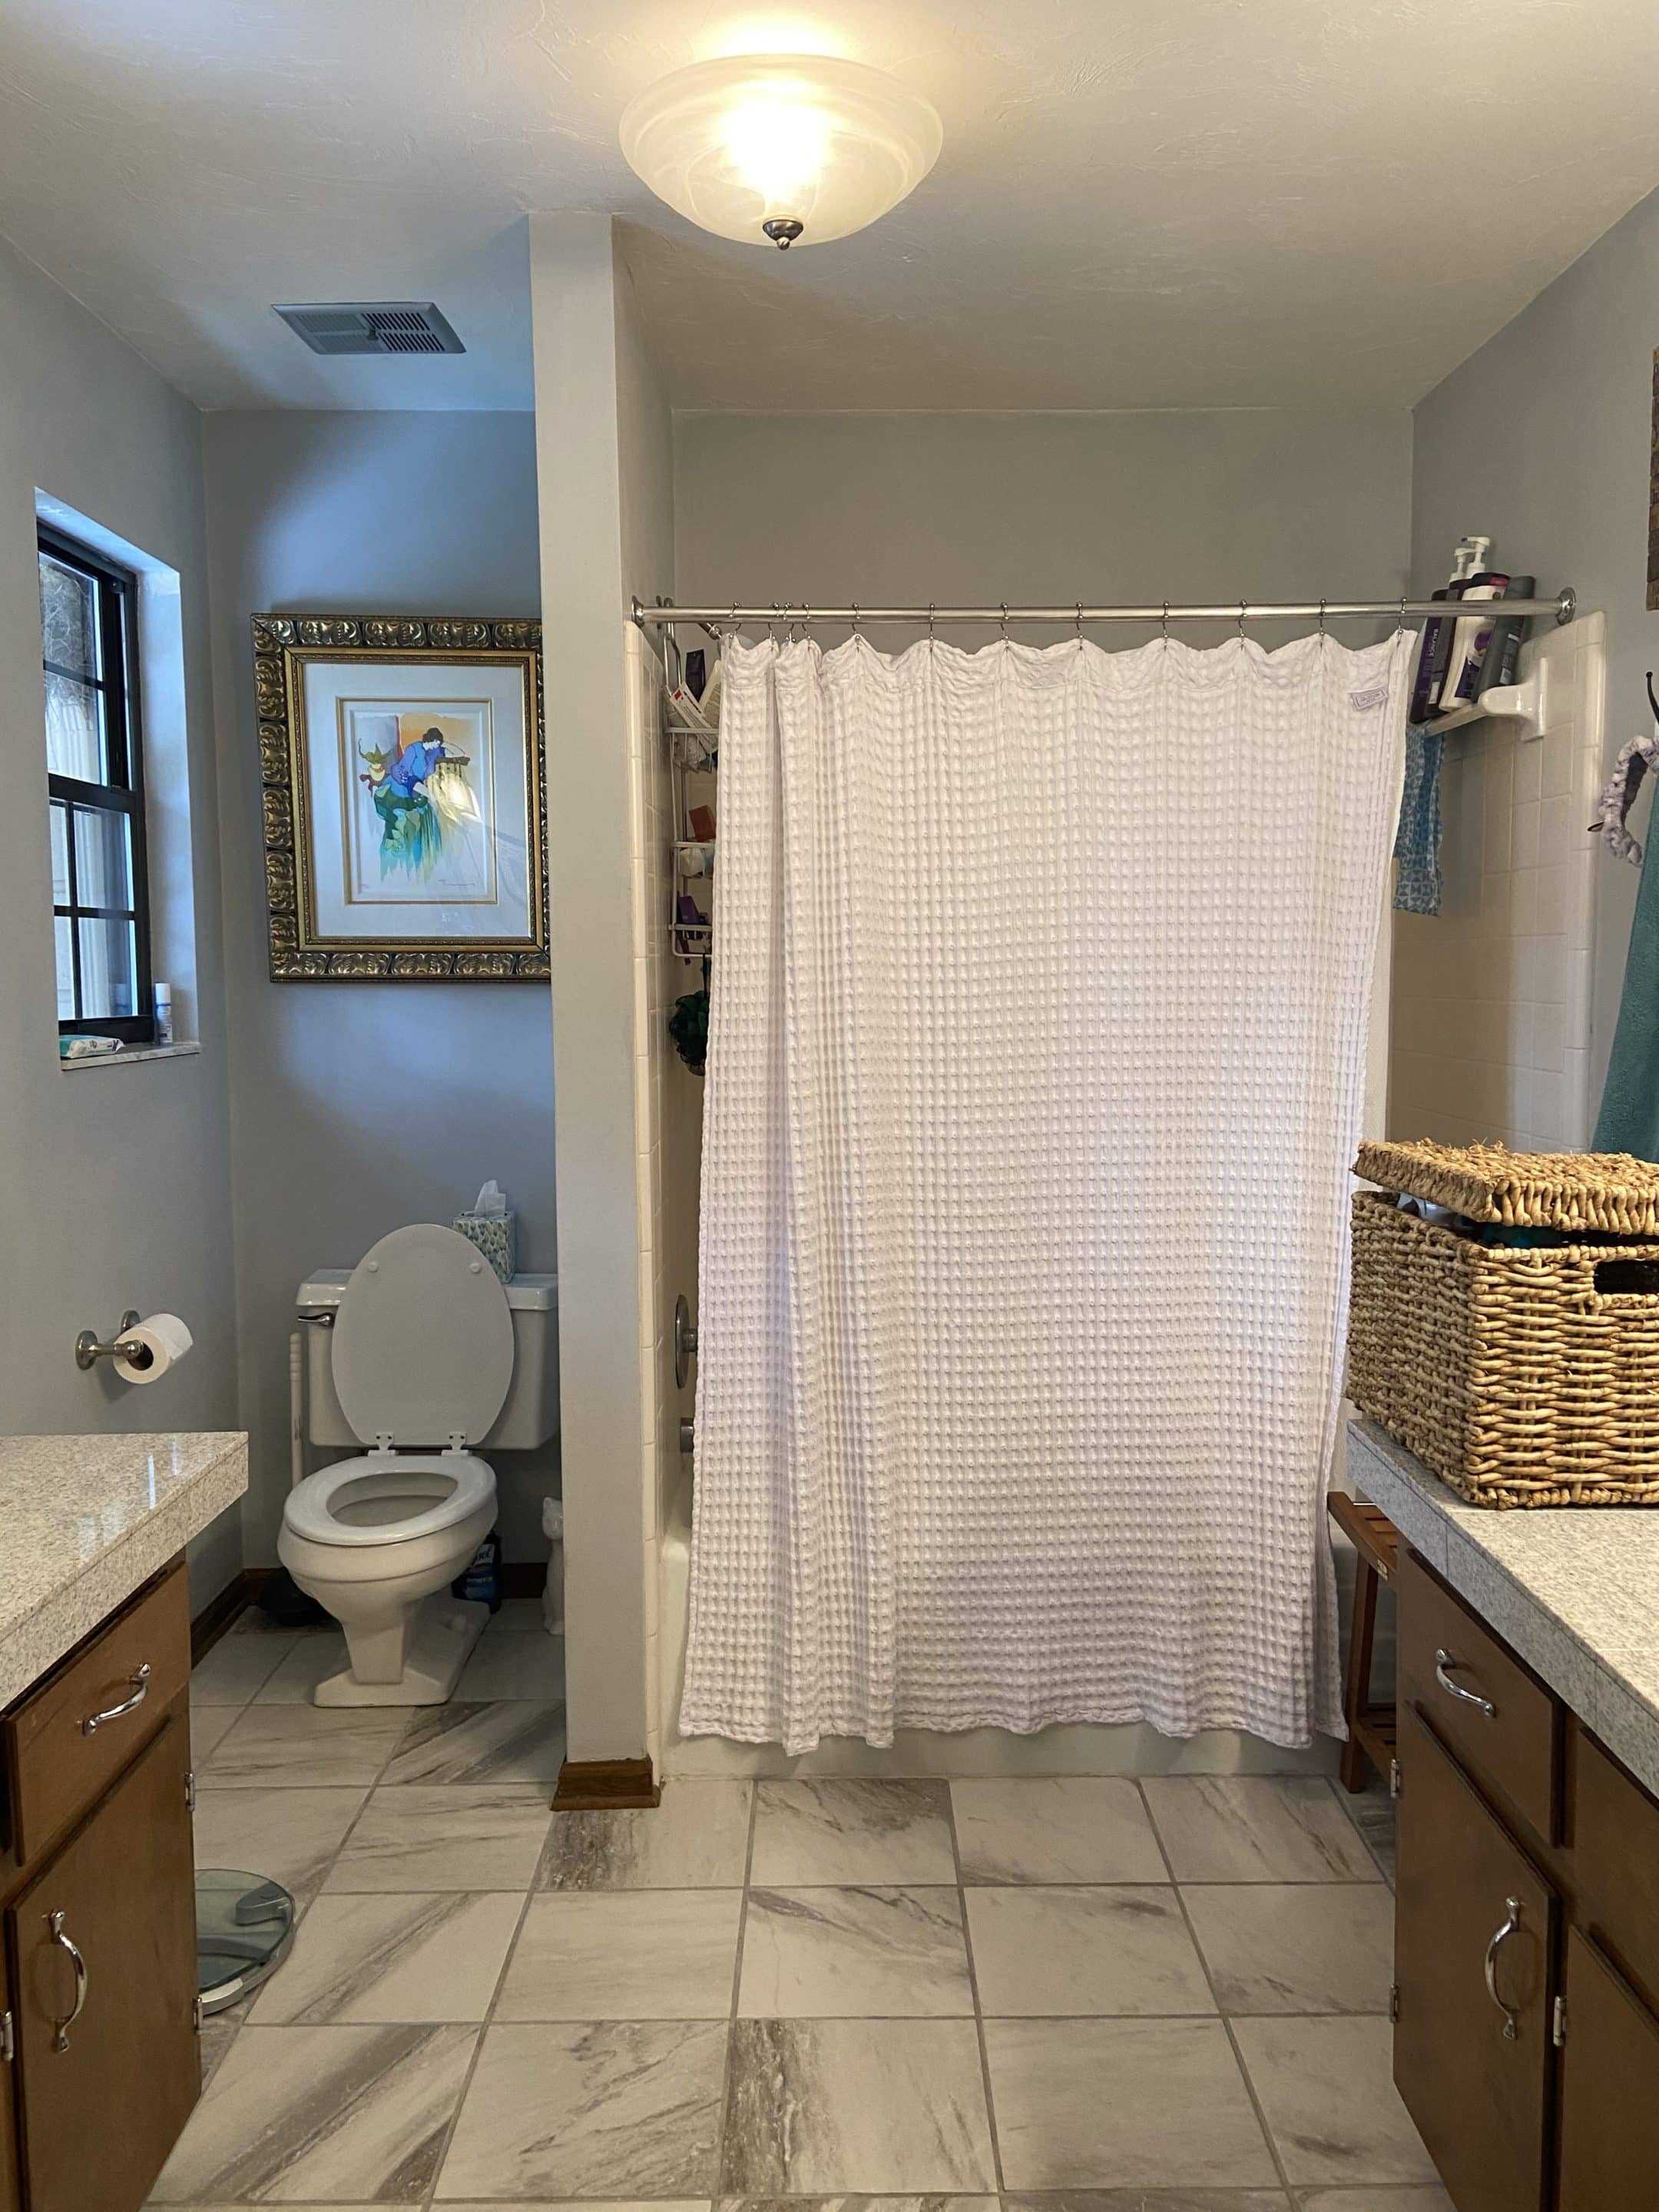
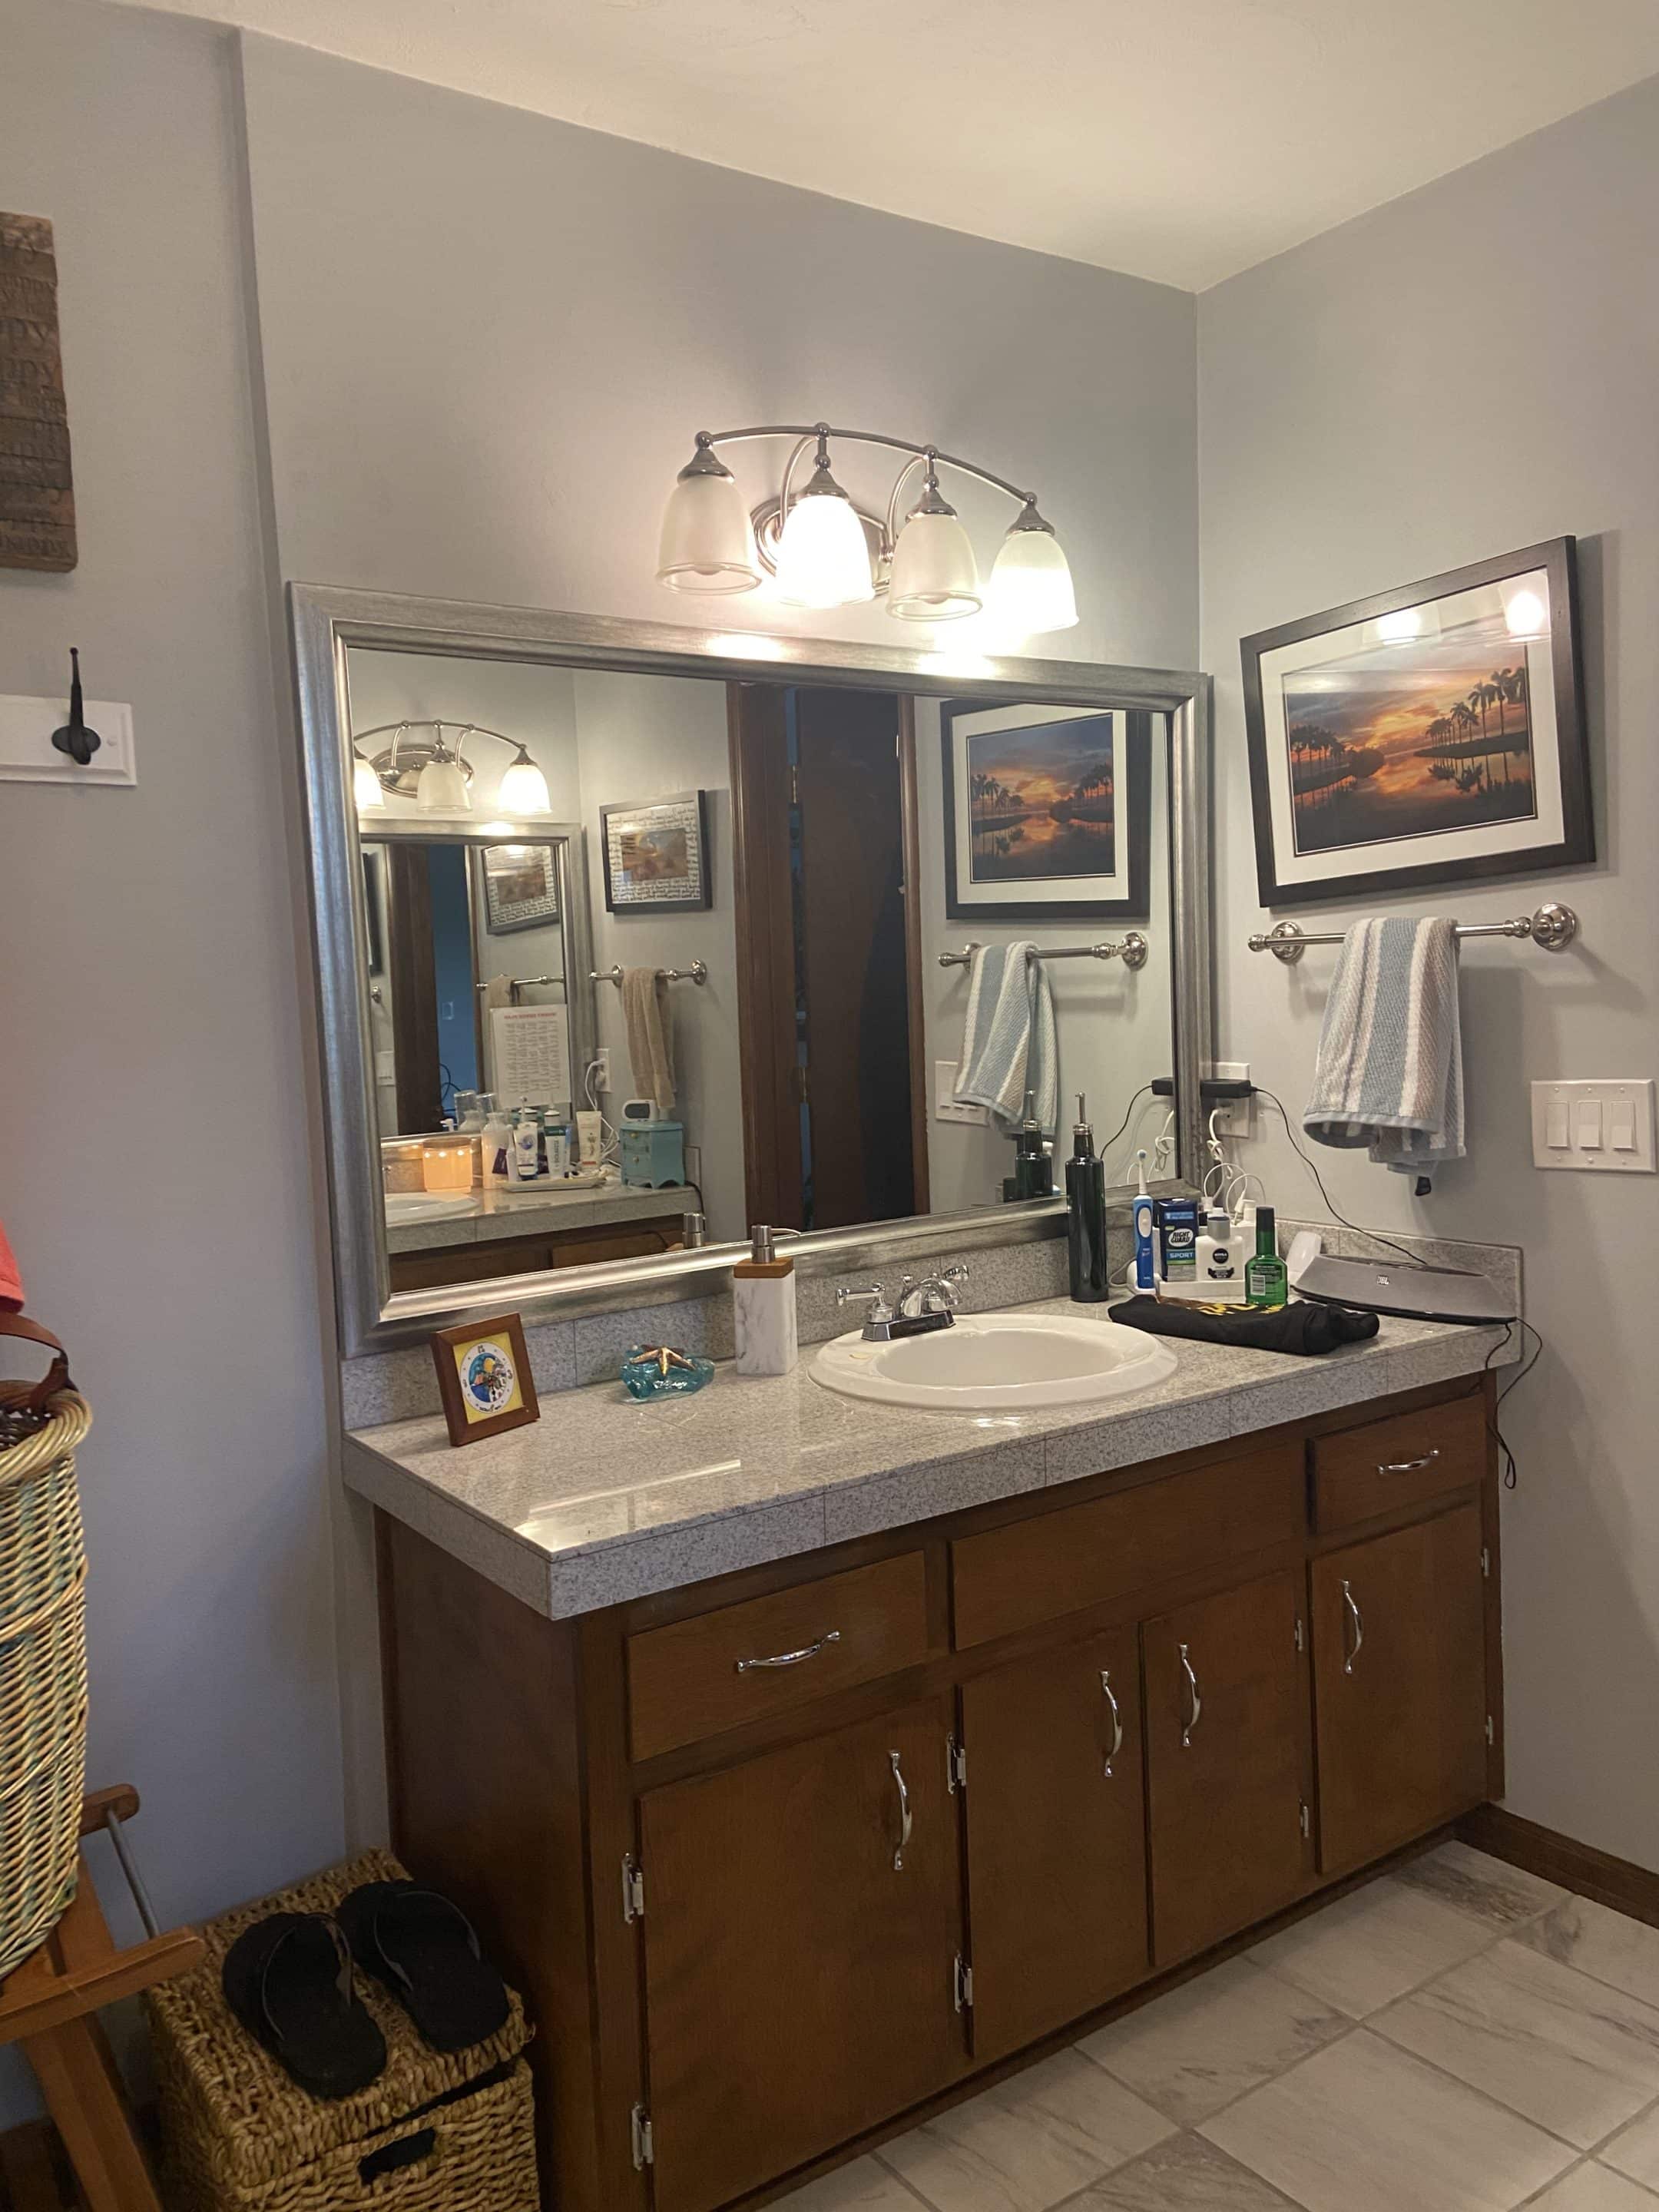
Before Photos
Click to Enlarge
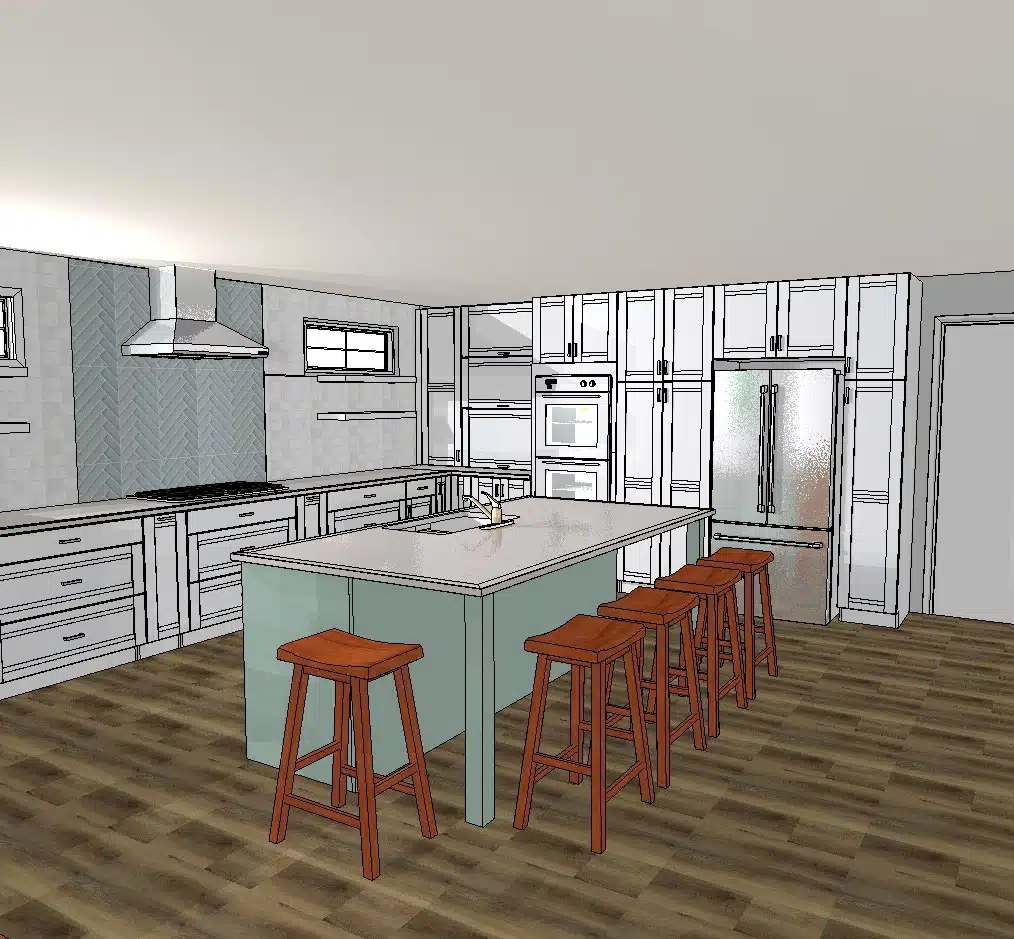
Kitchen Design Photos
Click to Enlarge
After Photos
Scope of Work
This was one of the larger jobs that we have done in recent history, and as such, it had a lot of moving parts. Starting upstairs, we remodeled the primary and hall bath with new cabinets, trim, and flooring. Additionally, we addded a walk-in closet to the primary bedroom.
Once finished, we went about updating the common downstairs areas such as the family room, dining room, and kitchen. We removed multiple walls (both load bearing and not) to open up the downstairs space. This transformed a space that was previously sectioned off into smaller compartments into a large, flowing downstairs that is perfect for large gatherings or even just lounging with the family.
This was the entirety of the original scope of the project, however, the homeowners asked us to renovate the downstairs suite once the original project had already been finished. What was initially a sizable remodeling job ended up turning into a full house remodel, and we think the results speak for themselves.
Timeline, Challenges and Solutions
Project Start
January 19th, 2021
Estimated Completion
May 28th, 2021
Actual Completion
June 23rd, 2021
You might read this and ask, “Why would this project take an extra month?”. The answer is simple really. The client added the downstairs suite (bedroom and bathroom) to their remodel, making both the budget and the timeline increase substantially. We always reccomend that you properly think about what you want out of your project, as additions or changes down the line can lead to delays. In this case however, the client dealt with these reprecussions like a pro and we were able to quickly help them realize the home they dreamed of.
Project Costs
Initial Budget: $122,000
Fixed Price Proposal: $217,314.81
Change Orders: $70,569.38
Final Project Cost: $305,000
Cost Details
The initial Good-Better-Best budget for this project was $122,000. The final total was over $300,000. Why such a big difference?
Well initially, the client wanted to do a somewhat modest whole home remodel but after going through their intial design meetings and discussing their needs and proiorities, they decided to expand the scope of the project, adding $80,000 to the project.
During the project there were several change orders, the largest being the addition of the downstairs primary bath ($77,000). Other change orders were comparatively minor changes such as: painting the doors and trim, changing out the shower fixtures in the hall bath and the primary bath, and adding additional island cabinets.
Cost Breakdown
- Installation Labor 35%
- Fixtures and Materials 32%
- Design and Project Management 20%
- Overhead and Profit 12%
- Shipping and Sales Tax 1%
Selections
Cabinets
For the standard kitchen cabinets, the client went with the Tivoli door style from Bellmont‘s 1600 Line in white. For the island cabinets, the client stuck with the Tivoli door style but chose the color Fjord (a very subtle seafoam color). This color change may seem abrupt, but these cabinets are low and hidden, allowing them to subtly accent the striking white kitchen.
Counters
The countertop is from Silestone‘s Eternal Collection in Polished Et Dor. This timeless design was used for all of the kitchen counters (the island and the standard counters)
Lighting
A notable lighting feature is the gold Anrey 2 pendants from All Modern hanging above the island. We also installed some undercabinet lighting from Task Lighting in the espresso cabinet to accentuate its unique features.
Plumbing
For the kitchen sink, we installed an undermounted single basin sink from Ruvati with a sleek single handle faucet from Delta
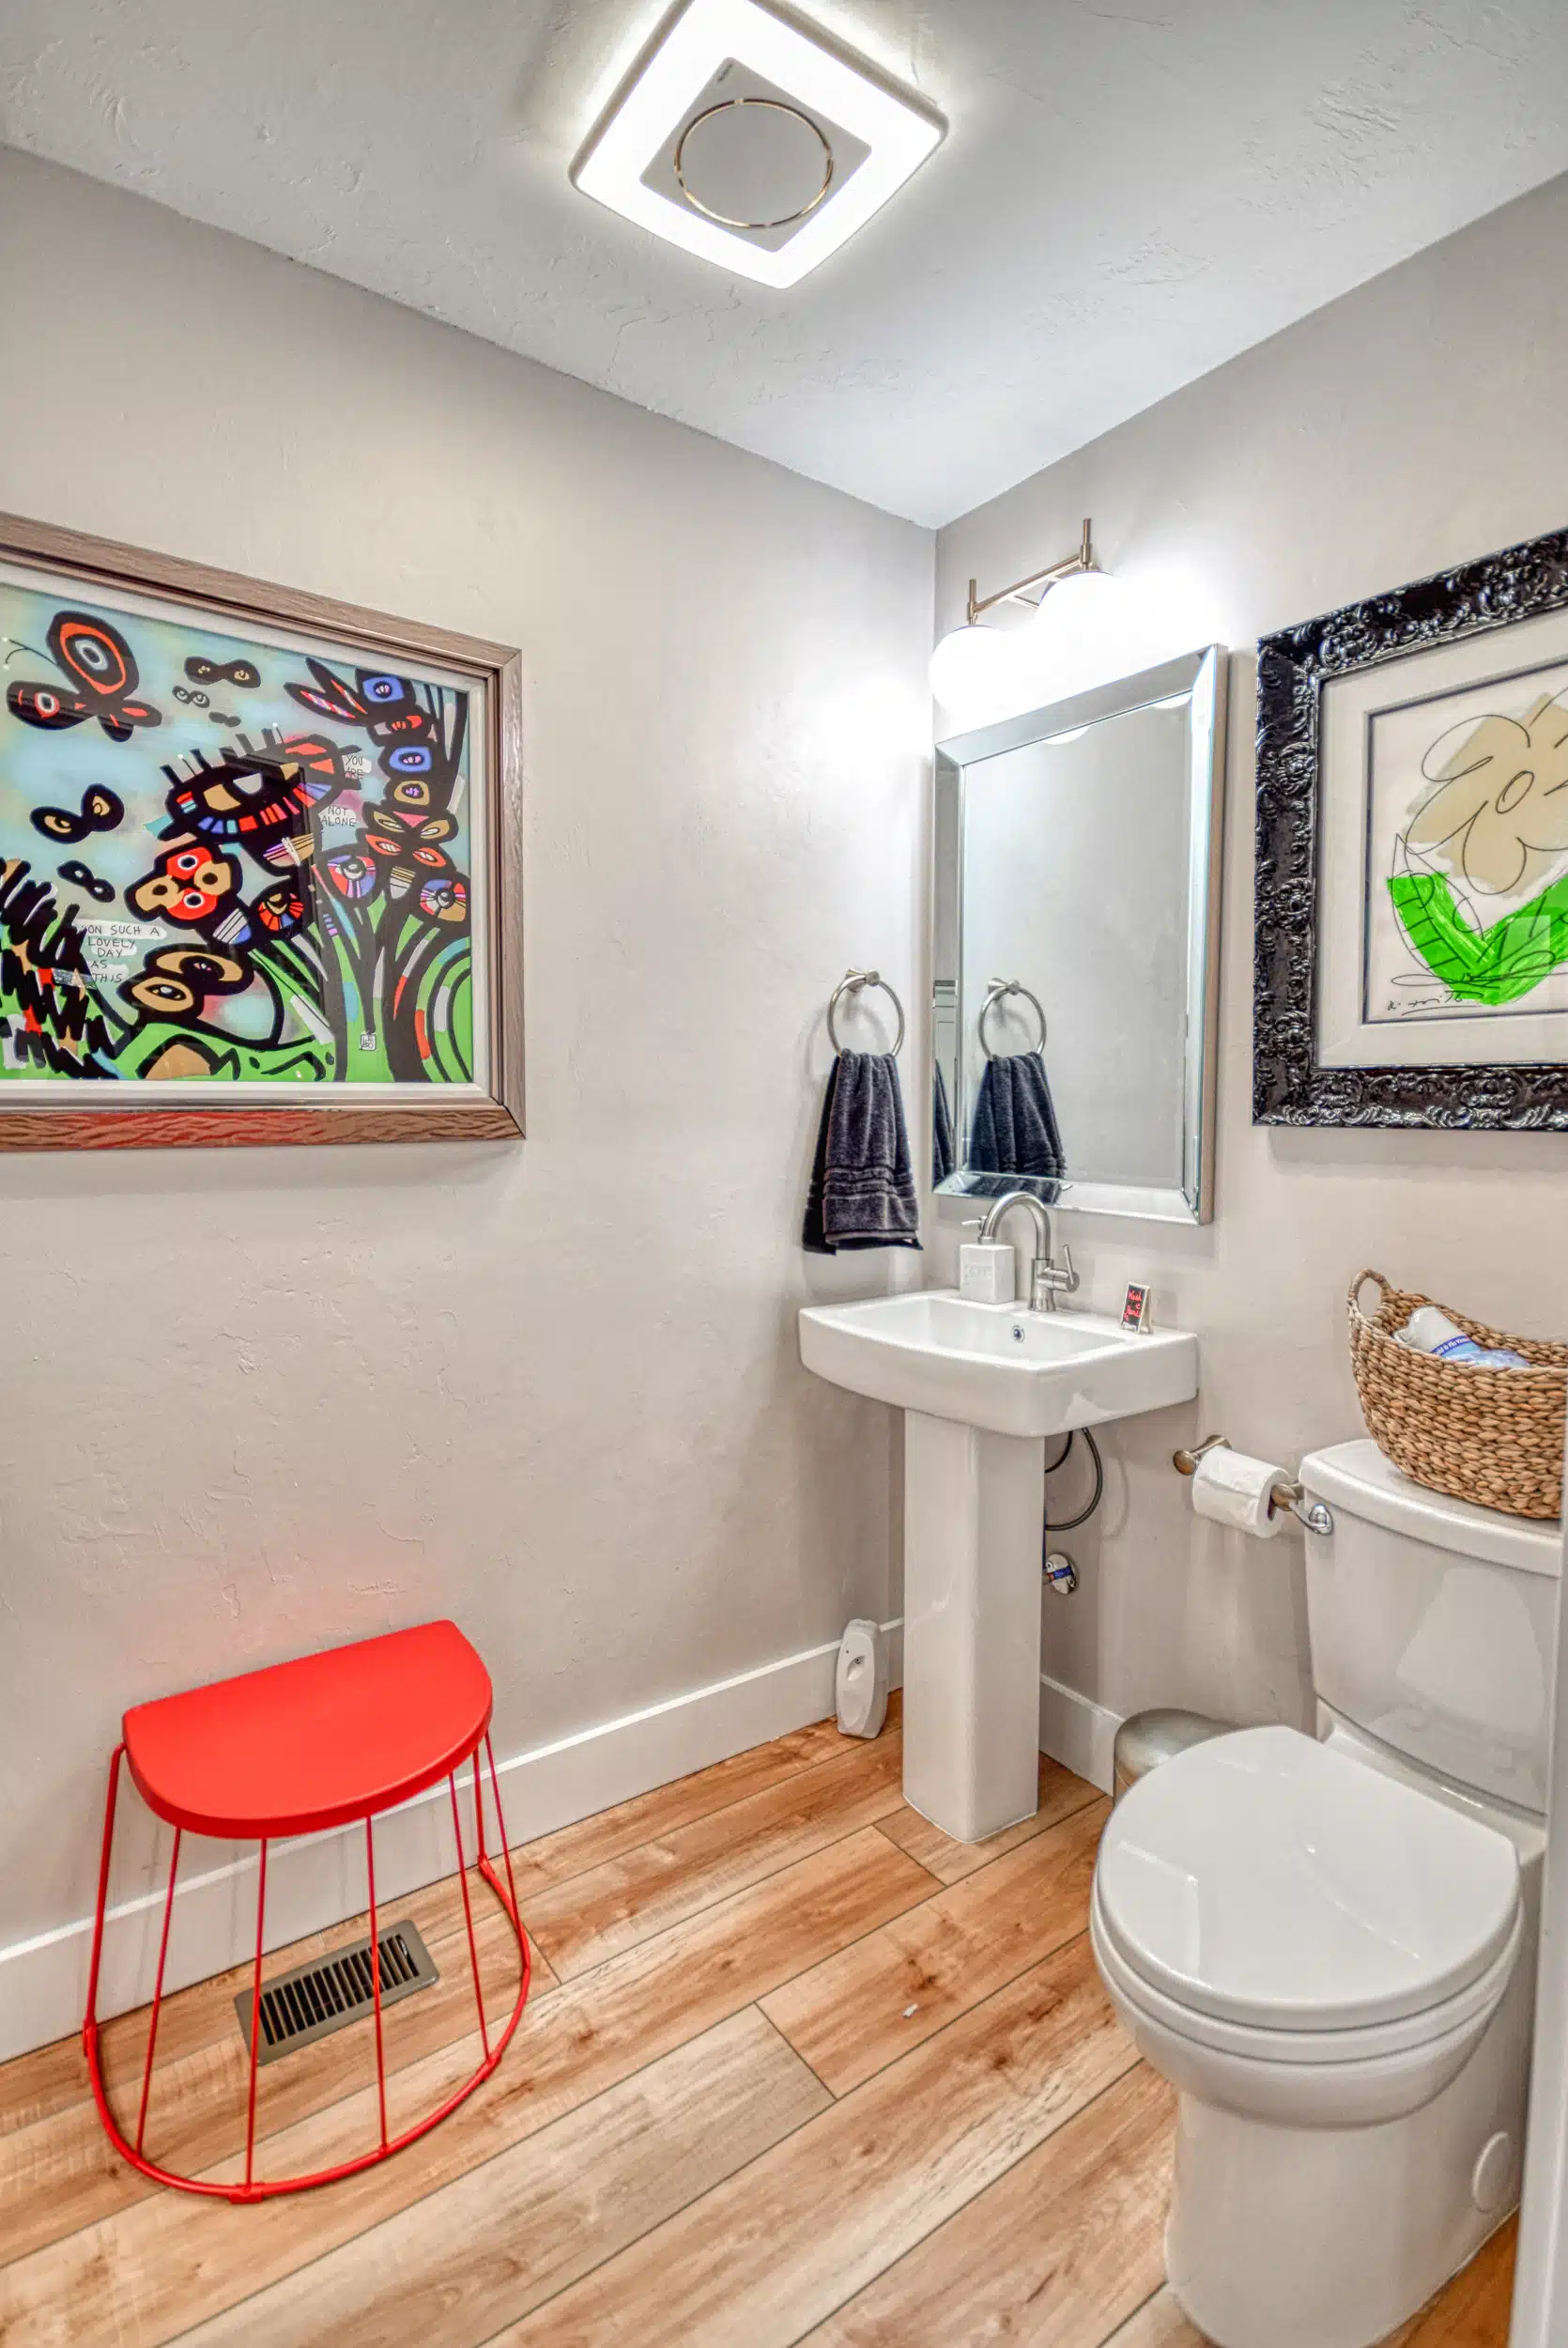
Other notable plumbing fixtures include the elegant skirted toilets from American Standard in the primary bath, powder room, and hall bath.
Trade Partners
We’ve been developing relationships with quality trade partners for years. We tend to use the same subcontractors because we trust their work and have developed a great working relationship with them. This helps make projects run smoother.
Demo: C and T Home Improvements
Plumbing: Watts Cooling, Heating, & Plumbing
Electric: Truevolt
Carpentry: Murrane Improvements
Flooring: Mike Lammert Flooring
Tile: Turner Tile
Drywall: Hawkins Drywall
Painting: Mayfield Painting
Thank you for reading! We’d love to be a part of your next remodel. Check out our Design Services page.
Paul McManus
Certified Residential Contractor, CRC1331326
Get Started With A Design and Budget Consult
We start each project with a Design and Budget Consult. It will help you clarify your design ideas, understand the remodeling process and create your Good Better Best budget. It’s the best way to start planning your project.