McManus Kitchen and Bath provides a single place where you can work with interior design and construction professionals who can help you create a happy, healthy home. We start each project with a Design and Budget Consult. It will help you clarify your design ideas, understand the remodeling process and create a Good Better Best Budget for your project. Click Here to Schedule a Consult
Lighting is probably the most overlooked aspect of most kitchen remodels. The focus is often on the way a light fixture looks rather than the type and amount of light it casts. A kitchen really isn’t complete without a good lighting plan.
In more than a decade of remodeling homes in Tallahassee, I don’t think I’ve ever met a homeowner who didn’t want recessed lights in their kitchen.
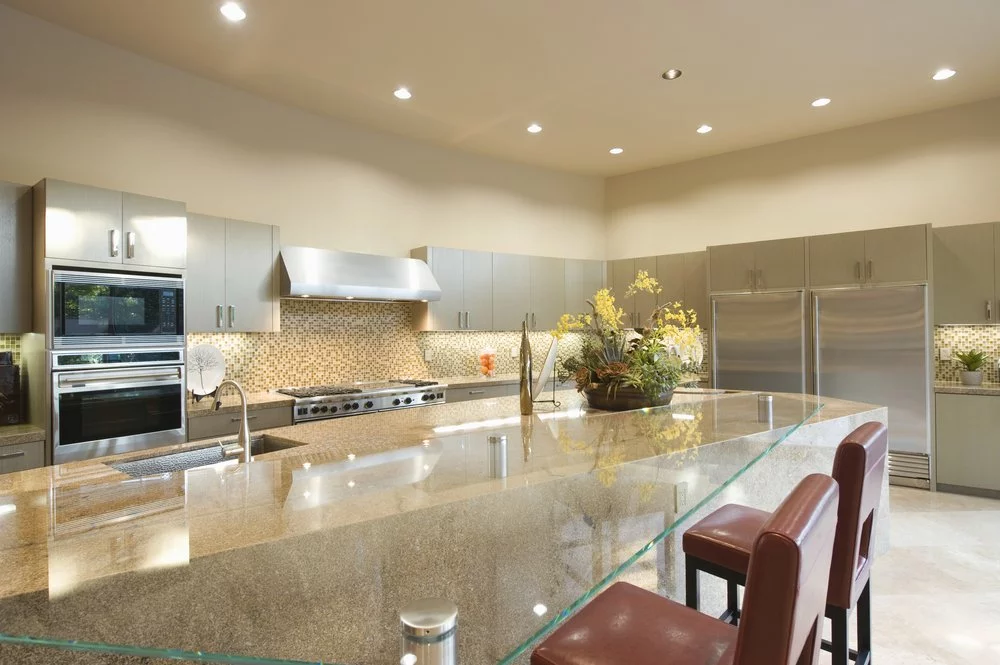
Recessed lights are universally loved by homeowners, designers, and contractors and for good reason.
Pros of Recessed lights:
- Inexpensive
- Easy to Install
- Look great, go with any decor
- Dimmable, can be controlled with smart switches

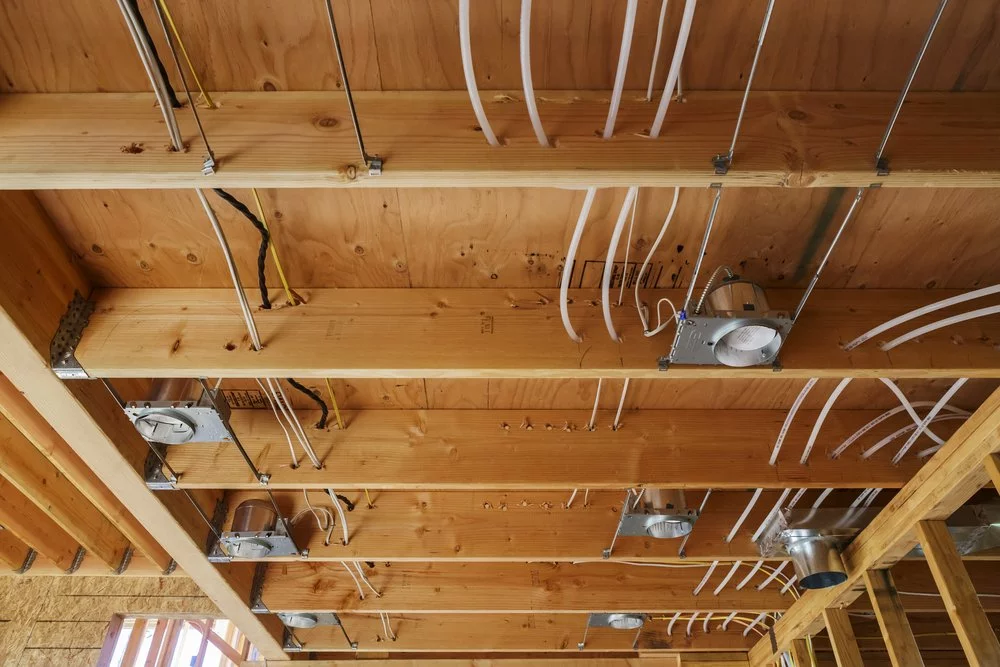
Recessed lights roughed in before drywall is installed
Can You Add Recessed Lights in Your Kitchen?
Probably. They are fairly easy to install and often don’t require removing any drywall to install them. Sometimes some small holes must be cut in the ceiling to allow the electrician to fish the power lines, but those are easily patched.
The challenge when remodeling is putting recessed lights exactly where you want them. There are usually a myriad of wires and ducts up in your ceiling that may prevent you from putting a light exactly where you want it, so be prepare to be flexible.
Is Recessed Lighting in the Kitchen Your Best Option?
There is no best option when it comes to lighting. What you need is a lighting plan with 3 basic kinds of lighting:
- General Lighting – flush mount fixtures, wall sconces, and lamps
- Task Lighting – under cabinet lights, wall mount lights (gooseneck fixtures) and recessed lights.
- Accent lighting – in cabinet lights, dimmable lights, up-lights, sconces.
Recessed lighting can serve all three of these functions but they are better suited to task and accent lighting.
Using Recessed lights as task lights
Recessed lights are great task lights when placed properly, and terrible task lights when placed incorrectly. What does that mean?
A good example is in the kitchen, near the countertops. Place the lights so they are centered right over the edge of the counter, about 18” from the wall, and they will light your counter beautifully.
Place them 24” from the wall and your body will cast a shadow on the counter because the light is above and behind you.
Recessed lights as accent lights
Recessed lights also make good mood lighting because they can be dimmed when needed.
Using Recessed Lights for General Lighting
Using recessed lights for general lighting depends on 3 factors:
- Your ceiling height
- The type of baffle, or trim, that is used
- the size of the light itself
Recessed lights are available in 4 – 6 inch diameter. Large lights cast more light over a wider area but large lights may also be harder to install during a remodel.
Since the recessed light is essentially a “down light”, it creates a narrow cone of light from the ceiling to the floor. The taller the ceiling, the wider the cone will get before it reaches the surface to be illuminated.
A lot of homes in Tallahassee have 8-foot ceilings. In my opinion, you shouldn’t rely on recessed lights for general lighting if you have 8-foot ceilings. You need another light.
Homes with 9 or 10-foot ceilings though can use recessed lights for general lighting, though I still think adding a flush mount or other type of general light is better.
What the heck is a baffle?
A baffle is the cone-shaped part of the recessed light. The baffle can be narrow or wide. The size and shape of the baffle determine the width of the cone of light recessed lighting provides.
How much light does your kitchen need?
The amount of light that shines on a surface is measure in Lux. Lux measures Lumens per square meter. You can download a light meter app for your smartphone and measure the light on your counters yourself. Most people will find they have 20 Lux or less. I’ve been in many homes with as little a 5 Lux over the counters due to shadowing issues.
Some people say you need 50 Lux over work surfaces in the kitchen, others say as much as 250 Lux. There’s no definitive answer, but I would say most kitchens and bathrooms in Tallahassee are underlit and generally recommend 50 lux over work surfaces.
If you’re planning a remodel, I definitely recommend upgrading your lighting. Use a light meter (or work with a remodeler who does) and measure the Lux in different work areas of the kitchen, then plan your general, task and accent lights accordingly. Recessed lights are a great addition to almost any kitchen, just don’t make them the only lighting you use.
If you have more questions about kitchen lighting or anything related to kitchen remodeling please contact us, we’re here to help.


