5 Steps To Design a Kitchen
and The 5 Cabinets Every Kitchen Needs
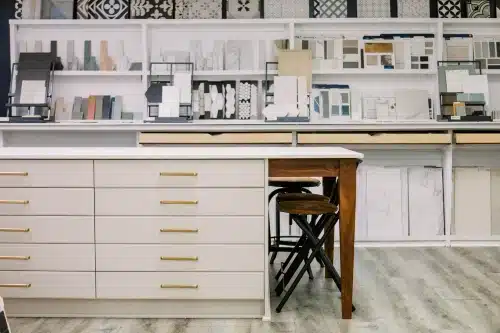
When you design a kitchen it helps to have a process. Some steps to follow to make sure you create not only a beautiful kitchen but also a functional one.
Every kitchen is unique but also share certain basic elements. There are some obvious things like a sink and a cooktop but others less so… does every kitchen need a microwave? A dishwasher? Upper cabinets?
When we design a kitchen we pretty much follow the same 6 steps every time and the first step starts with 5 basic cabinets we feel every kitchen needs.
Here are the 5 Basic Steps
- Start with 5 essential cabinets & Appliances
- Optimize layout and workflow
- Choose focal points
- Select fixturs and materials
- Add details and finishing touches
Designing a kitchen is not a linear process so the steps don’t always happen in the same order, they overlap some and you jump back and forth between steps. But those 5 steps provide the foundation of our kitchen design process.
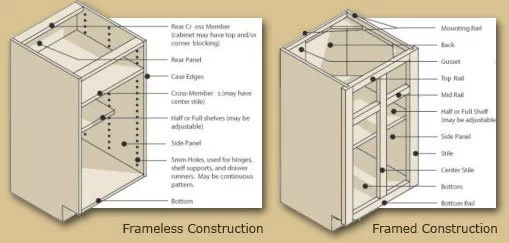
Cabinets are one of the more complicated choices. Not only is price/quality a factor but framed vs frameless, door style, cabinet options, size options and organizers available all need to be considered
Step 1: 5 Essential Cabinets & Appliances
There are 5 cabinets we like every kitchen to have if possible: A sink base, a 4 drawer base, a 3 drawer base, a trash pullout and a tall pantry cabinet. ideally you would have multiple drawer bases and tall pantry cabinets but that is not always possible.
So the first thing we do in any new design is place those cabinets. Once those are in the design we fill in with other basic and specialty cabinets the client wants/needs.
Along with this step usually comes placing appliances… dishwashers go to the right of the sink typically, range or cooktop go with our drawer bases and the fridge and tall pantry are put togther.
Some cabinet dont’s
Before we review our 5 essential cabinets here are a few things we don’t recommend when you design a kitchen.
-
- Don’t use cabinets skinnier than 15″ if possible
- Don’t over use specialty cabinets with built in organizers
- Don’t put cabinets less than 2″ from a wall or 3″ from a corner
Our 5 Essential Kitchen Cabinets
Most cabinet lines will offer these cabinets. Cheaper brands found online or RTA cabinets will have limited sizes and limited options.
Better cabinet lines will offer several versions of each of these and allow you to customize width, height and depth in 1/4 inch increments.
Sink Base
Obviously Every kitchen needs a sink so that is usually the cabinet we place first, often centered on a window.
Most sink bases will be 33 to 36 inches wide, though we have installed workstation sinks up to 72 inches wide.
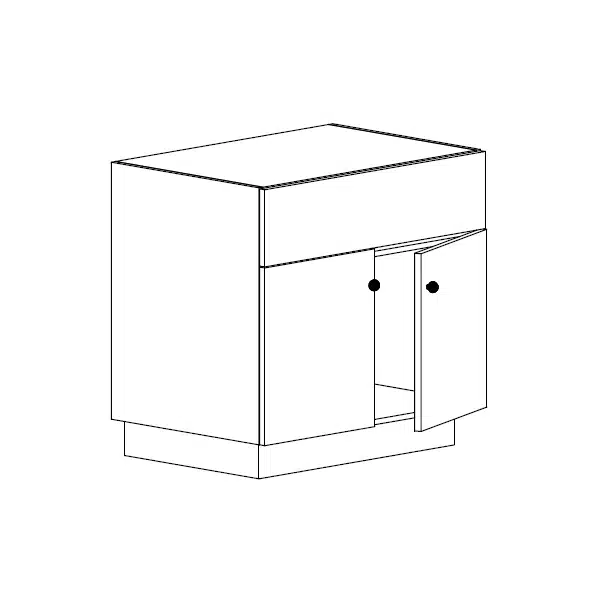
There are a few types of sink cabinets:
Full height door, 2 Drawer base (with u-shaped drawers), Apron front base (pictured here) and False drawer base
4 Drawer Base
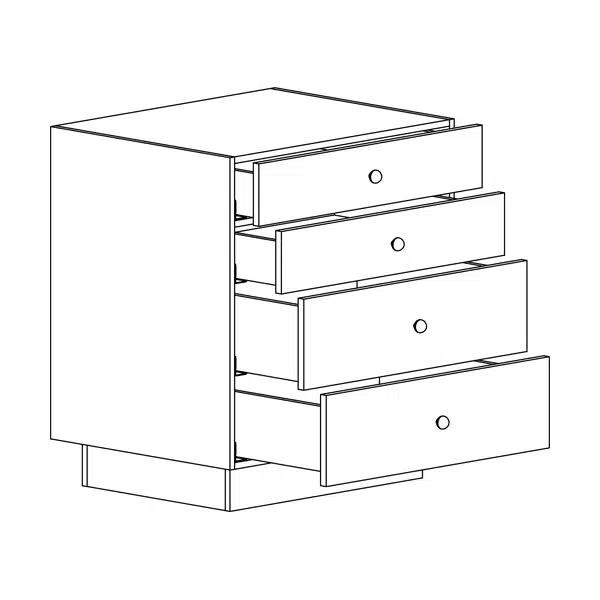
One of the most useful cabients in a kitchen
4 drawer base cabinets are excellent for organizing dishrages, utensils, spices, tupper ware etc..
Better cabinet vendors will allow you to customize the depth of each drawer as well.
Ideally we would put at least two of these in every kitchen… one near the range and one near the sink.
We like these to be between 18″ and 21 inches wide in most cases though in larger kitchens or situation where you have a lot of spices and utensils to organize they can be larger.
27 – 36 inch wide 3 Drawer Base
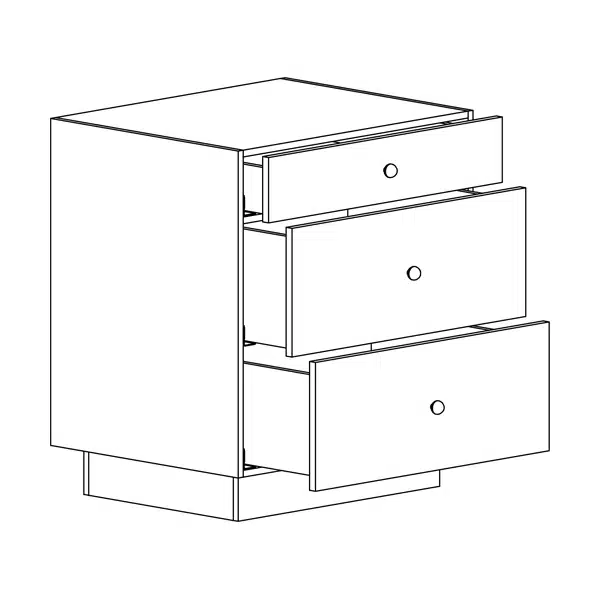
Some times over used, 3 drawer base cabinets, with are great for pots and pans and dishes. You can even fit small appliances like slow cookers or toaster ovens in them.
When we design a kitchen we like to have at least two of these and they should be 27″ to 36″ wide. If they are narrower than 27″ they won’t fit pots, pans or dishes very well.
Better cabinet lines will make drawer bases up to 48″ wide and allow custom drawer heights wich can be very useful.
Trash Pullout
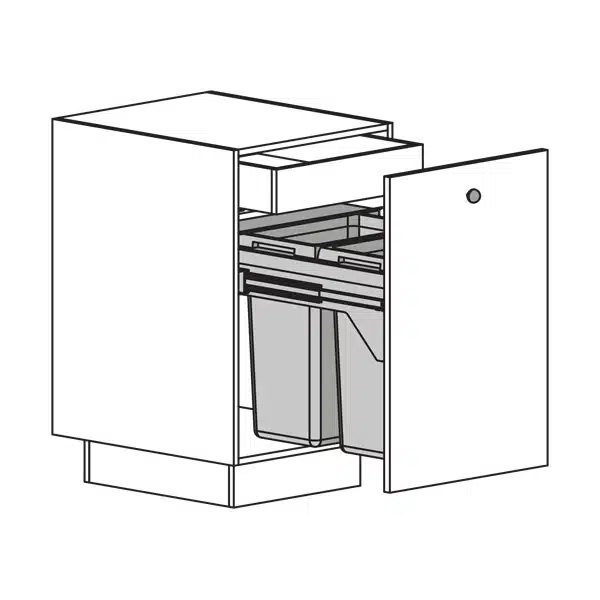
Almost every kitchen design gets a trash pullout, sometimes more than one.
The exception is in very small kitchens where storage options are limited. We would instead fit a samller trash pullout under the sink in that case.
They come in a variety of sizes and heights. We usually us an 18″ wide pullout with a full height door and hidden drawer inside for storing extra trash bags.
In smaller kitchens we will use a trash pullout that has a drawer with a door underneath to maximize storage.
Larger versions come with a small 3rd bin for compost/wet food waste
Tall Panty Cabinets
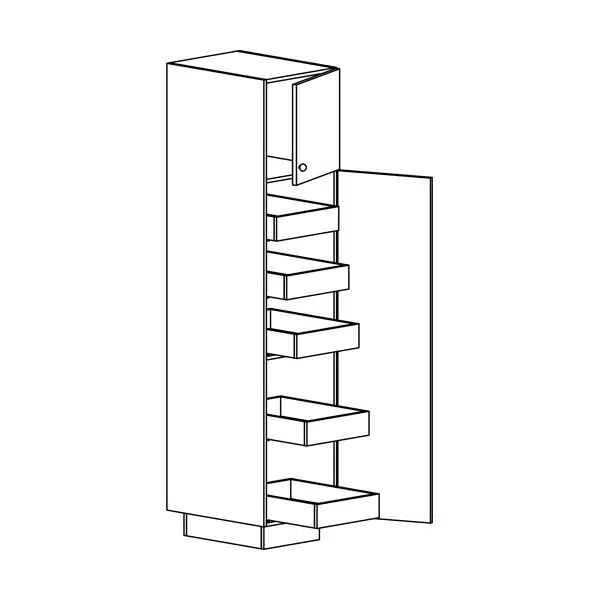
Tall pantry cabinets provide a lot of storage. One 15″ tall cabinet stores as much as 36″ of regular upper and lower cabinets.
We like to use tall pantries between 18″ and 21″ wide when possible. Storage can be limited if they are narrower than that an anything wider requires two doors which isn’t as convenient.
Better cabinet cabinet lines offer a lot of different tall panty options. Some have drawers on the bottom, some have vertical pullouts, other have rollouts. You can also adjust
The Game Changer: A Walk In Pantry
Having a large walk in pantry (not the skimpy ones builders like to put in kitchens) really enhances a modern kitchen and opens up lots of design possibilities. If you entertain a lot a butlers pantry is an even better idea.
We personally think they should be required in every new home.
Design a Kitchen Step 2 : Optimize Layout and Workflow
When we design a kitchen the first priority is to make sure the storage, layout and workflow are optimal for the clients needs. We can make any kitchen look pretty but if the layout is bad the kitchen will always be a problem.
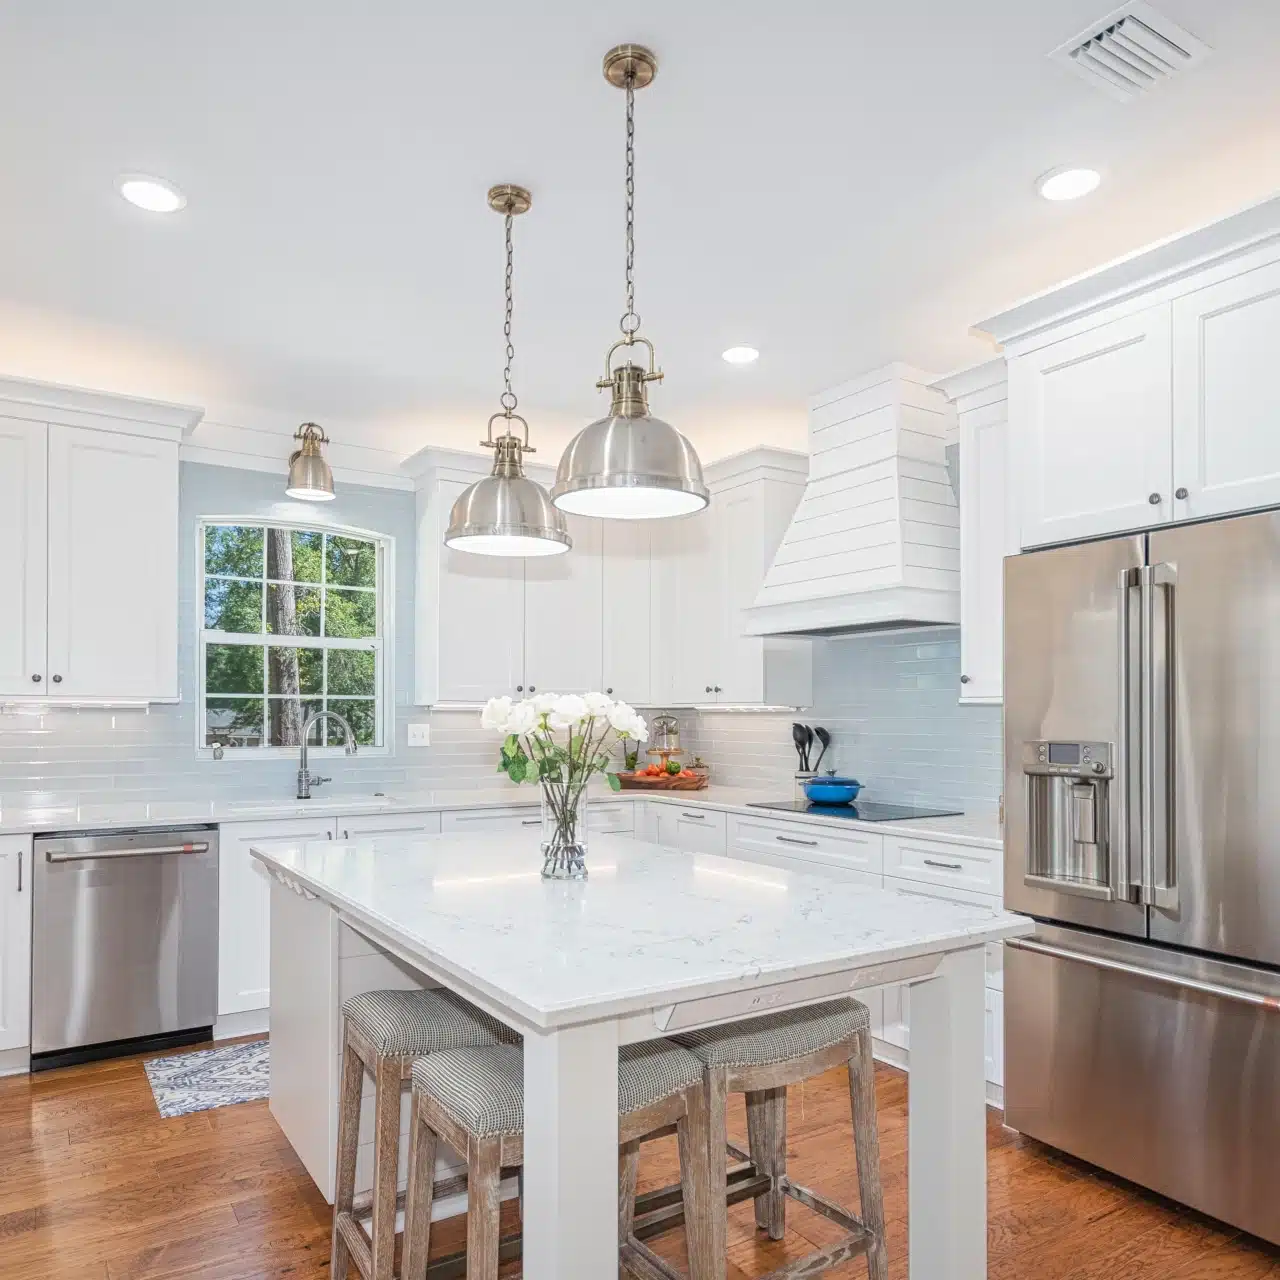
The Work triangle is good way to layout a kitchen but in larger kitchens work zones might make more sense.
There are two basic ways to think about layout and workflow. In small kitchens the work triangle is a good rule of thumb. The rule is that your range, sink and fridge should be between 4 and 9 feet from each other and the total of the 3 legs should not exceed 26 feet.
Though the work triangle is certaily a good rule of thumb when we design a kitchen these days we often think about work zones instead.
As kitchens get larger and are used for more purposes than just cooking creating work zones can make a lot of sense. The primary work zones are prep zone, cleaning zone, cooking zone and storage zone though they can be combined or overlap.
Design a Kitchen Step 3 : Choose Focal Points
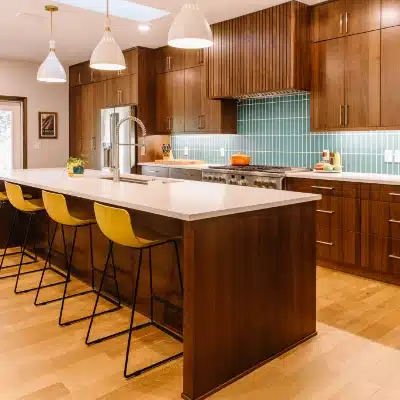
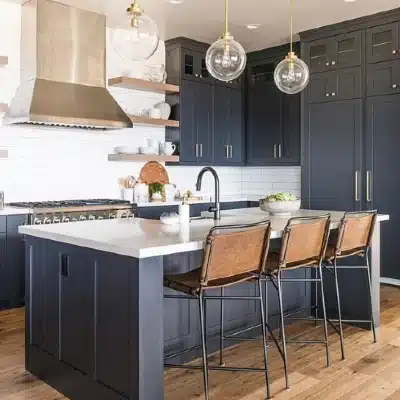
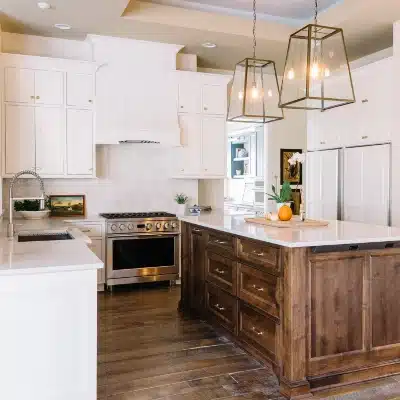
A mistake a lot of novice designer will make is adding too many focal points to a design. This becomes distracting and actaully results in there being no real focal points.
A focal point is something that immediately draws your eye when you walk in a room. They can be purely aesthetic but its better if they also serve a fuction like making it clear what function different parts of the kitchen serve.
Common focal points are range hoods, backsplash tile and sinks but buffet cabinets, and coffee/snack stations can be focal points as well. You also might want a surface to be yoru focal point for example if you invest in really a custom floor pattern or natural marble countertop.
Step 4 : Fixtures and Materials
A lot of people want to choose colors, door styles, flooring and fixtures right way and we get it. That’s the ‘fun’ part of design and what you see highlighted on instagram on on HGTV.
But making those decsions too early in the process can lead to missed opportunities. We discuss these things at every meeting to somem degree but like to hold off on final decsions until later in the process.
There are expcetions of course. Sometimes a client comes in with really strong ideas about one or two elements so we work those in from the beginning.
Step 5 : Finishing Touches
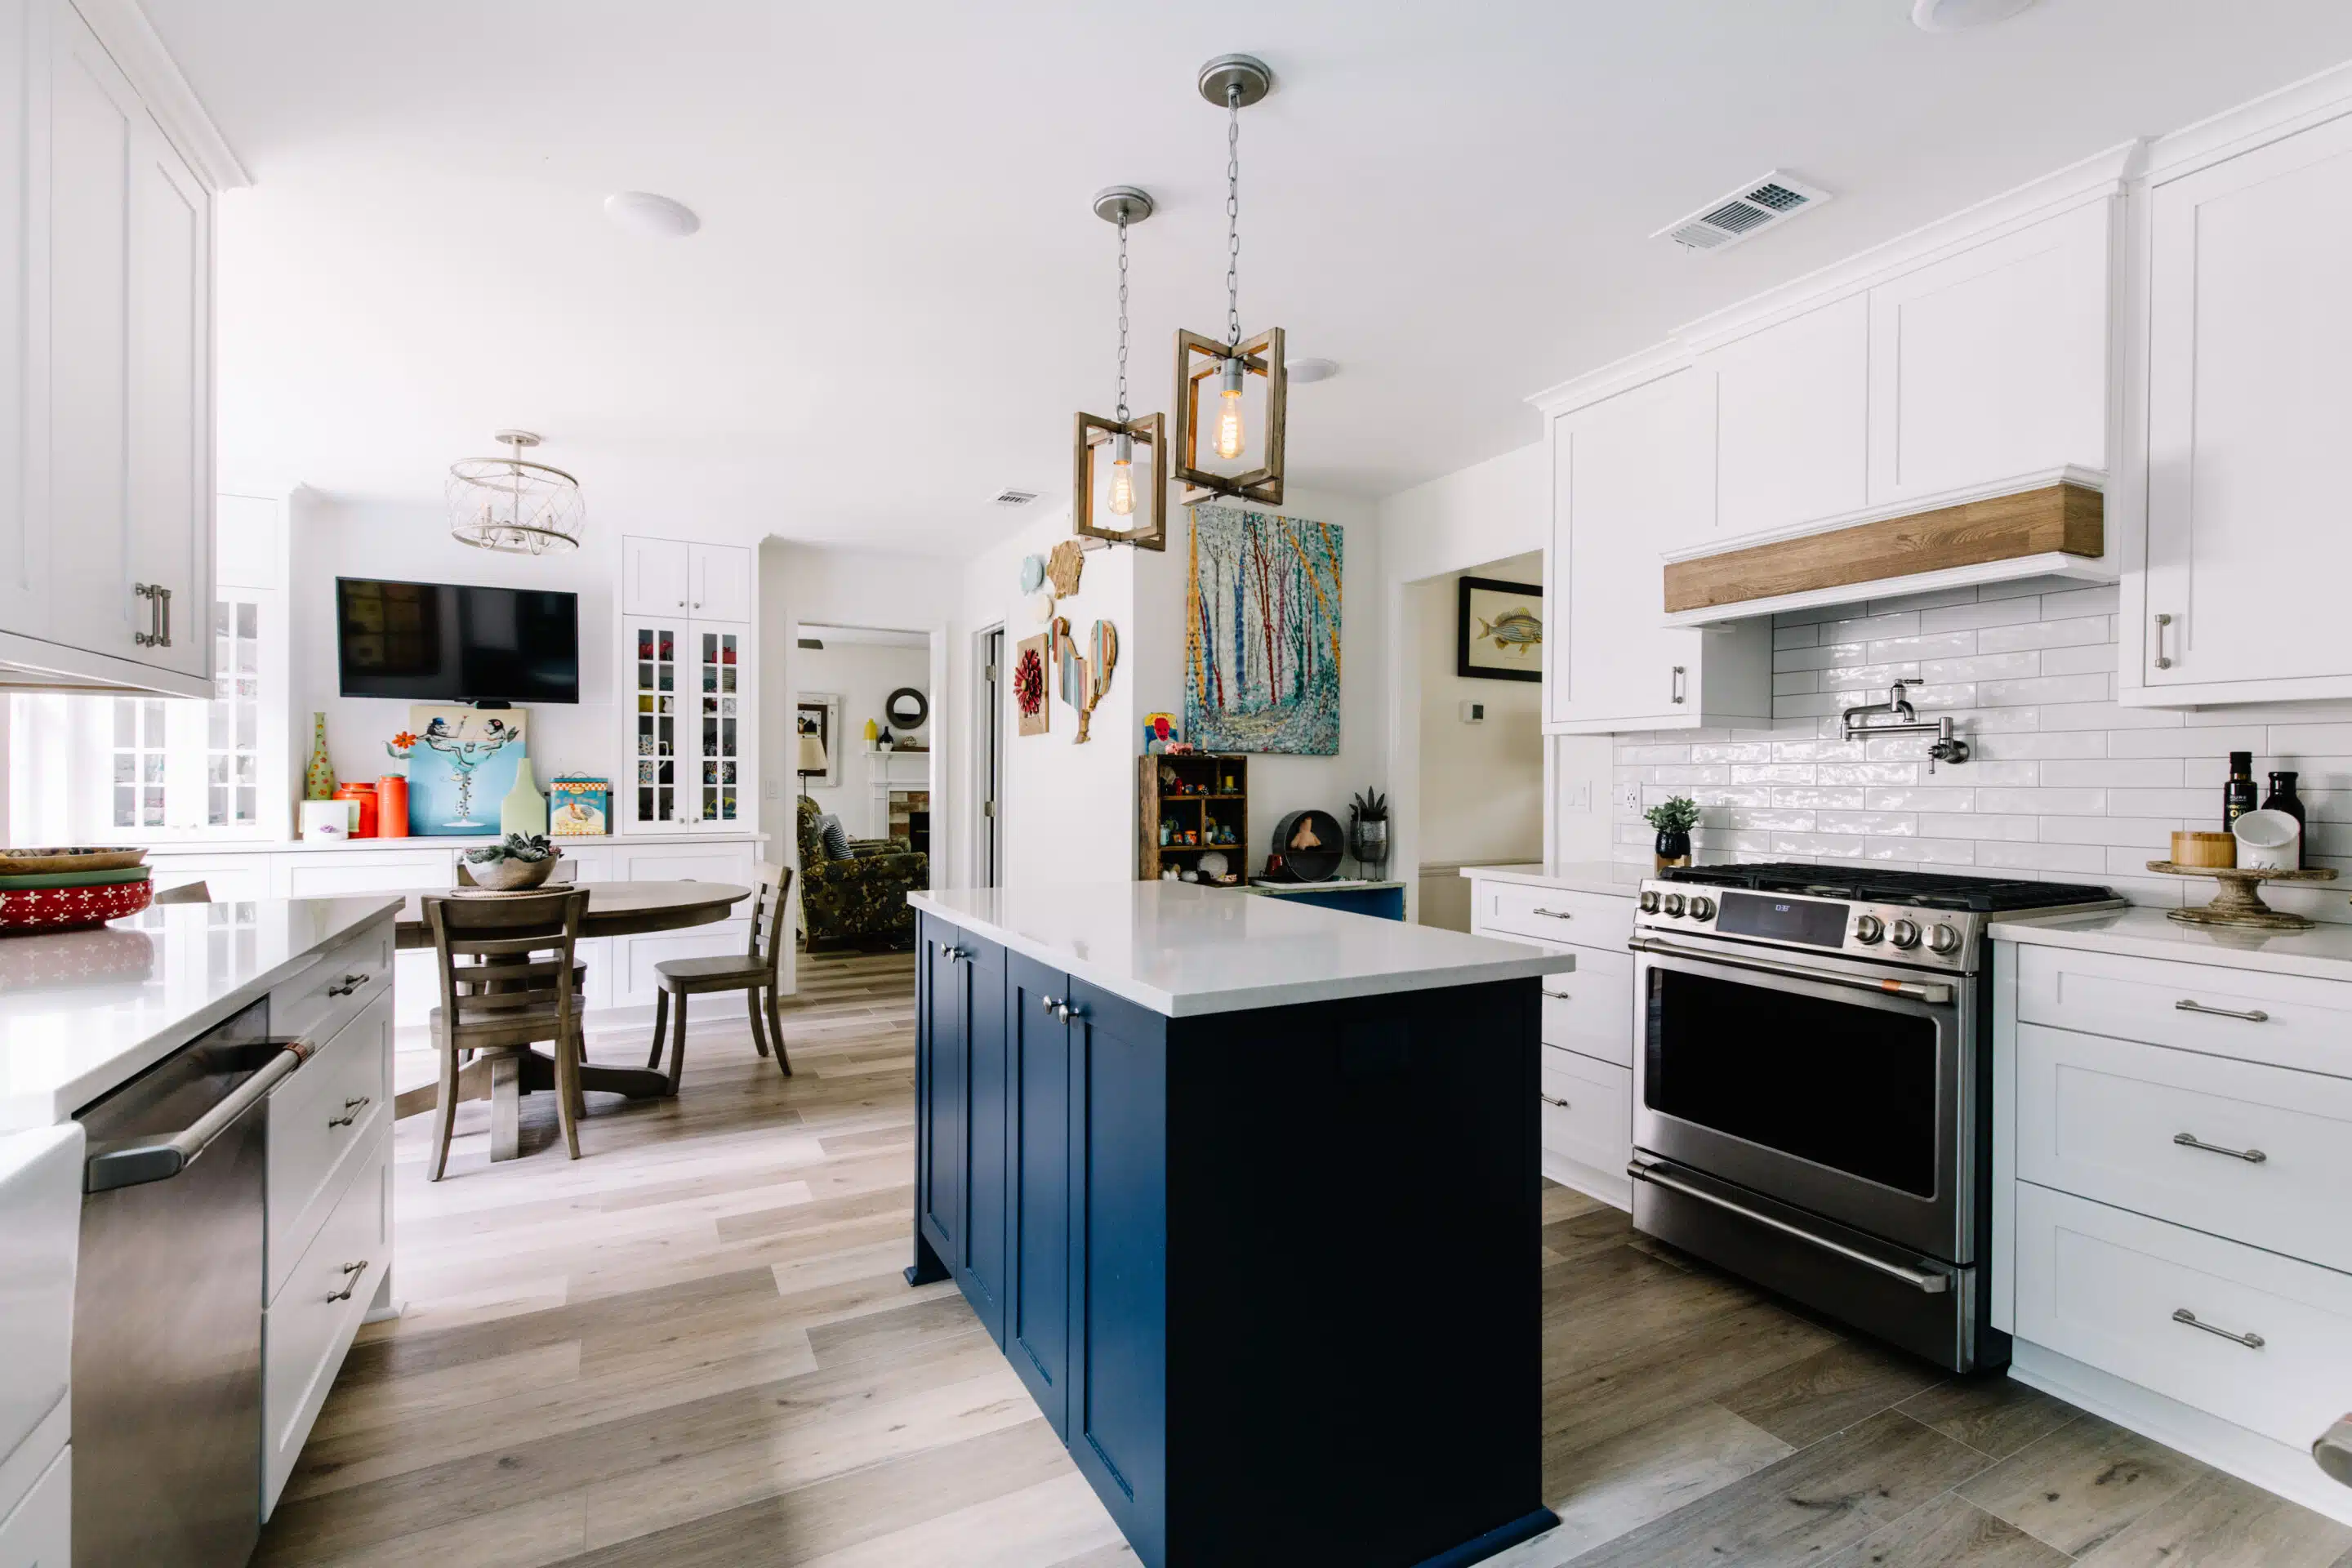
Finishing touches can mean lots of things. Sometimes its just choosing pulls, picking artwork or dialing in trim colors. Other times the designer has an inspiration to really bring some wow to a design.
This is the stage where we meet as a team an review the design together to look for opportunites to take things up a notch.
